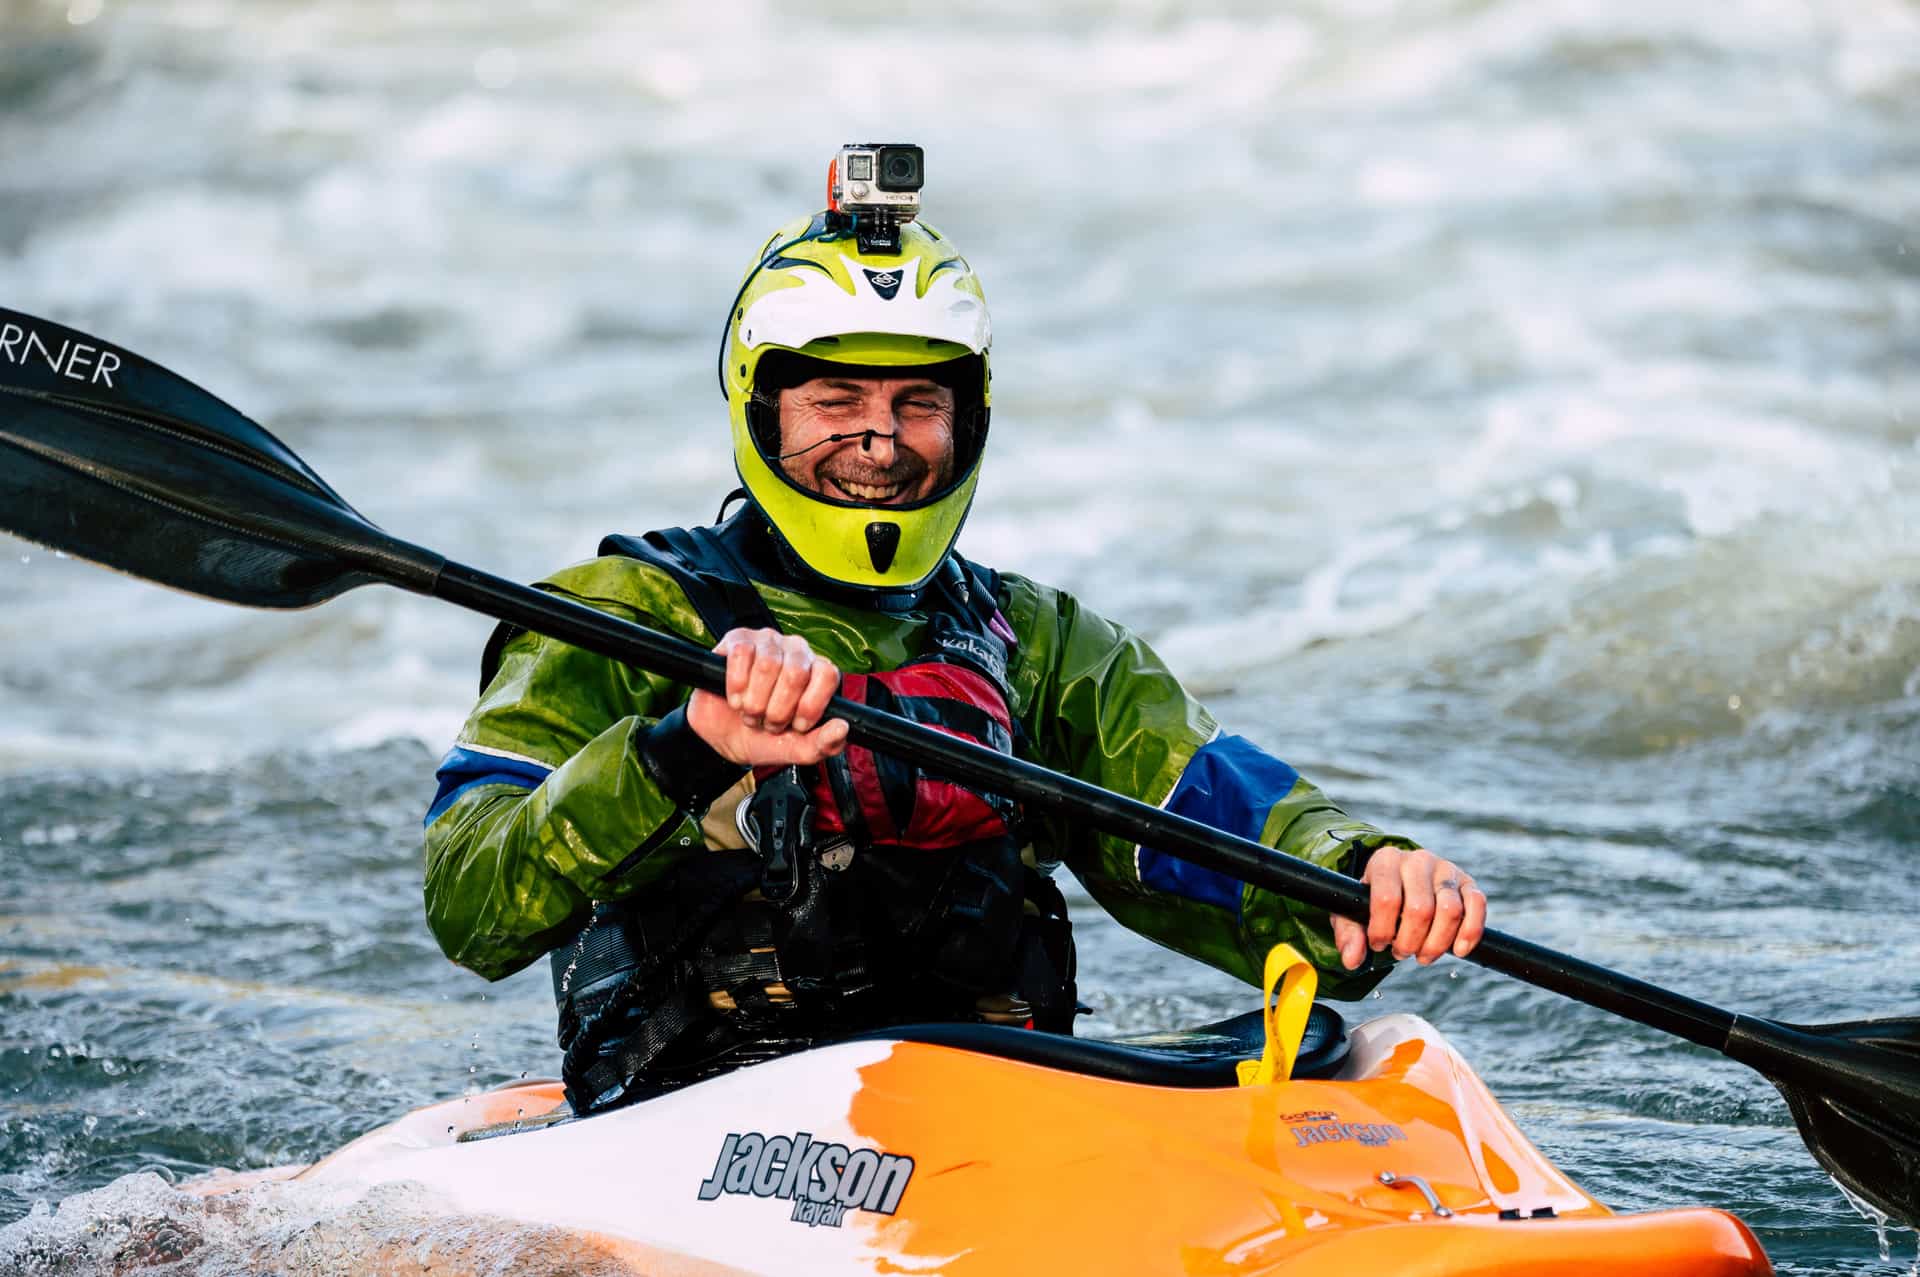
HyperSmooth vs RockSteady vs FlowState
What each stabilization system does, where each gives up, and whether horizon lock is worth it.
The settings that matter on water, the shots that work when you cannot stop, and the editing habit that fixes most trip videos.
We earn a commission if you buy through our links, at no extra cost to you. It never changes what we recommend or the order we rank it in — how this works.
01
Most trip footage fails for reasons that have nothing to do with the camera. It is too long, shot from one angle, in a mode that fought the conditions, with a lens that had water on it. All four of those are fixable for free, and fixing them improves footage far more than the next camera up would.
Settings for the conditions, not the spec sheet. Water is a high-contrast, high-motion, often flat-light environment, and the highest mode your camera offers is frequently the wrong one for it. Shooting 4K60 instead of 5.3K30 gives you a faster shutter, better slow-motion headroom and files you will actually finish editing. The water settings guide walks through what to change and why.
An angle that includes you. The most common trip video is forty minutes of water approaching from a deck mount. Nothing happens in it. A second position — a boom that shows the boat, a chest mount that shows the paddle, a 360 camera you reframe later — is the difference between footage of a place and footage of a trip. Filming yourself paddling covers the rigs that work when both your hands are busy.
A lens you keep dry. Beading on the front element ruins more clips than any setting. Mount higher and further back, carry a microfiber cloth somewhere you can reach it, and accept that you will wipe the lens every few minutes. That is the job.
Three problems, in the order they usually appear.
Before the trip — settings, card, battery, mount position. Decisions made in five minutes at the kitchen table that determine everything afterwards.
During the trip — fogging, overheating, framing, shot length. Fog and heat have real published causes and real fixes, covered in the fogging and overheating guide. Framing and shot length are habits, and they are learnable in one trip.
After the trip — the edit, which is where most footage dies. Not because editing is hard, but because 90 minutes of continuous clips is a genuinely unpleasant thing to sit down with. The editing guide is mostly about making that pile smaller before you ever open an editor.
Modern electronic stabilization is extraordinarily good — good enough that gimbals have largely stopped making sense for action cameras, which is the whole argument in do you need a gimbal. HyperSmooth, RockSteady and FlowState all crop into the sensor and compute a steadier frame, and the comparison between them covers where each one gives up.
What none of them fix is a mount that moves. Stabilization removes vibration; it cannot remove a camera slowly rotating on a loose thumb screw, and it cannot invent the horizon back when the mount has walked forty degrees off. Tighten it, check it, and check it again after the first ten minutes.
Recording continuously. It feels safer — you cannot miss anything — and it guarantees the footage never gets edited. A four-hour paddle at 4K fills cards, flattens batteries, heats the camera up, and leaves you with a pile nobody will ever open.
The fix is a habit, not a purchase: record in deliberate bursts of thirty to ninety seconds, at the moments you would describe to somebody afterwards. You come home with fifteen minutes of footage instead of four hours, the battery lasts the day, the camera runs cooler, and the edit becomes something you finish in an evening instead of something you avoid.
02
03
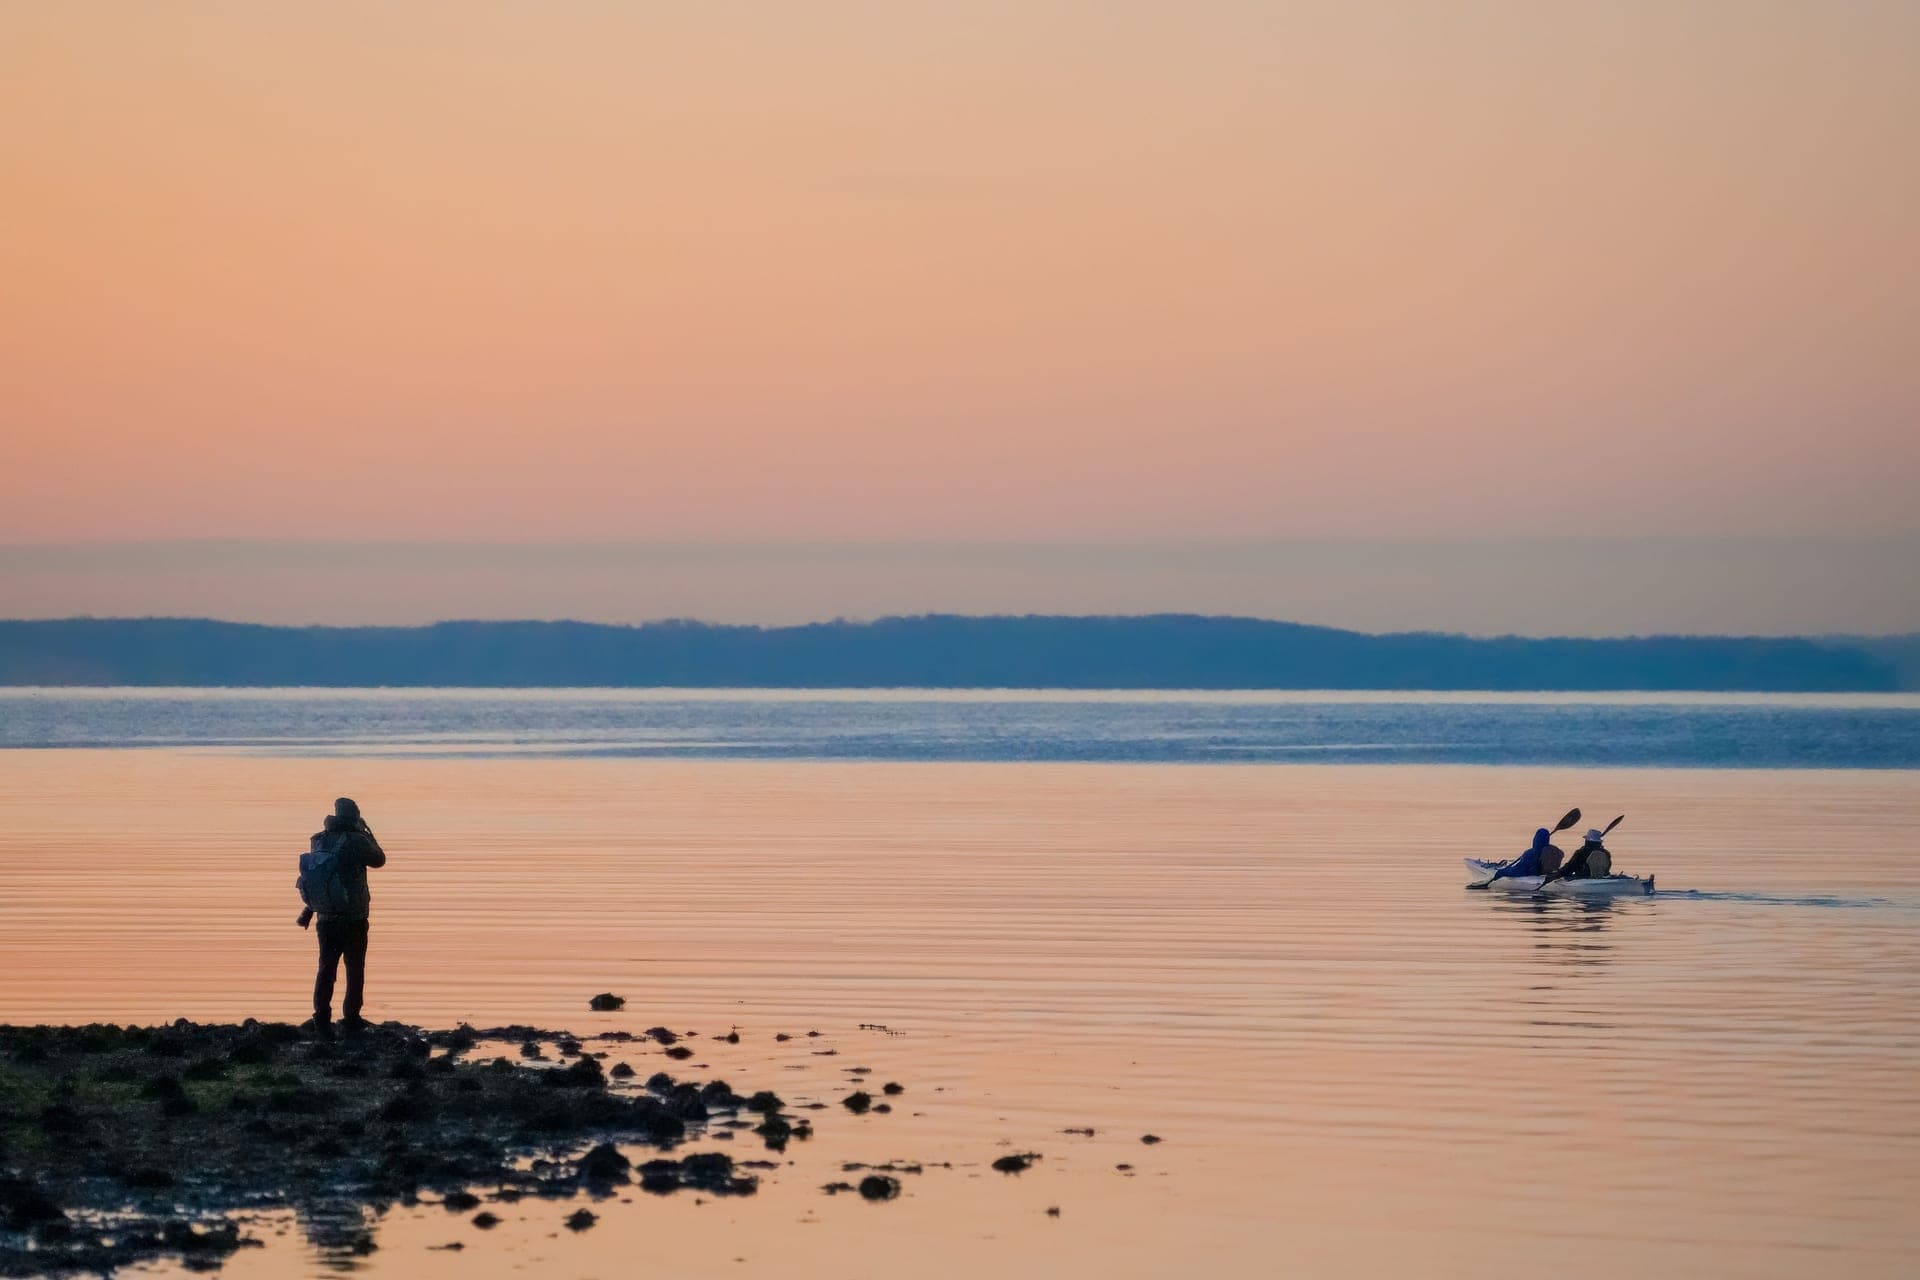
Resolution, frame rate, white balance and exposure — what to change for water, and why.
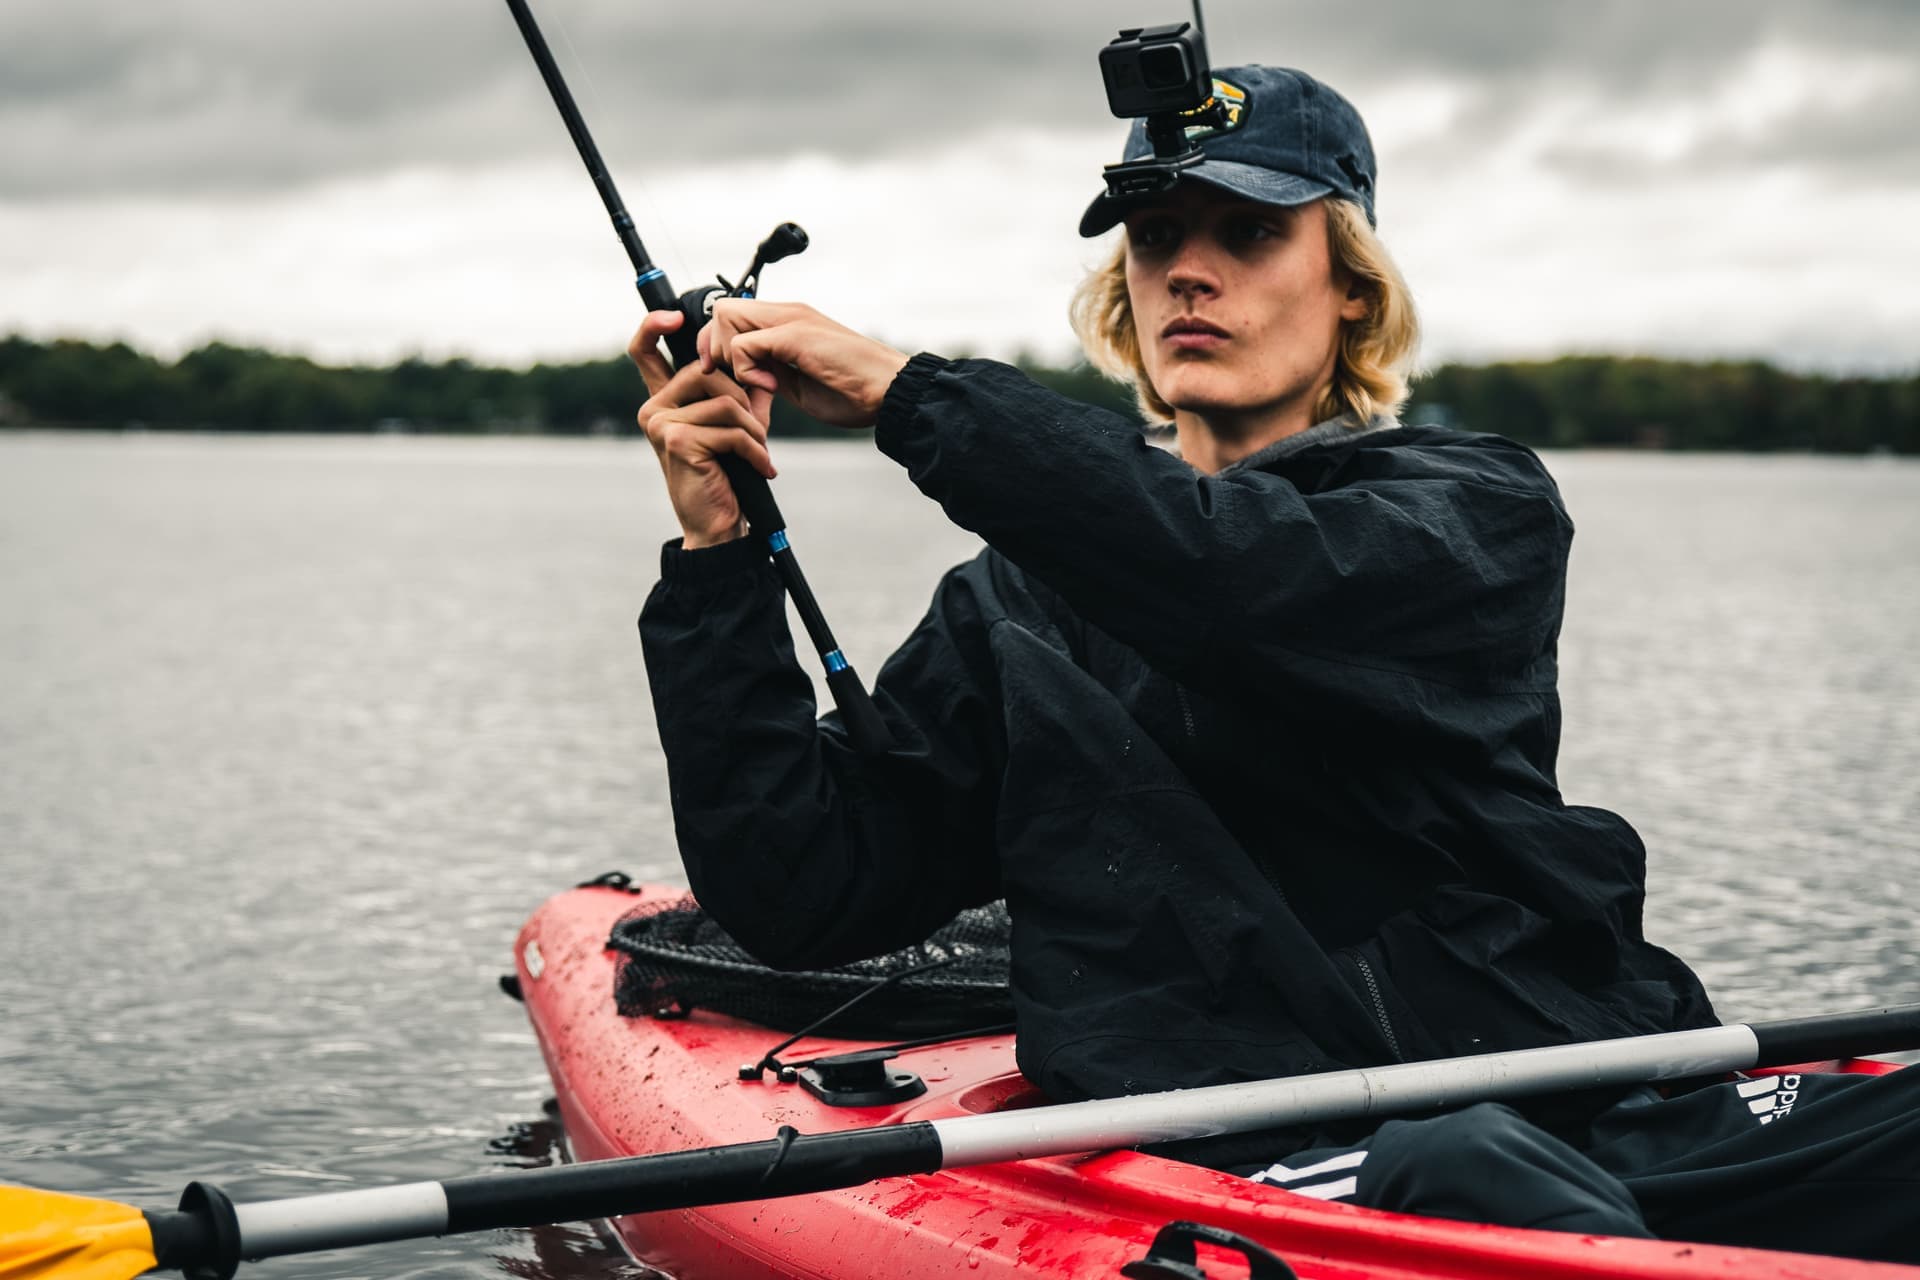
Four rigs for self-filming on the water, and the six shots that make a paddle worth watching.
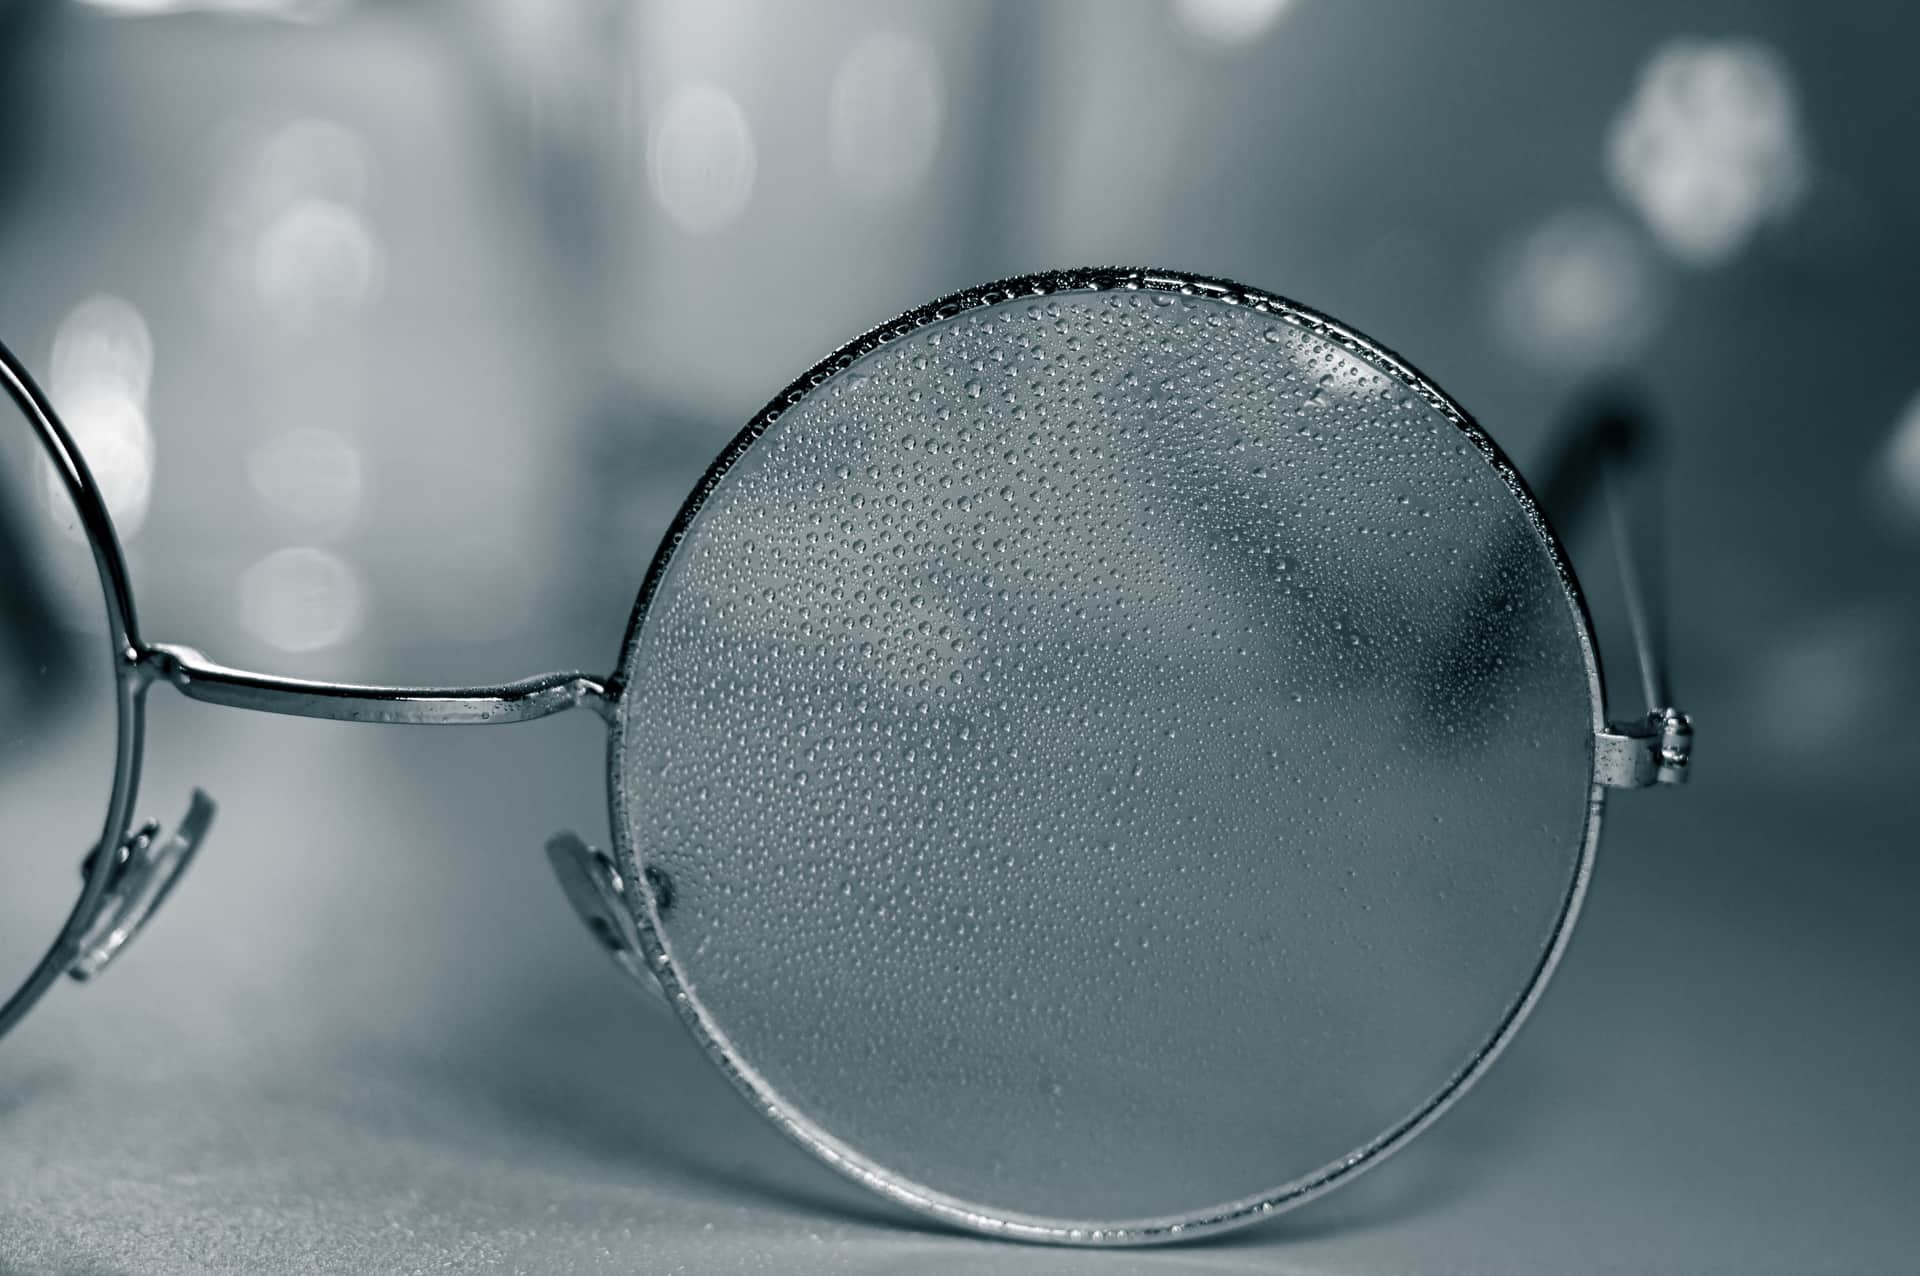
The ranked fixes for condensation and for thermal shutdown, and why they are unrelated problems.
Why most trip footage is unwatchable before editing starts, and the habit that fixes it for free.
04
Depth ratings you can check, the fog problem nobody warns you about, and why the float matters more than the camera.
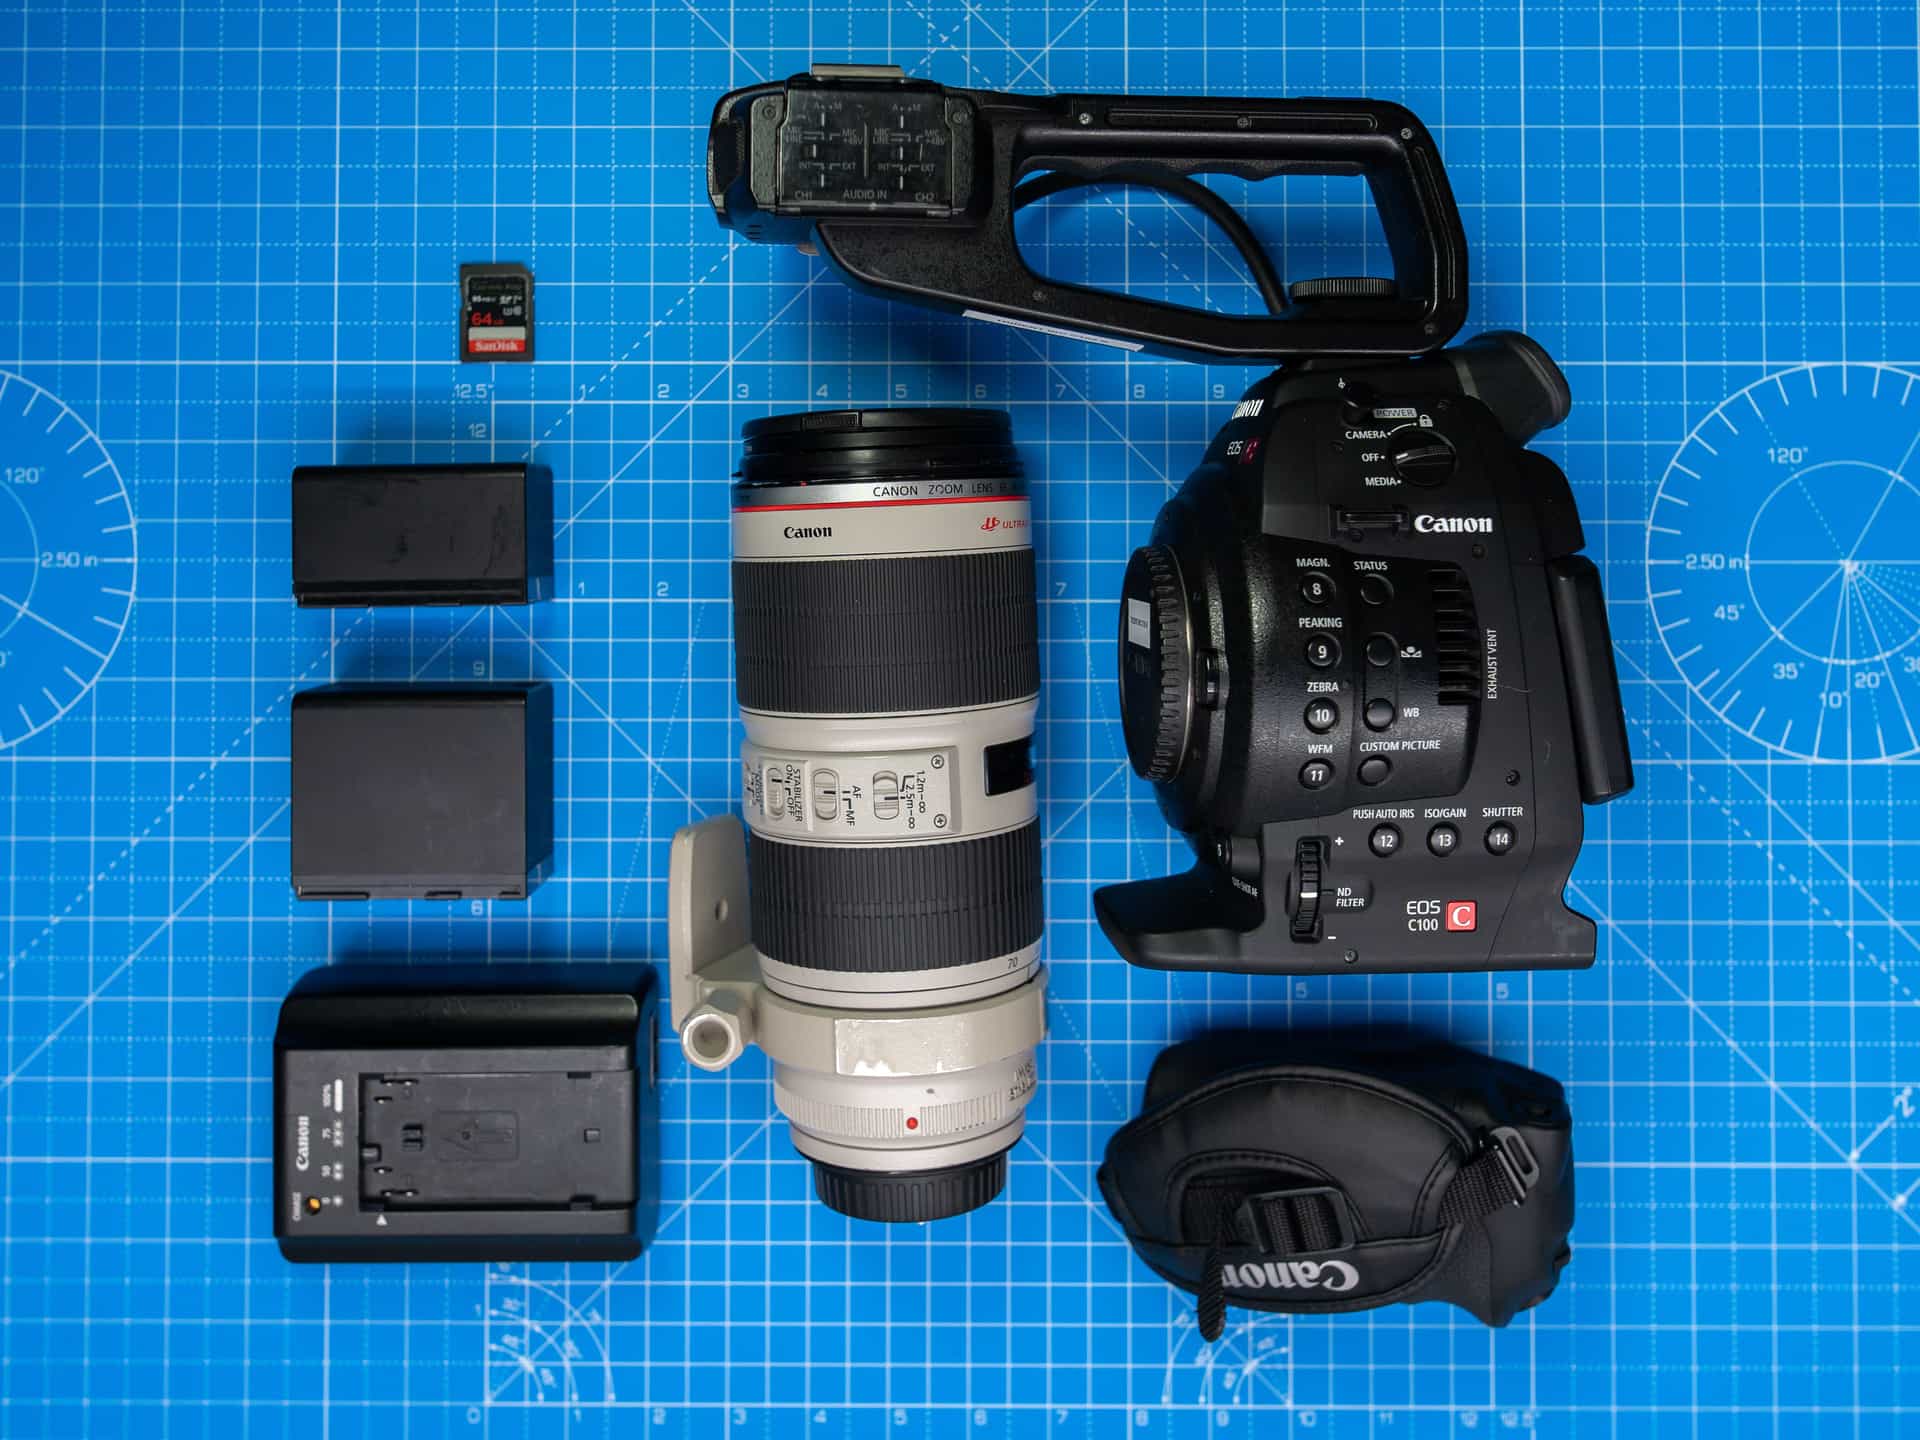
Five purchases decide whether a camera works all day. Most of them cost less than a tank of gas.
We do not lab-test cameras and we own no test units. Here is exactly what we do instead, and what we refuse to do.