How to film yourself paddling
The hard part is not the camera. It is that both of your hands are on a paddle and the camera is pointing wherever you left it.
Part of Filming.
We earn a commission if you buy through our links, at no extra cost to you. It never changes what we recommend or the order we rank it in — how this works.
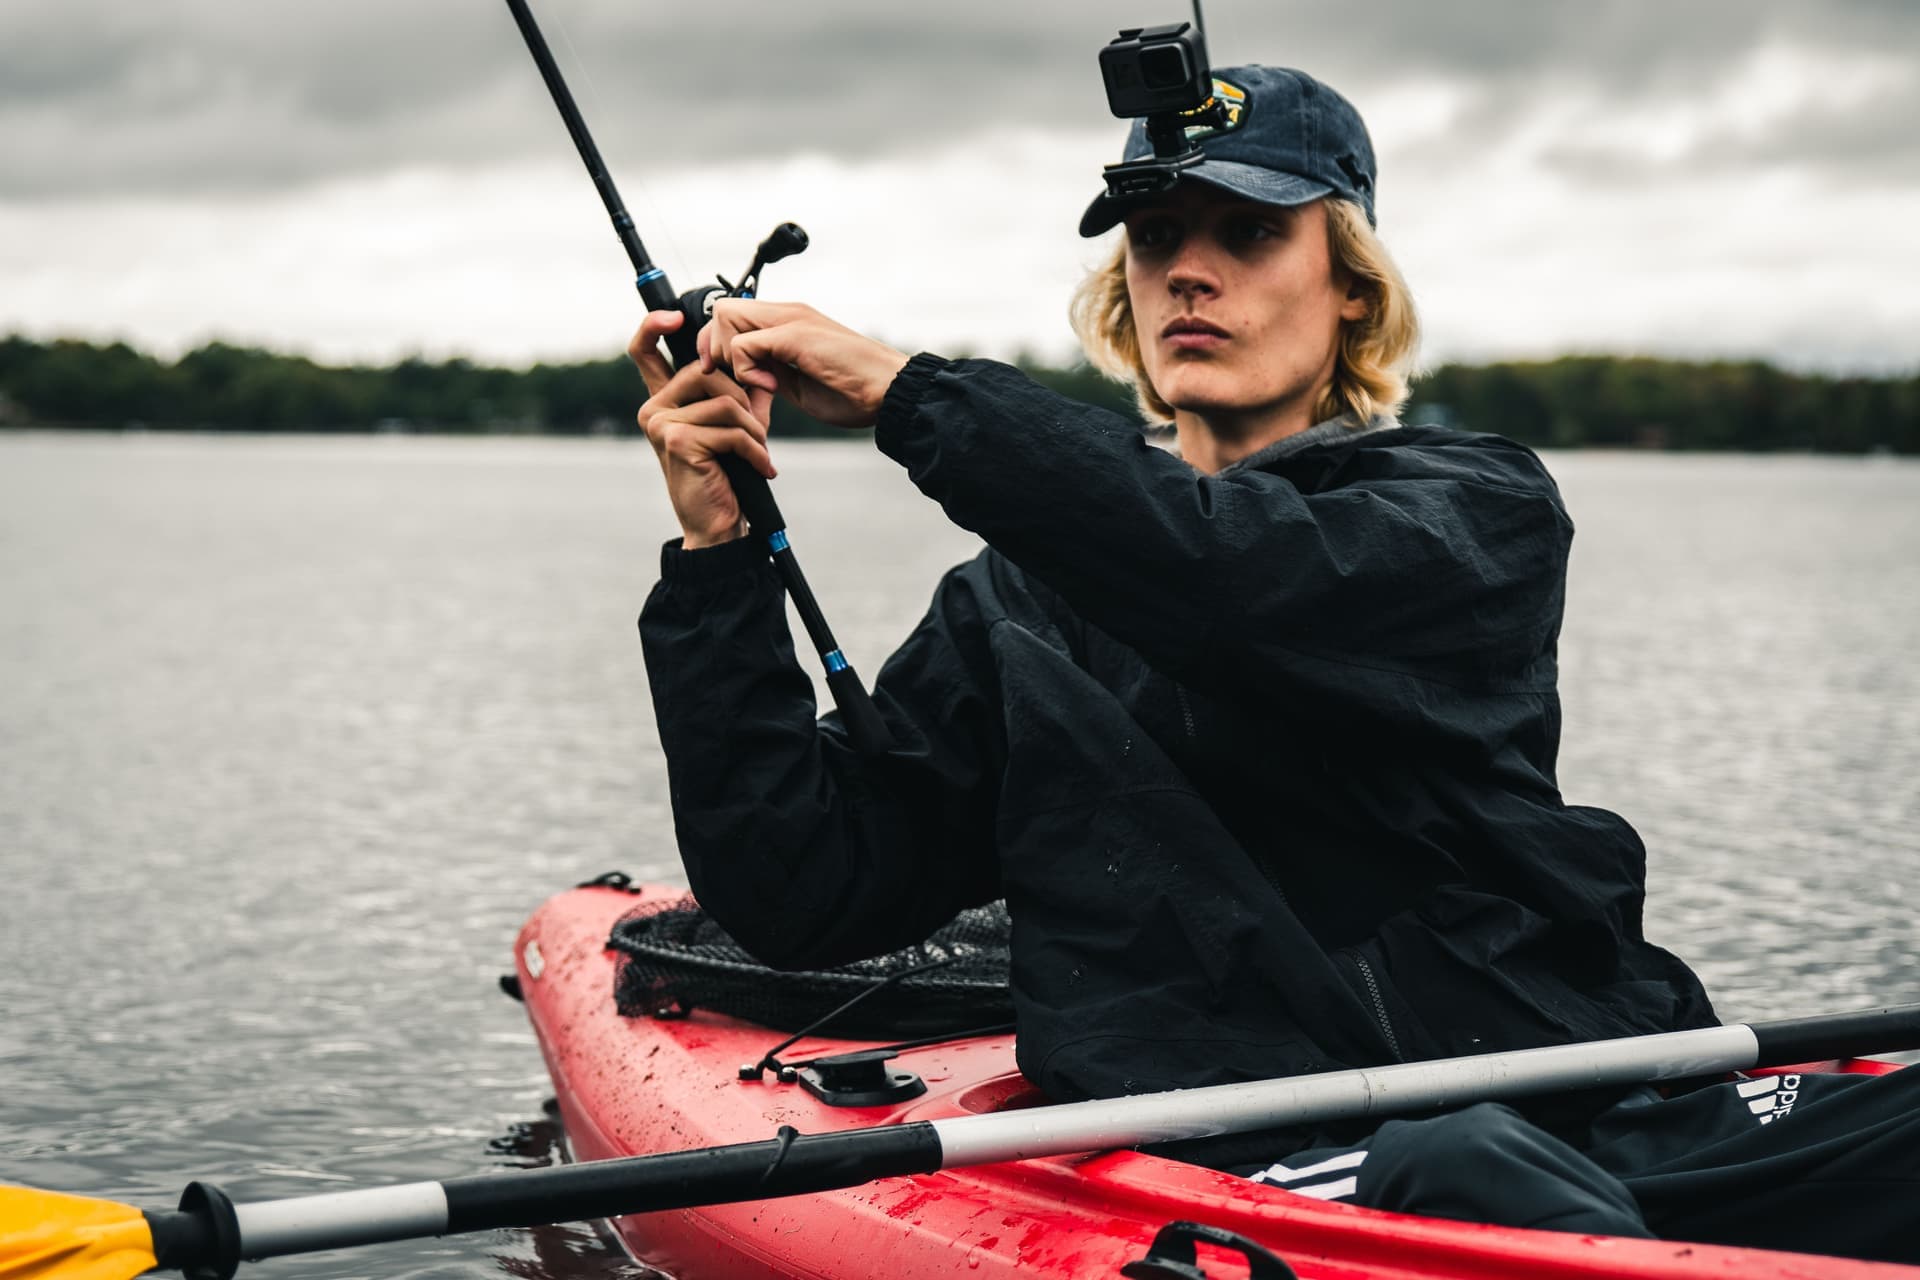
Use a 360 camera on an invisible pole if you will edit, or a flat camera on a boom or chest mount if you will not. The problem with self-filming while paddling is that both hands are busy and you cannot aim, so the rigs that work are the ones that remove aiming from the equation — a 360 camera, which records every direction, or a fixed mount high and behind you that stays pointed at the right place all day. Then shoot in thirty to ninety second bursts rather than continuously.
01
Filming yourself on the water
- 01
Decide whether you will edit
This is the first decision and it determines everything else. A 360 camera on a pole is by far the best self-filming tool, and it requires a reframing pass on every single clip. If you know you will not do that, use a flat camera on a boom or a chest mount instead and accept a narrower range of shots.
- 02
Set up one hands-free rig before you launch
A boom or a mast on the boat, or a chest mount on you. This is the angle that runs while you paddle, and it needs to work without you touching it. Mount it high and behind rather than low and forward — spray lands on a low lens every few strokes.
- 03
Add one handheld option you can reach
A floating grip or a short pole, clipped somewhere you can grab it in one motion without stopping. This is what gets you the shots the fixed rig cannot: low to the water, out to the side, looking back at the boat.
- 04
Tether everything, then check it again
The pole to your wrist, the camera to the boat, and a float on the camera itself if the water is deep. A camera on the end of a stick over open water is the most common way people lose one, and every part of that sentence is the reason.
- 05
Record a thirty-second test and watch it
Before you paddle away. Check framing, check for spray on the lens, check the horizon. Two minutes at the launch prevents a whole trip of footage aimed at the sky.
- 06
Shoot in short deliberate bursts
Thirty to ninety seconds at a time, at moments you would describe to somebody afterwards. Not the whole crossing. This is the difference between fifteen usable minutes and four hours nobody opens, and it also saves the battery.
- 07
Deliberately collect the six shots
The paddle entering water, a wide of the boat in the landscape, something in the middle distance you are heading toward, your face reacting to something real, a detail on the deck, and an arrival. Six shots cut together make a trip; one continuous angle does not.
- 08
Rinse the rig, not just the camera
After a salt day, soak the pole extended, the mount threads and the quick-release base separately in fresh water. Salt in a telescoping pole joint seizes it permanently.
The four rigs, and what each actually gives you
A 360 camera on an invisible pole. The best answer, and not close. You hold it out one-handed for a few strokes, the pole vanishes from the footage, and you choose afterwards whether the camera was looking at you, at the water, or ahead. It is the only way to get a flying chase-cam shot of yourself without a second boat.
The cost is the reframing pass on every clip, and a pole that does not float — see the 360 roundup.
A boom or mast on the boat. Hands-free, runs all day, and shows you in the boat from outside it. A 750mm boom swung out to the side or a 33-inch mast behind the seat both work. Fixed angle, so you set it once and live with it — which is why the test clip at the launch matters.
A chest mount. The underrated one. It cannot show your face, and it shows the paddle entering the water, which is the single most legible shot in paddling footage. Steady, cheap, and it moves between boats — the chest mount guide covers fitting it over a PFD.
A floating grip, handheld. For the shots the fixed rigs cannot get: lens at the waterline, out to one side, or turned back at the boat. Short reach, one hand, and it floats when you drop it. The only rig here you can aim.
The six shots that make a paddle watchable
One continuous angle of water approaching is what most people come home with, and it is why most paddling footage goes unwatched. Six deliberate shots, thirty seconds each, cut into three minutes that people finish.
1. The paddle entering the water. Close, from a chest mount or a shaft clamp. This is the shot that says “paddling” faster than anything else.
2. A wide of the boat in the landscape. From a pole or a boom, looking back. Scale and place.
3. Something in the middle distance you are heading toward. An island, a headland, a bridge. It gives the footage direction and a reason to keep watching.
4. Your face, reacting to something real. Cold water, a heron lifting off, a wave over the bow. Not a piece to camera — a reaction.
5. A detail. Water beading on the deck, a dripping blade, a chart in a deck bag. Detail shots are what give an edit rhythm, and they take ten seconds.
6. An arrival. Landing, pulling the boat up, sitting down. An ending makes it a story rather than a clip.
The editing guide covers what to do with them.
Where to put the pole, specifically
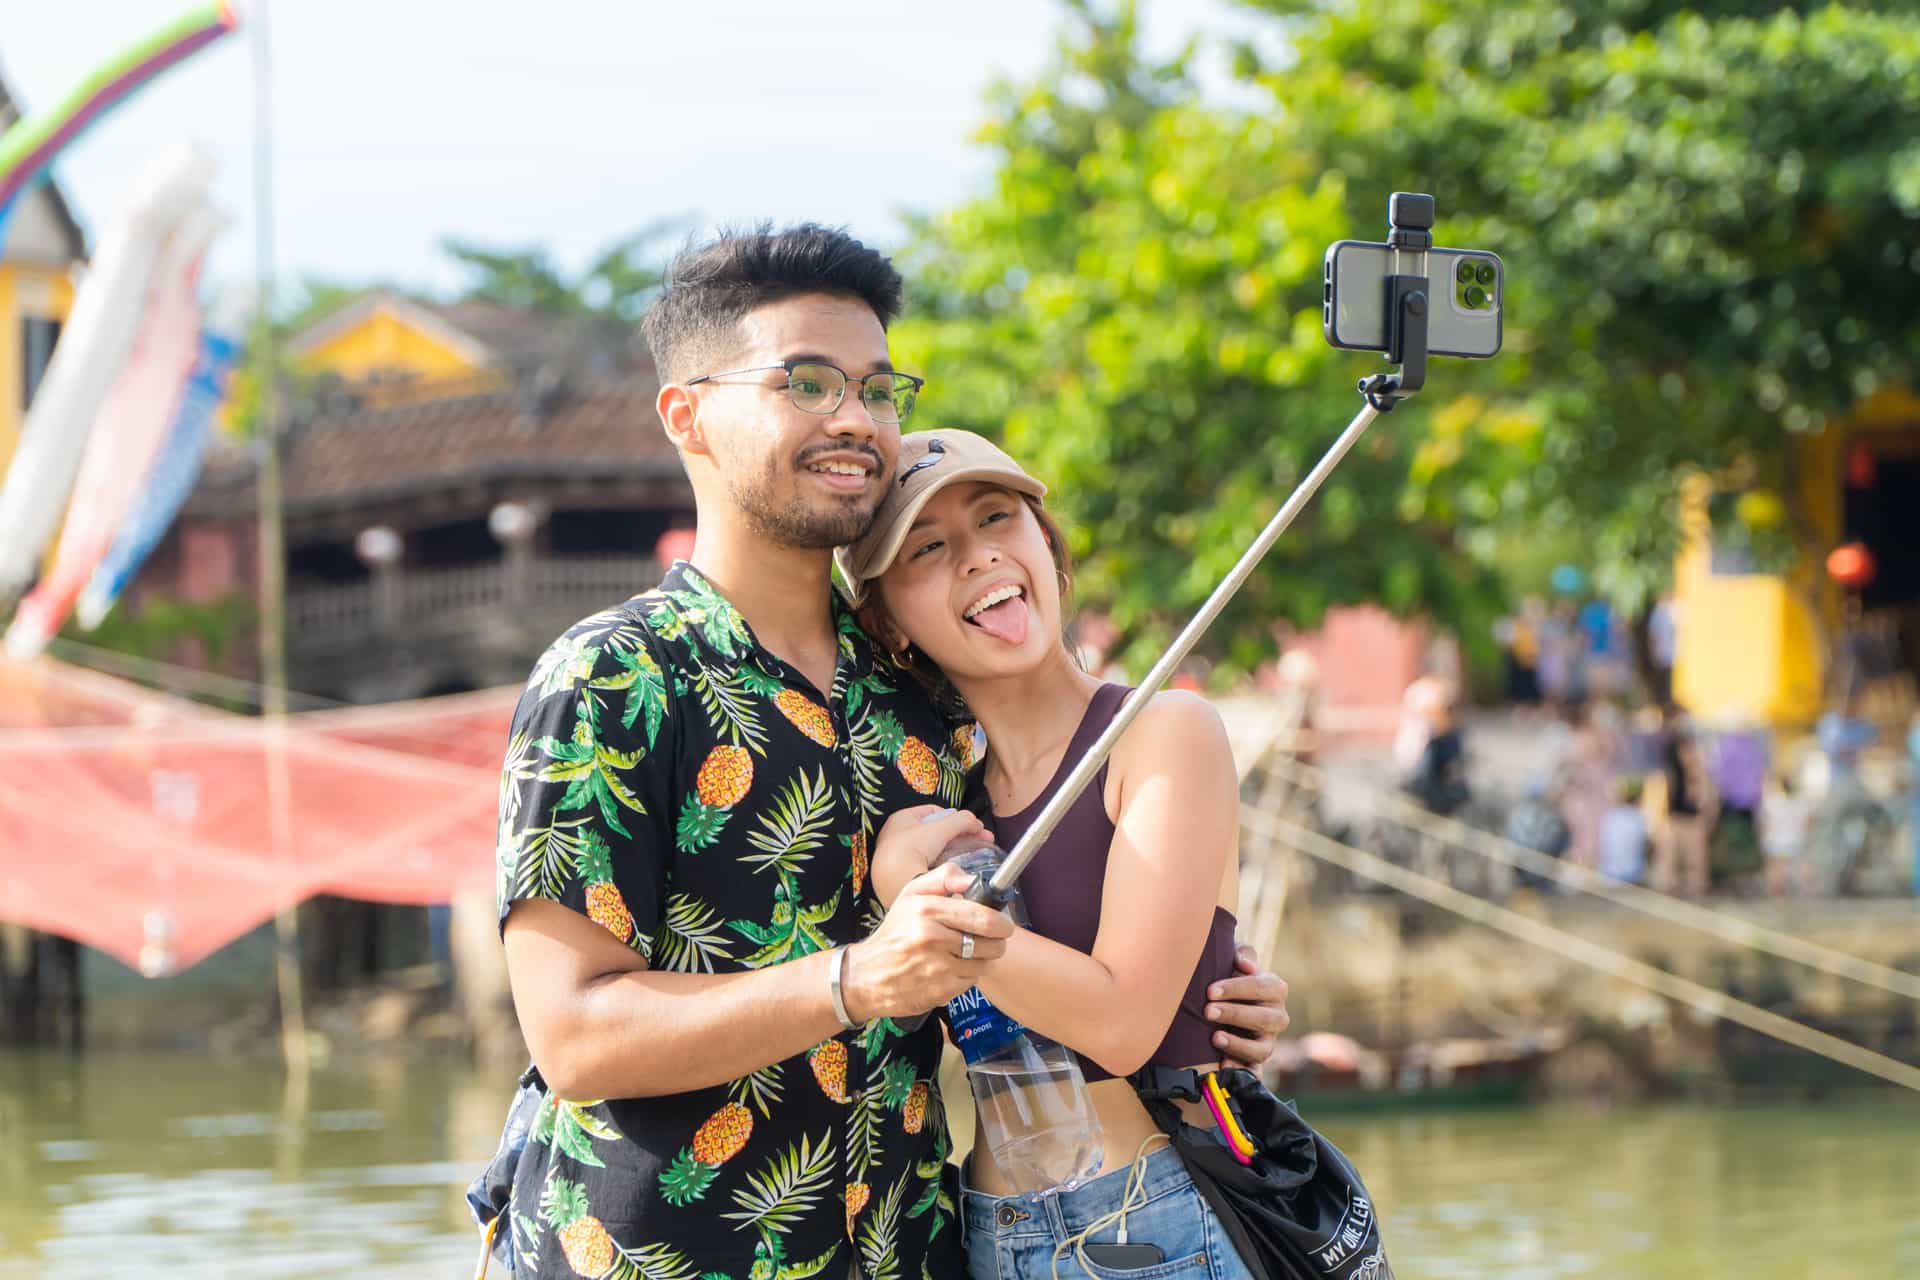
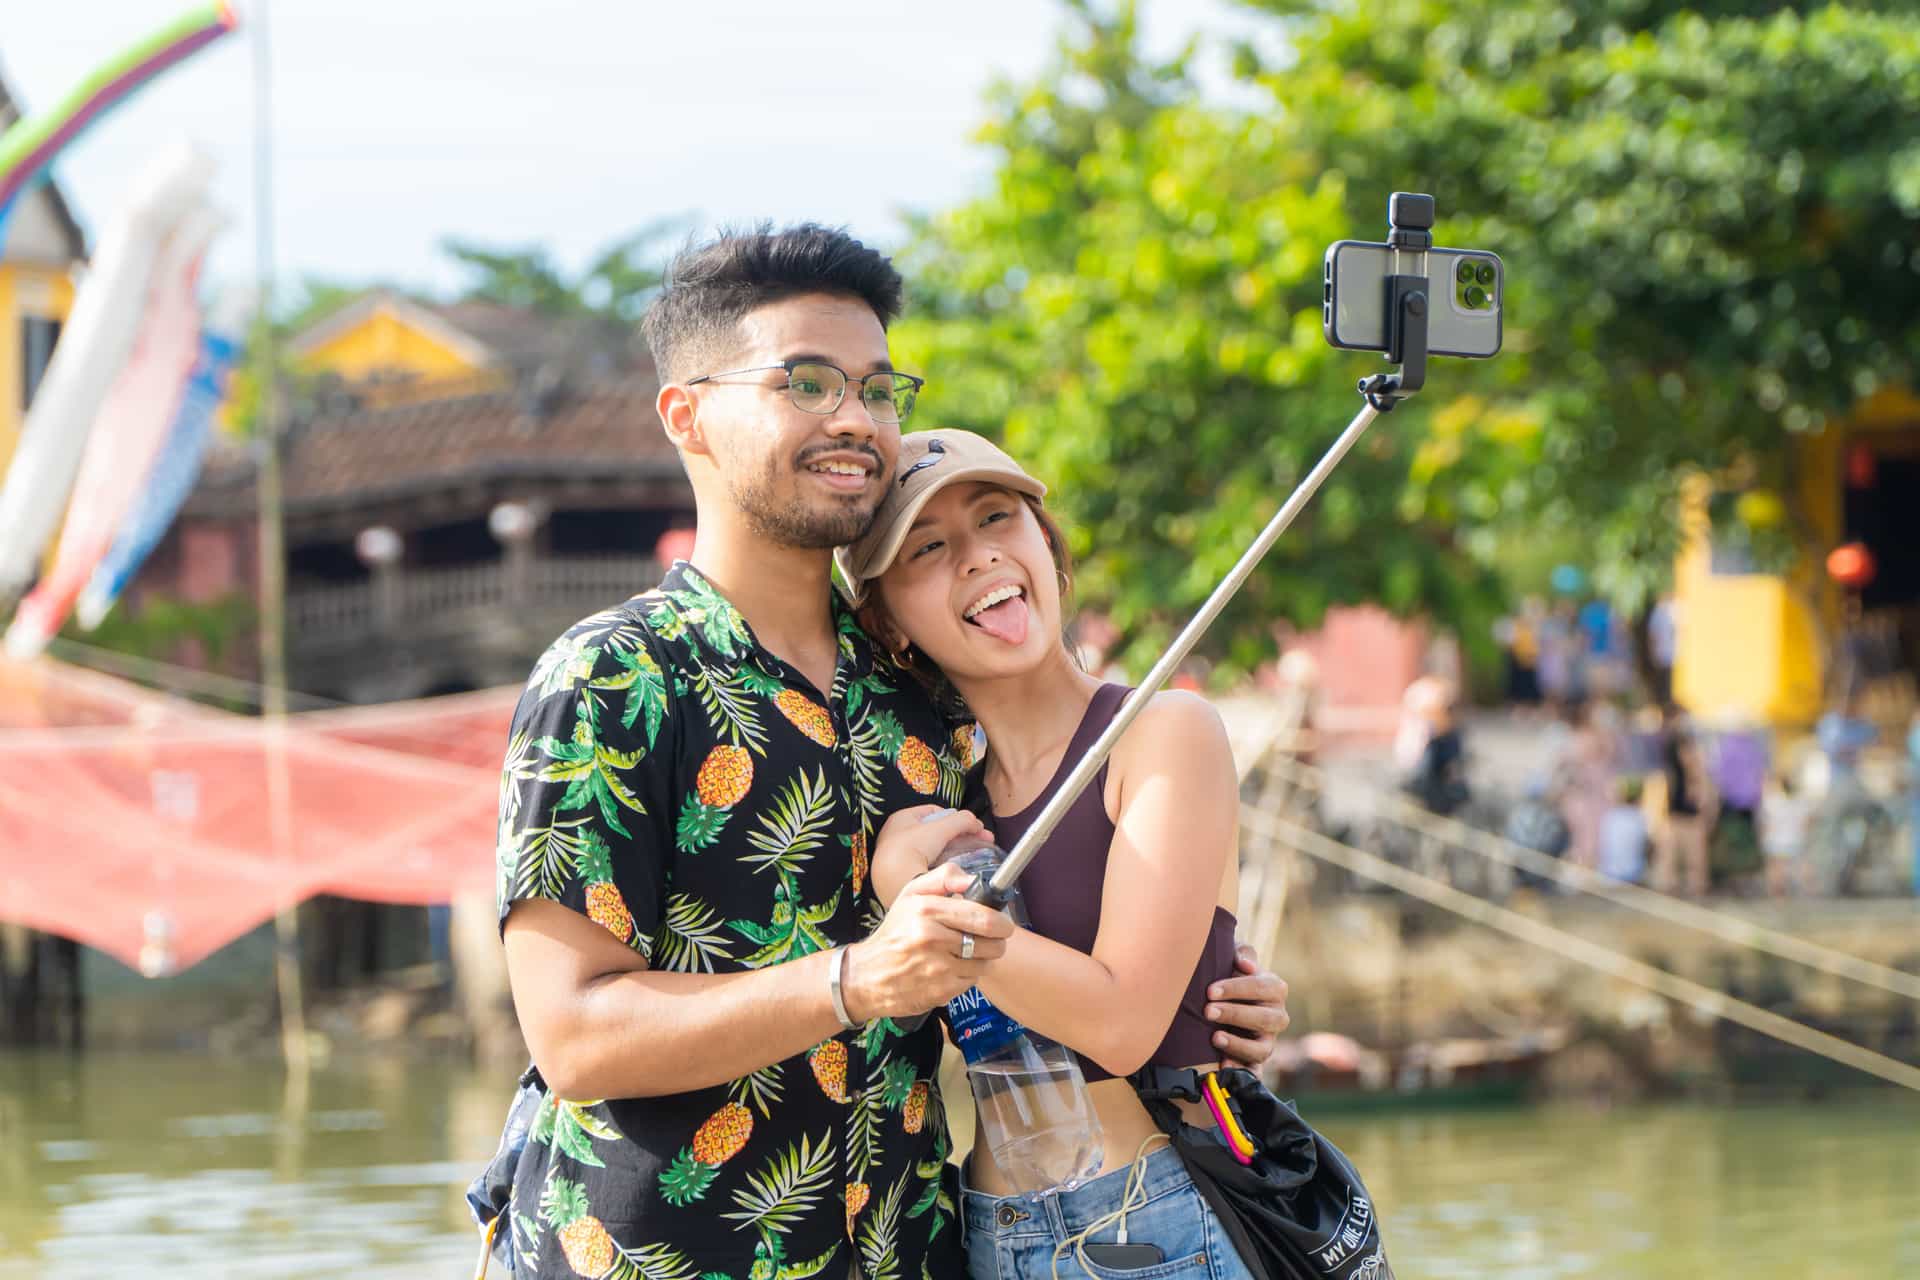
For an invisible-stick shot, hold the pole low and slightly behind your shoulder, angled up. That puts the virtual camera above and behind you — the chase-cam view — rather than directly overhead, which is the angle people accidentally get and it flattens everything.
Short bursts. Ten to twenty seconds is plenty, and holding a pole out one-handed while paddling with the other is both tiring and a genuinely poor idea in anything but calm water.
And use the shortest pole that gets the shot — leverage, wind and the chance of a dunk all scale with length.
Safety, plainly
Filming must not change a decision you would otherwise make. Do not hold a pole out in conditions where you need both hands on the paddle, do not turn to check a camera in traffic or current, and do not chase a dropped camera into water you would not otherwise enter.
This is the one part of the page that is not about footage. Everything else here is recoverable.
02
The four rigs
In rough order of how well each solves the actual problem, which is that you cannot aim.
- IP68 to 49ft (15m)
- 2400mAh · ~88 min at 8K30
- User-replaceable
- 9.5
- 9.5
- 9.0
- 8.5
- 7.5
Insta360 X5
Insta360
15m rated, replaceable lenses, and the one camera that means you never have to aim while you are paddling.
Anyone filming themselves on the water who cannot stop to frame a shot
- 15m IP68 is the deepest bare rating of any camera on this site
- User-replaceable lenses — the single biggest fix for the 360 format's worst failure mode
- 185 minutes in Endurance mode at 5.7K24, which is a whole day of clips
- Invisible-selfie-stick reframing means you point the camera at nothing and pick the angle later
- Exposed lenses still scratch; lens guards are a purchase, not an option
- Every clip needs a reframing pass before anyone else can watch it
- 8K30 files are large and the edit is slower than flat footage
Specs from CineD, Insta360 X5 announcement with published specifications.
- 23.3cm to 114.1cm
- Aluminum
- 1/4-20 screw
- 6.5
- 9.0
- 7.0
- 9.0
- 7.0
Insta360 114cm Invisible Selfie Stick
Insta360
The pole that disappears in a 360 shot — the single accessory that makes a 360 camera worth owning on the water.
Third-person paddling shots from an X-series camera
- Vanishes from 360 footage, which is the whole reason the format works for self-filming
- Collapses to 23cm and stows in a deck bag
- Standard 1/4-20, so it takes more than just Insta360 cameras
- Light enough to hold out one-handed while the other hand paddles
- Insta360 says plainly it is not designed for high-speed adventures
- Aluminum sections seize if you put them away wet and salty
- It does not float, and a dropped pole with a camera on it sinks fast
Specs from Insta360 114cm Invisible Selfie Stick product page.
- 31in (750mm)
- Any RAILBLAZA StarPort
- GoPro and 1/4-20 thread
- 8.5
- 7.5
- 9.5
- 9.0
- 8.0
RAILBLAZA Camera Boom 600 R-Lock
RAILBLAZA
A 750mm boom that gets the camera off the hull and far enough out to show the boat, the paddle and the water at once.
Wide over-the-shoulder shots from a sit-on-top or fishing kayak
- R-Lock friction joints and a 360-degree rotating platform hold an angle instead of creeping
- UV-stabilized fiberglass-reinforced plastic, which is the right material for a boat that lives outside
- Mounts to any StarPort in seconds and breaks down just as fast for stowing
- Takes GoPro-fitting cameras and anything with a standard 1/4-20 thread
- You need a StarPort installed, which usually means drilling the deck
- 750mm of leverage in wind is real — it moves in a way a deck mount does not
- Long enough to catch a paddle stroke if you place it badly
Specs from RAILBLAZA Camera Boom 600 R-Lock published specifications.
- Bright orange end pops to the surface
- Quick release, switches between mounts
- Non-slip construction
- 8.0
- 8.5
- 9.0
- 7.0
GoPro The Handler Floating Hand Grip
GoPro
A grip that floats bright-orange-end-up when you drop it, with a quick release so the camera moves to a mount without tools.
Handheld water shots — snorkeling, swimming, filming from the boat
- Floats end-up so you can actually spot it in chop
- Quick-release base means the same camera goes from hand to deck mount in seconds
- Non-slip even with wet or cold hands
- GoPro lists it specifically for surfing, kayaking and wakeboarding
- It floats the grip; a heavy housing on the end changes that calculation
- No wrist strap included in every configuration — add one
- Bulky in a PFD pocket
Specs from GoPro The Handler product page.
03
How we picked
We do not lab-test, bench-test or dive-test cameras, and we do not own test units. What we do instead is read the manufacturer's published specifications, read the independent reviews that genuinely do test, read owner reports for the failure modes specs never mention — fogging, salt corrosion, cold battery collapse, mount slippage — and then weight all of it for 360 cameras used on lake and trail. Where a number is not published, the page says “not published” rather than filling the cell.
The full method, including what we refuse to do, is on the editorial policy page.
- 30%Water survival
- Exposed lenses change the rules — rated depth and lens-guard availability both count.
- 25%Reframing payoff
- A 360 camera is only worth it if the reframing genuinely saves shots you would have missed.
- 20%Battery in the cold
- Stitching two sensors costs power; cold costs more.
- 15%Mount ecosystem
- Invisible-selfie-stick geometry is the whole trick, and it depends on the mount.
- 10%Edit time
- Every 360 clip needs a pass before anyone can watch it.
04
Questions people actually ask
01How do you film yourself while kayaking?
With a rig that does not need aiming: a 360 camera on an invisible pole, or a fixed boom or mast on the boat. Both hands are on a paddle, so anything you have to point will not get used.
02What is the best camera setup for filming yourself paddling?
A 360 camera on a pole if you will edit, because it is the only way to get a chase-cam shot of yourself alone. A chest mount plus a boom if you will not — steady, hands-free, and finished the moment you stop recording.
03How do I stop losing cameras off a pole?
A wrist strap on the pole, a leash from the camera to the boat, and a float on the camera itself. Neither the Insta360 stick nor the GoPro El Grande floats — floats and tethers.
04How long should each clip be?
Thirty to ninety seconds. Long enough to establish something, short enough that you have a chance of editing it. Continuous recording is the main reason paddling footage goes unwatched.
05Can I film myself with a chest mount?
Not your face, but it gives the best shot in paddling footage — the paddle entering the water, with your hands in frame. Pair it with a pole or a boom for the wide shots.
06Where should I hold the pole for the best shot?
Low and slightly behind your shoulder, angled up. That produces the chase-cam view from above and behind, rather than the flat overhead angle people accidentally get.
05
Read this next
Best 360 cameras for kayaking
The format that solves self-filming, and what it costs.
Paddle and pole mounts
The poles and booms, including which ones float.
Best kayak camera mounts
The hands-free rig that runs all day.
Editing a trip video people watch
What to do with the six shots once you have them.
Best action cameras for kayaking
The camera that goes on whichever rig you chose.
06
Sources
- Insta360 114cm Invisible Selfie Stick product page
- RAILBLAZA Camera Boom 600 R-Lock specifications
- GoPro The Handler floating hand grip product page
- CineD, Insta360 X5 announcement with published specifications
Specifications are quoted from the manufacturer pages above as they read on the dates shown. Where a figure is not published, this site says so rather than estimating one. We have not tested these products.