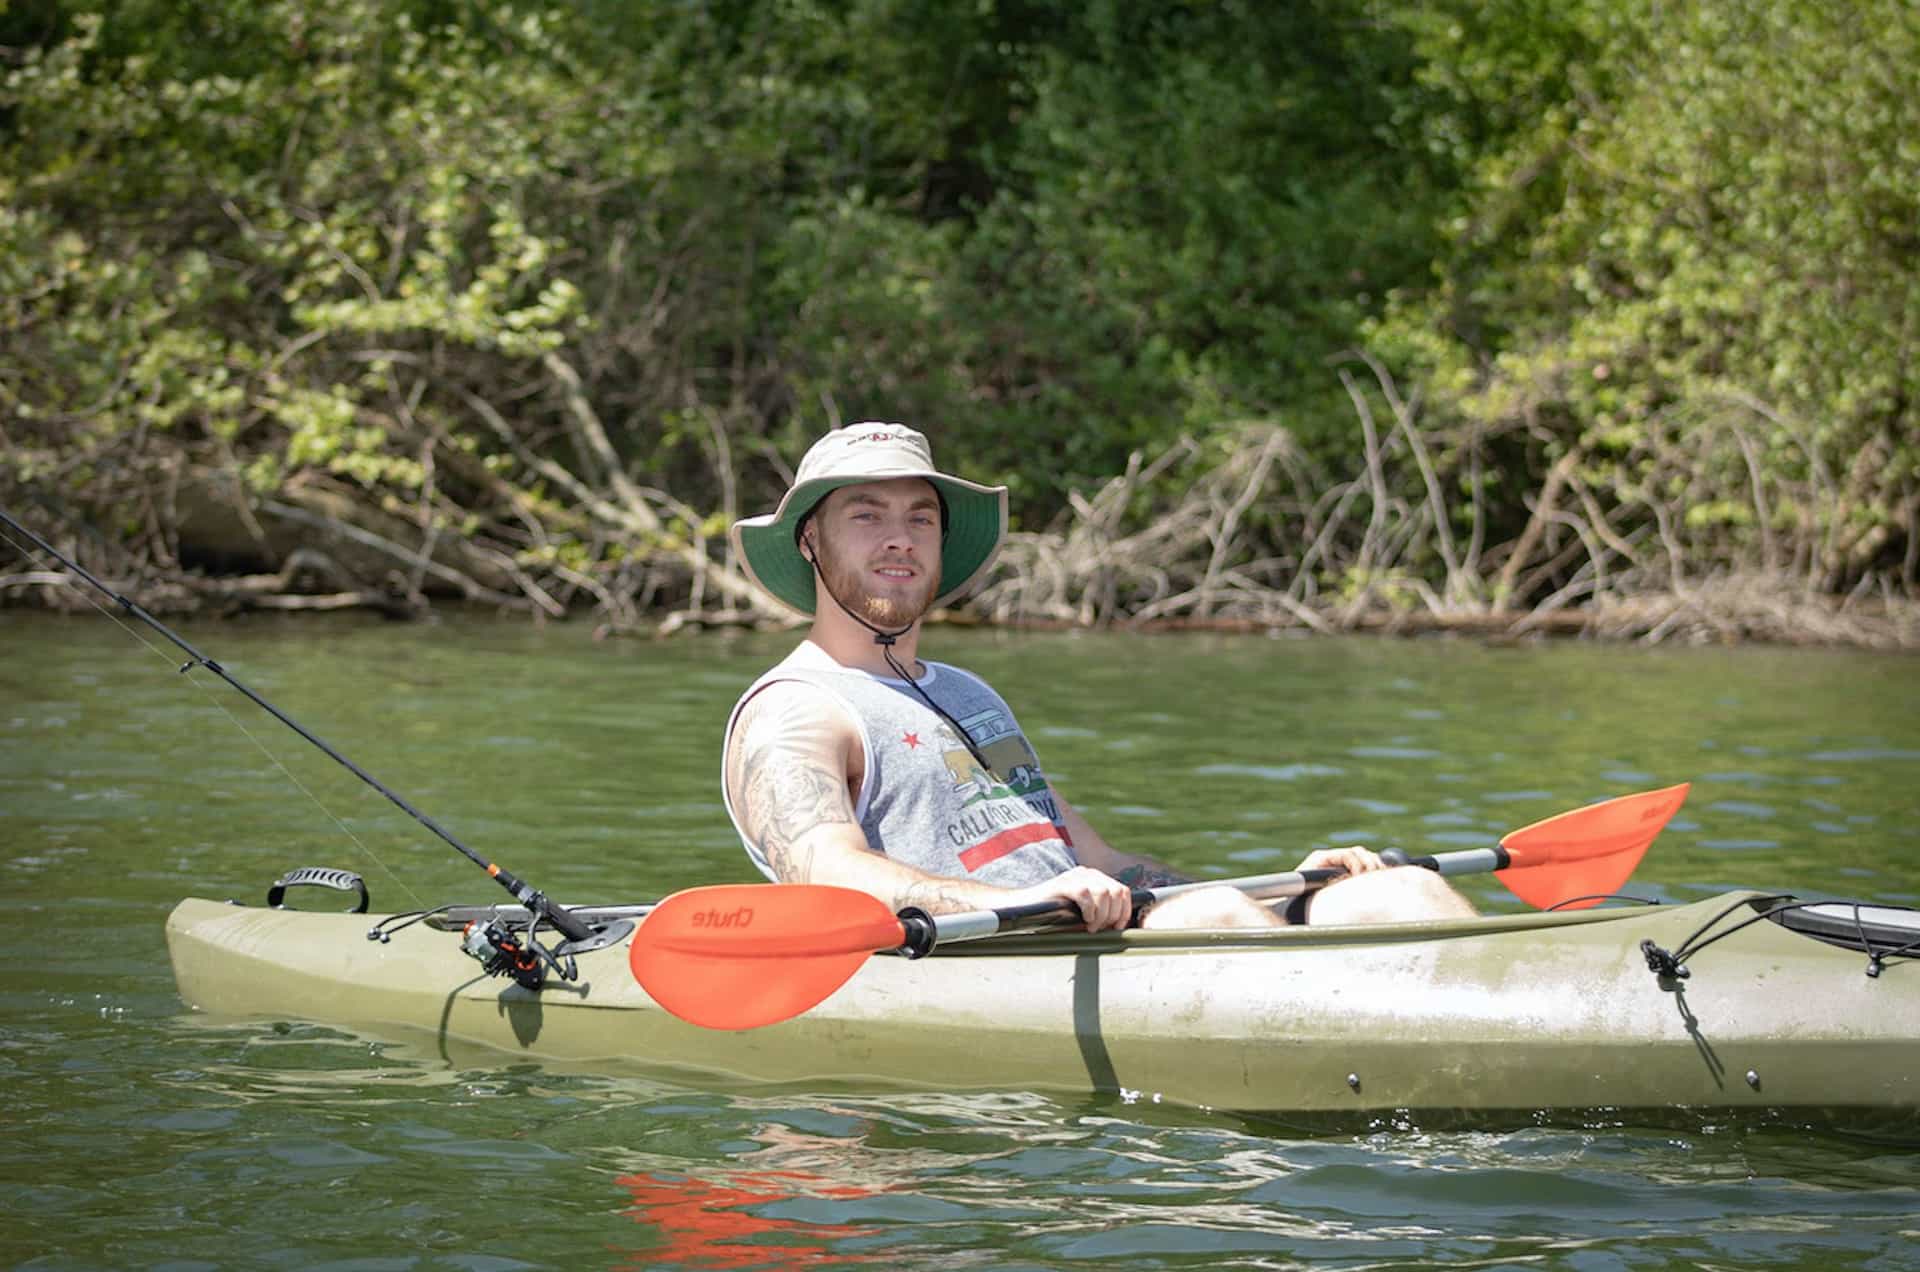
The best kayak camera mounts
Five mounts, sorted by how they attach — because your boat decides this, not the camera.
The part that decides whether the footage is watchable, and the part nobody researches until after the camera arrives.
We earn a commission if you buy through our links, at no extra cost to you. It never changes what we recommend or the order we rank it in — how this works.
01
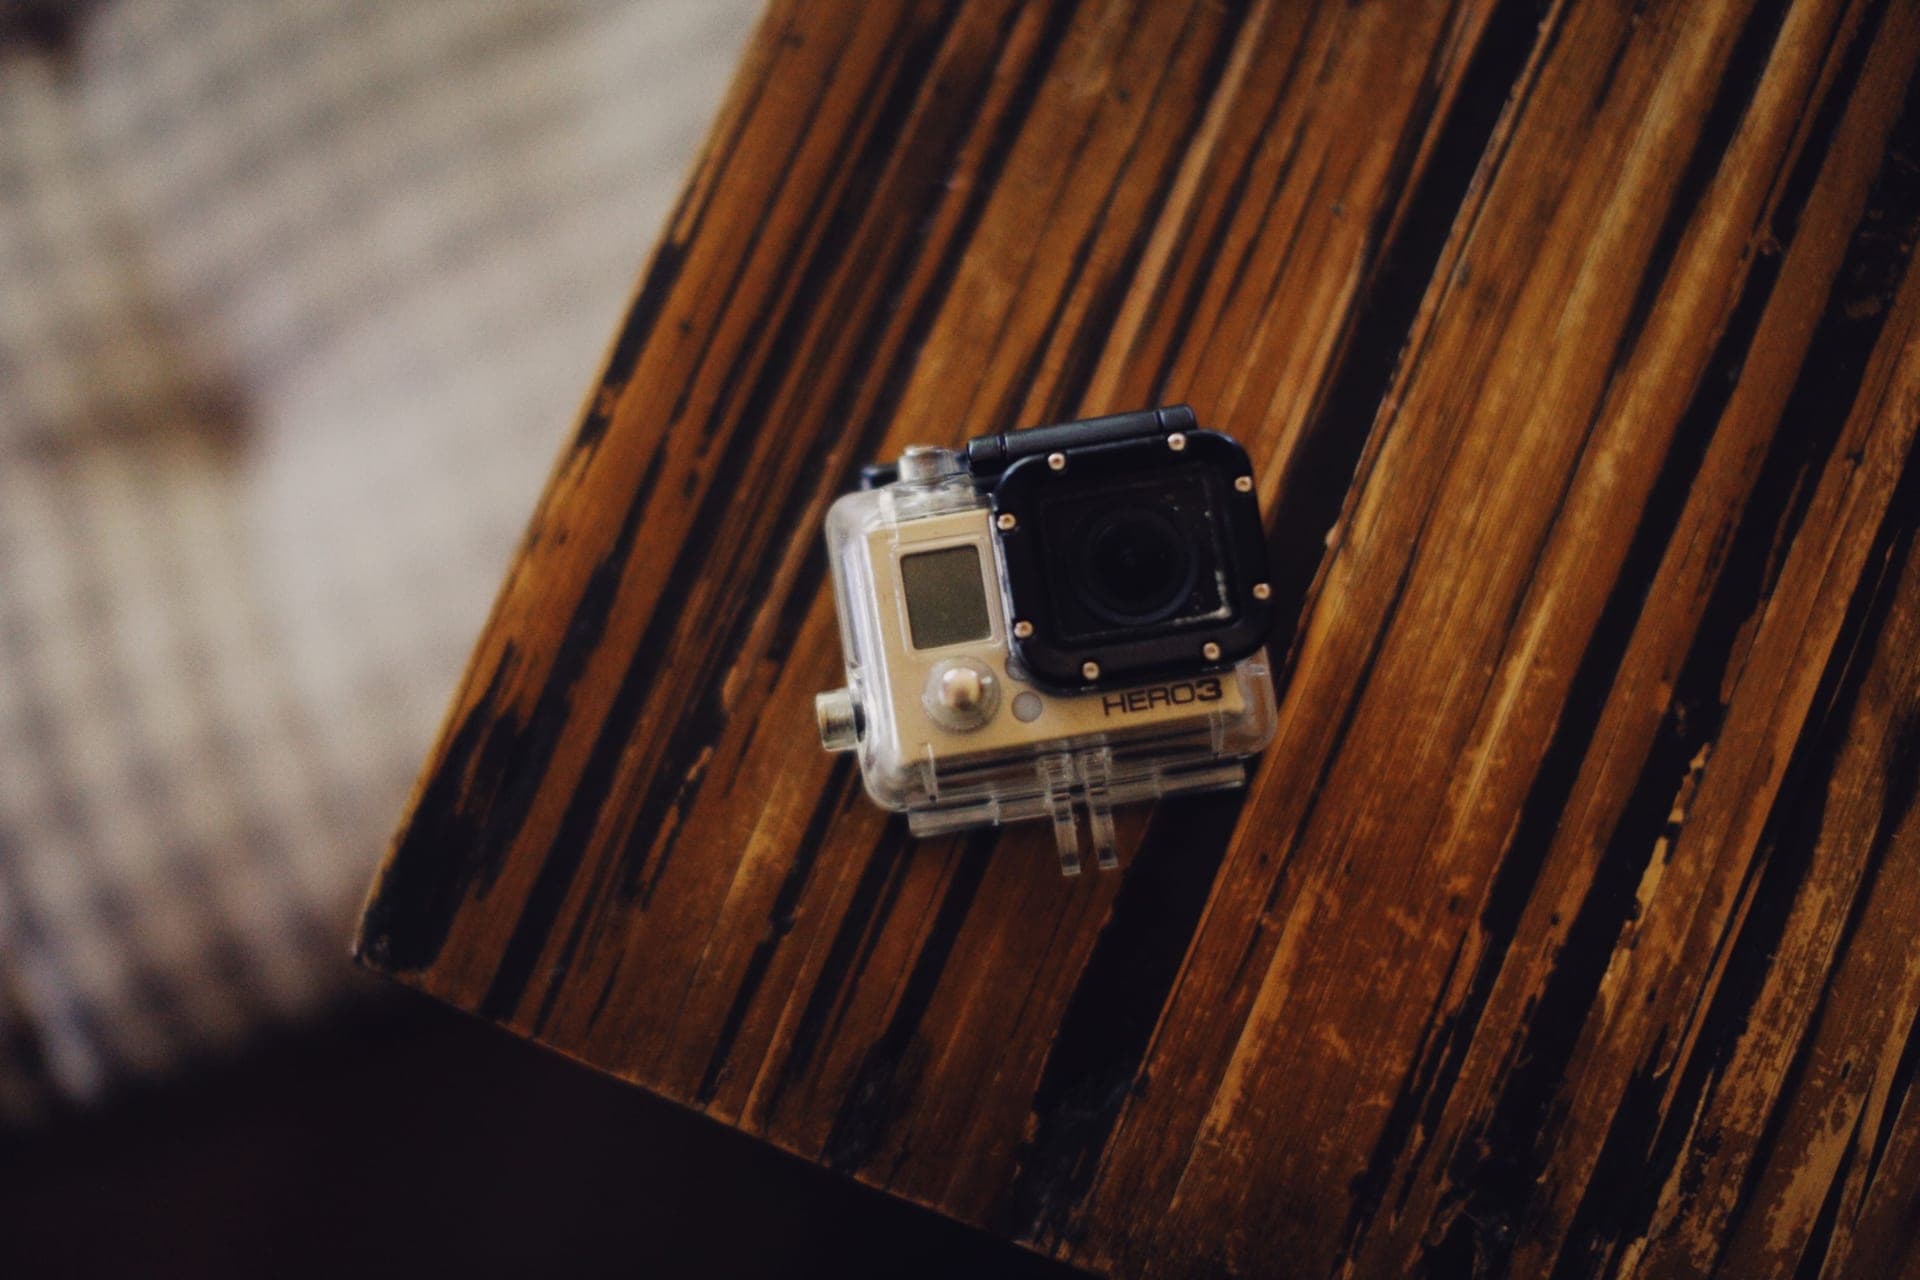
Nobody buys an action camera because they are excited about mounts, and almost everybody discovers within one trip that the mount was the decision that mattered. A great camera on a bad mount produces unusable footage. A cheap camera on a solid mount in the right position produces footage people actually watch.
Work out which of four attachment methods your boat, bar or helmet supports, then buy within that group. That is genuinely the whole decision, and it takes two minutes with the thing in front of you.
Track or rail systems are the best option when you have one. Most fishing kayaks ship with accessory track, and a track mount is rigid, repositionable and does not need drilling. See the kayak mount roundup.
Clamps attach to anything tubular within their jaw range — bars, rails, seat frames, paddle shafts. The RAM Tough-Claw covers 0.625in to 1.14in; the GoPro tube mount covers 9mm to 35mm. Measure before you buy, because those ranges are narrow and a clamp that does not close is a clamp that does nothing.
Suction works on smooth, clean, non-porous surfaces and nowhere else. GoPro publishes a 150+ mph figure for its suction cup, so wind is not the failure mode — texture, grit and temperature swings are. Suction and clamp mounts covers where each one actually holds.
Adhesive is permanent, lowest-profile and cheapest, and you get one attempt. It is the right answer for a helmet or a board, and the wrong answer anywhere you are still experimenting with angles.
Beyond attachment method, mounts split by what they are trying to show. Deck and bar mounts show the environment arriving. Chest and helmet mounts show your point of view. Booms and poles show you, in the environment, which is the shot most people actually want from a trip and the one that needs the most hardware — a 750mm boom or a 33-inch mast, mounted to something that will not flex.
Compatibility is simpler than it looks. The two-prong GoPro finger interface has become a de-facto standard that most brands either copy or adapt to, and a 1/4-20 thread covers the rest. That does not mean every accessory fits every camera — the compatibility guide works through what is genuinely universal and what quietly is not.
Material and engineering. A plastic tube clamp costs a few dollars and flexes on rough ground; an aluminum mast costs ten times that and does not. On the water, stainless hardware versus plated hardware is the difference between a mount that survives three salt seasons and one that seizes after one. You are not paying for brand so much as for the failure you are avoiding.
The other thing you are buying at the top end is adjustability that holds. A ball-and-socket arm that locks stays where you put it after two hours of vibration; a friction hinge creeps, and you find out when you review the footage and the horizon has slowly walked out of frame.
Mounting where it is convenient instead of where the shot is. Low and forward on a kayak deck is the easiest place to reach and the worst place for the lens — spray every few strokes, and a viewpoint two feet above the waterline that makes flat water look flatter. Higher and further back is almost always better, which is the core of the kayak mounting guide.
The second mistake — and this one costs cameras — is mounting without a tether. Every mount here can fail: suction releases, adhesive lifts, thumb screws back out. A leash to a deck loop turns every one of those failures into an inconvenience instead of a loss. On open water, a float as well as a leash is the difference between recovering a camera and watching it go.
02
Five mounts, sorted by how they attach — because your boat decides this, not the camera.
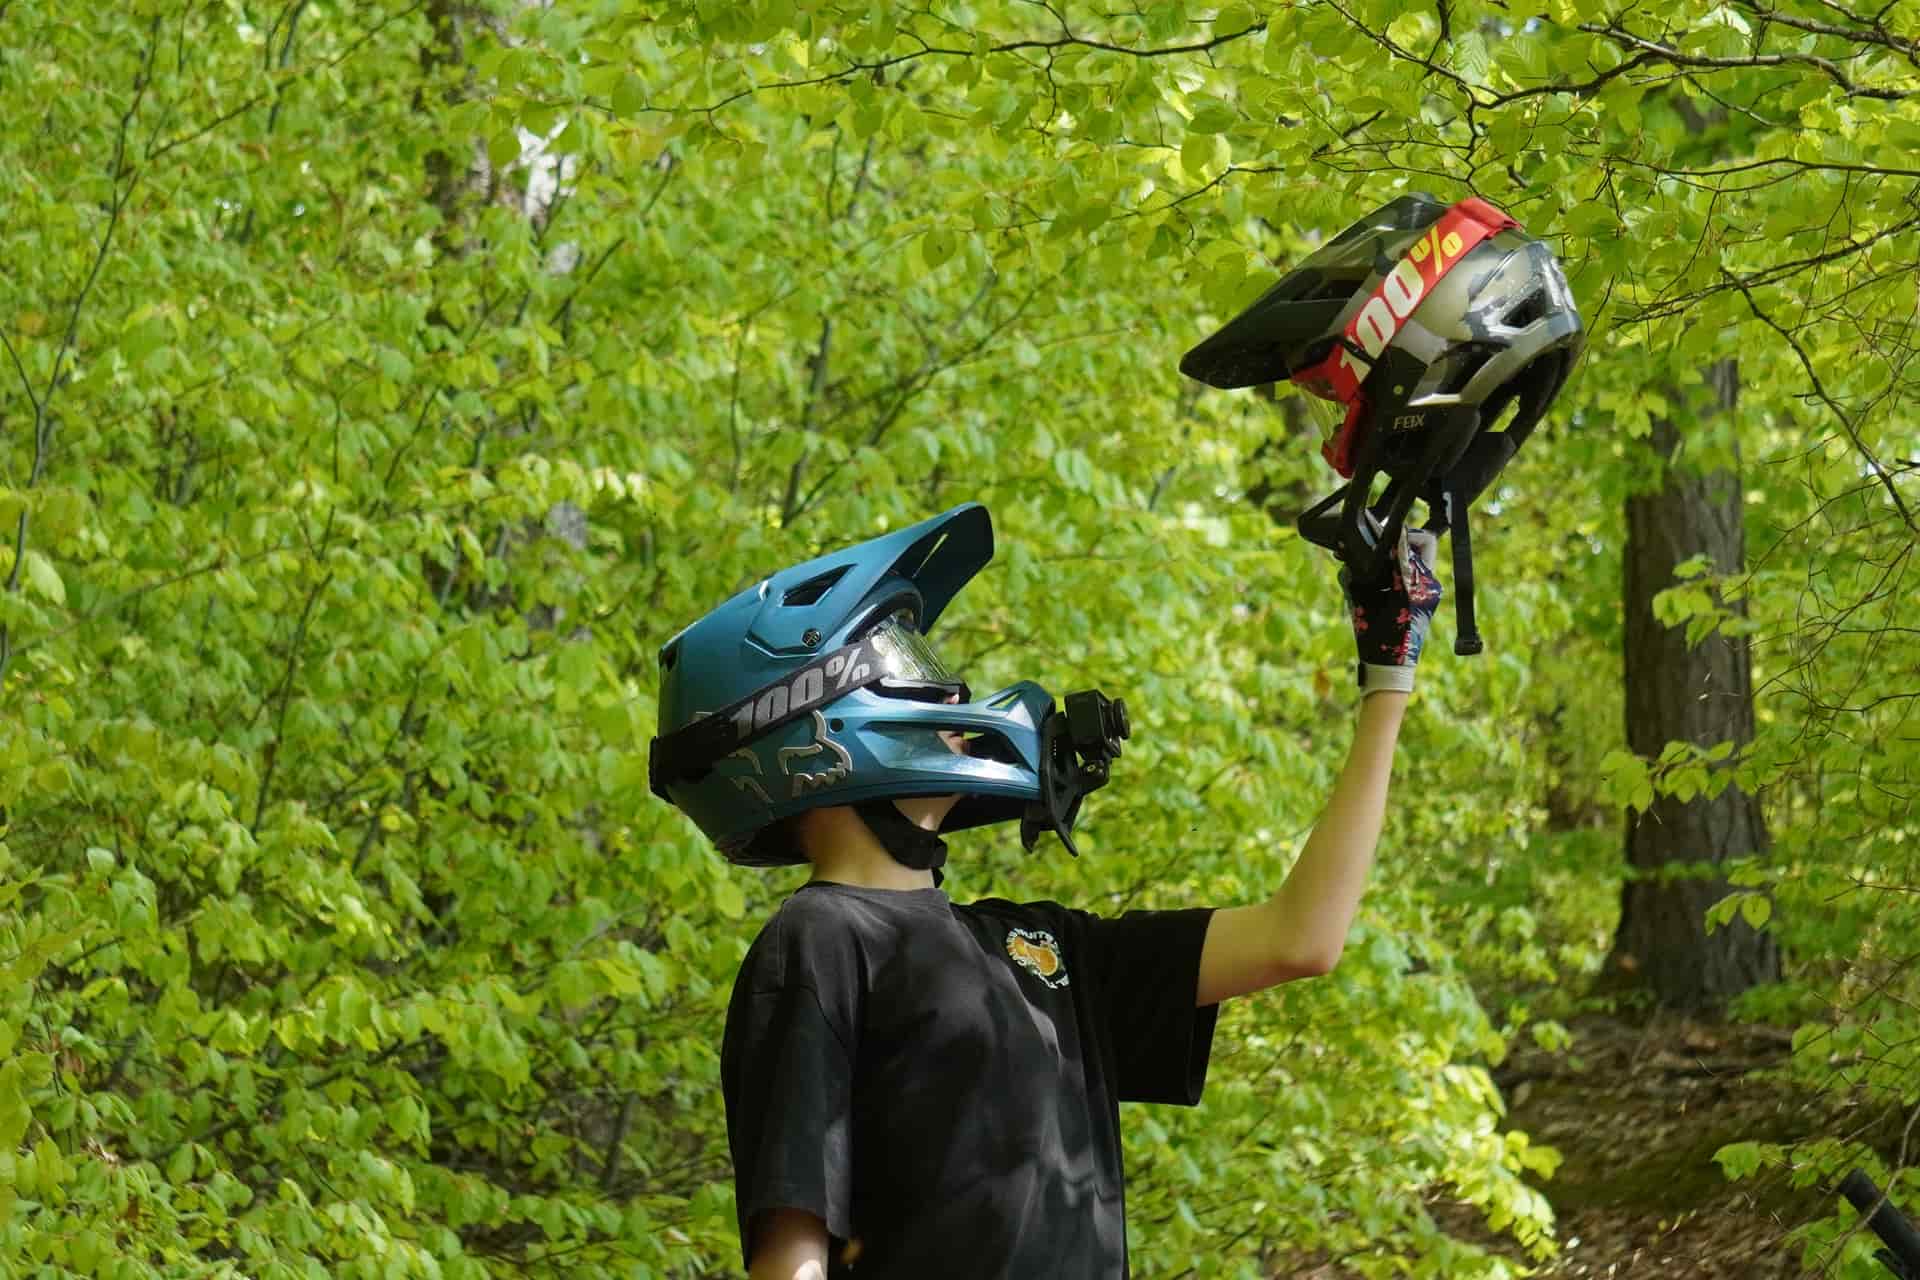
Three helmet mounting options, and the safety question that comes before all of them.

Why a chest harness beats a helmet mount for most footage, and how to set one up properly.
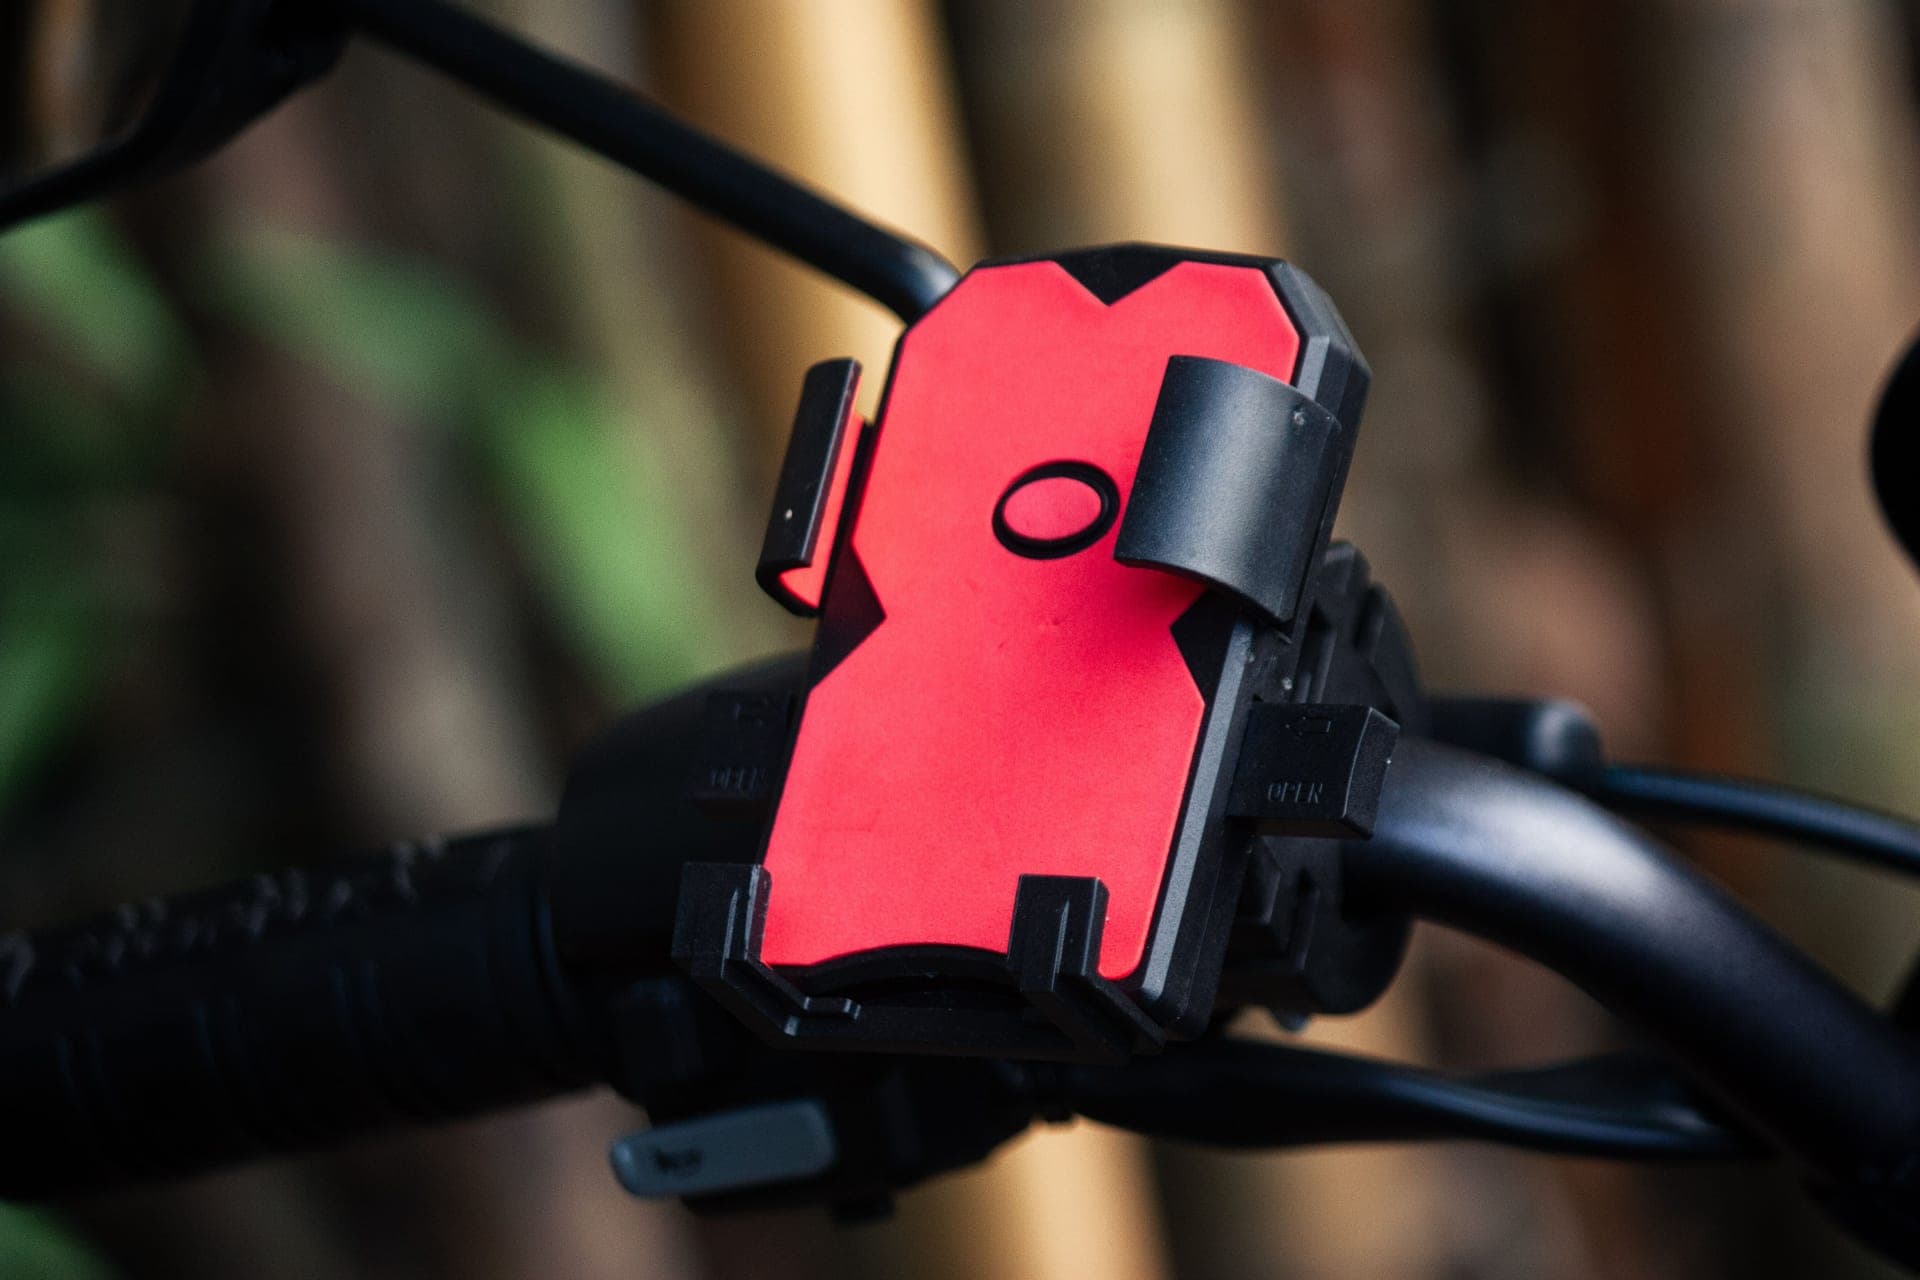
Four bike mounting options, and why the bars are usually the wrong first choice.

Five ways to get the camera away from the boat — and which of them float when you drop them.
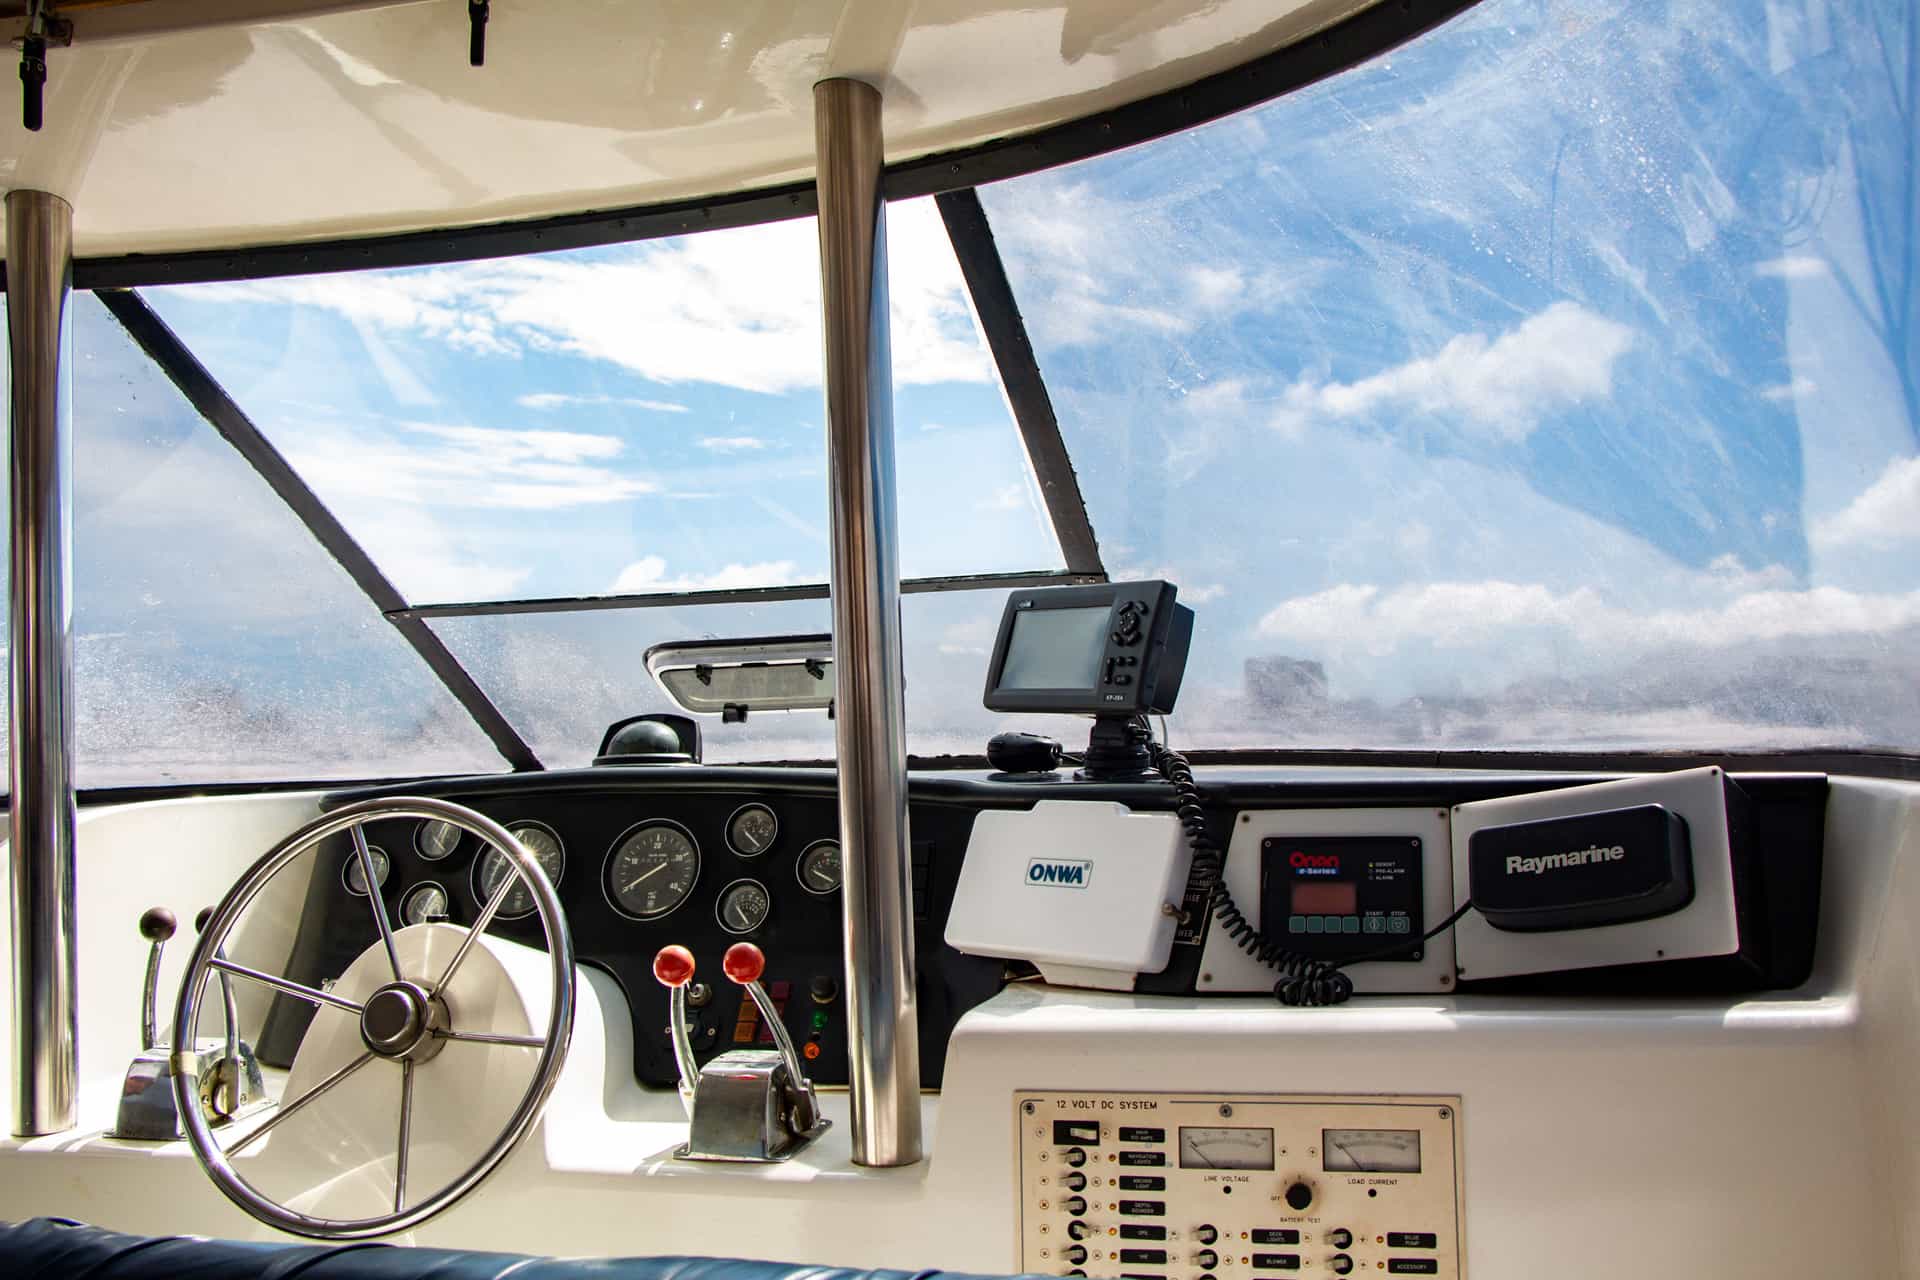
No-drill mounting: where suction holds, where clamps hold, and where each one lets go.
03
04
What fits what, what needs an adapter, and what an adapter costs in height and flex.
Position by position, with the height rule that fixes most kayak footage.
The full procedure, including the 24-hour cure and the angle test that saves a whole ride.
05
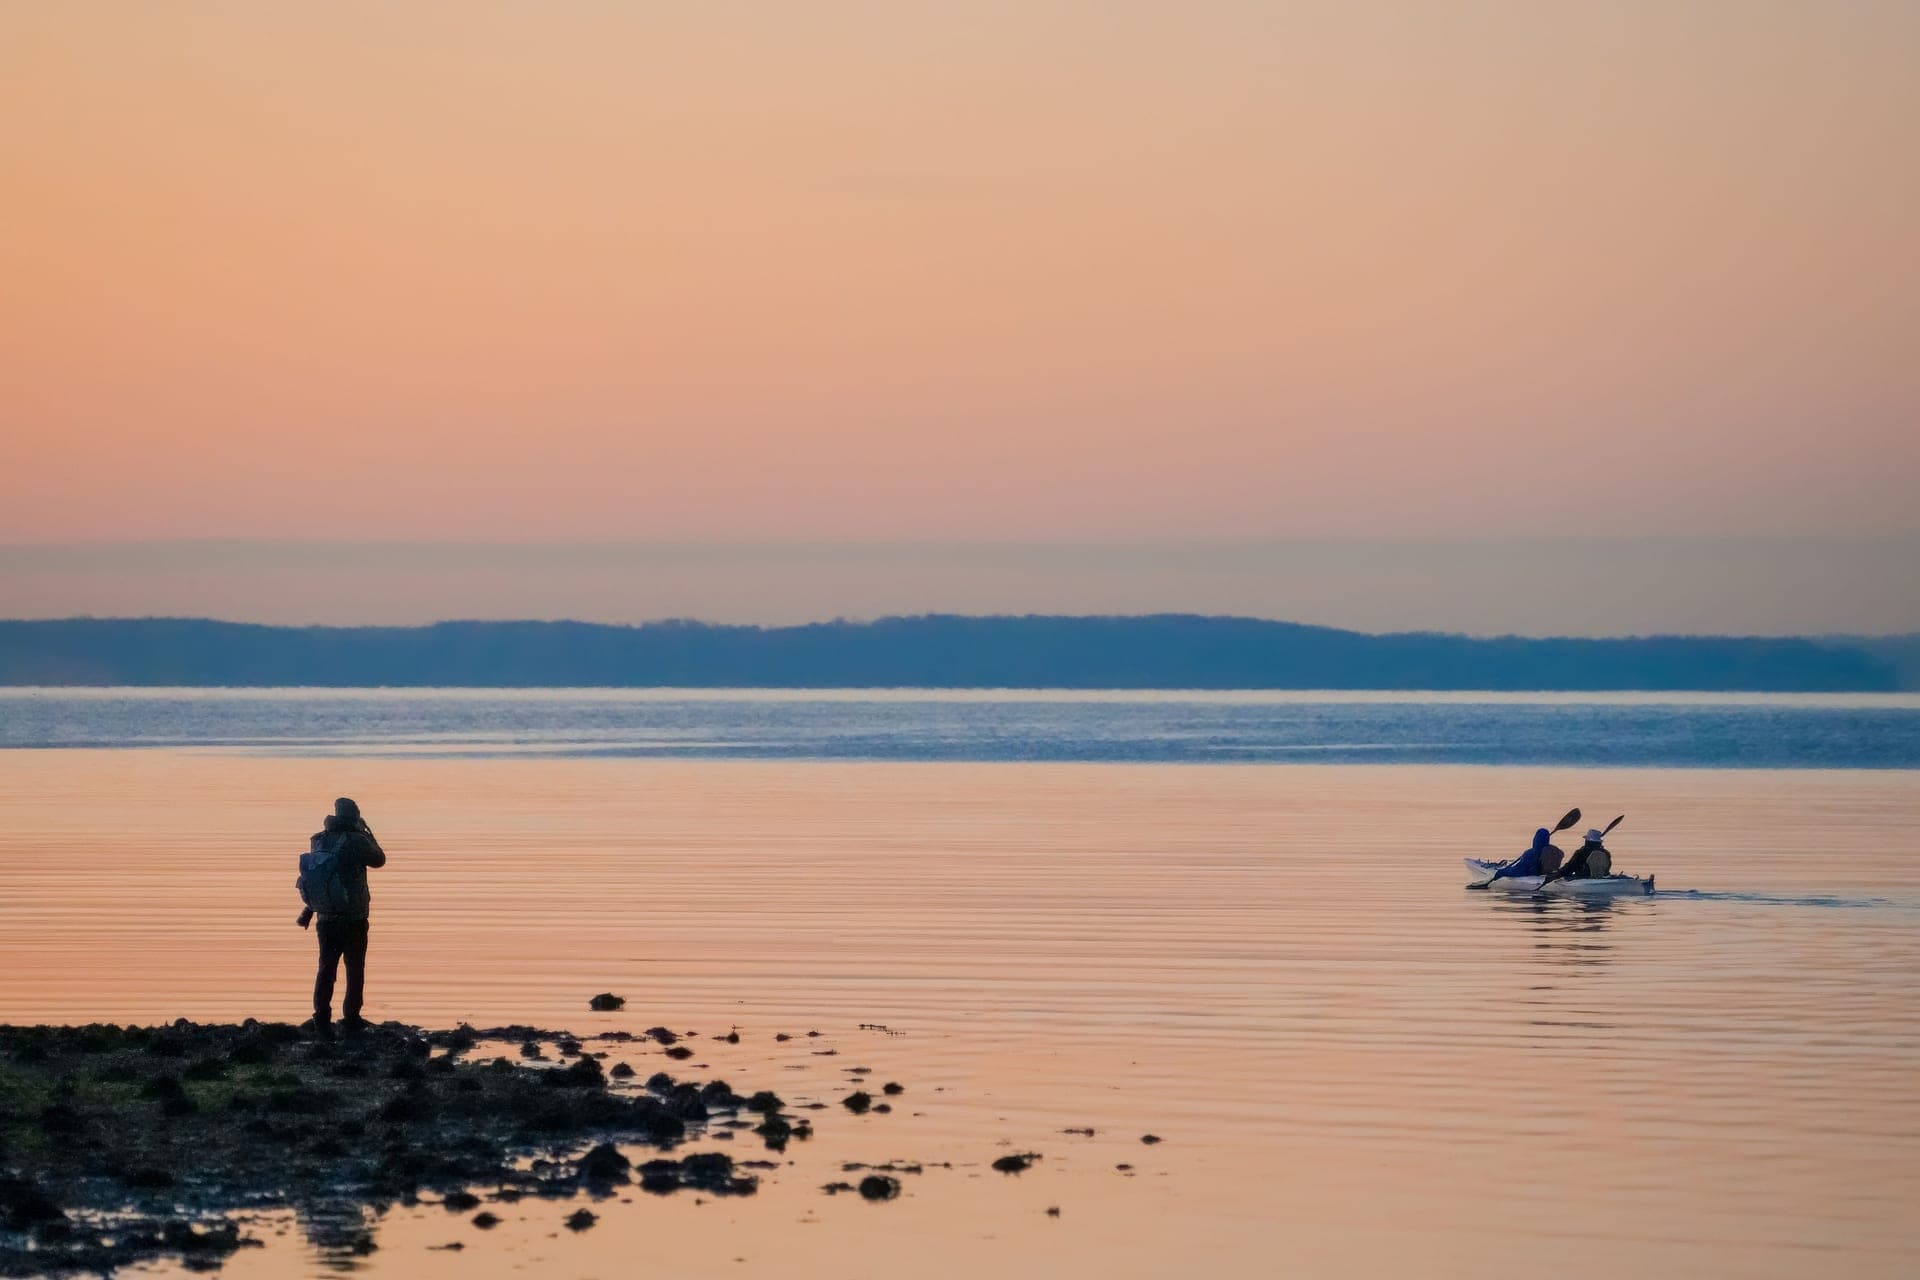
Depth ratings you can check, the fog problem nobody warns you about, and why the float matters more than the camera.

Stabilization that survives roots, batteries that survive cold, and the mount position that decides whether anyone watches the footage.
We do not lab-test cameras and we own no test units. Here is exactly what we do instead, and what we refuse to do.