How to mount a camera on a kayak
Most people mount it where it is easiest to reach. That is the one position that reliably produces bad footage.
Part of Mounts.
We earn a commission if you buy through our links, at no extra cost to you. It never changes what we recommend or the order we rank it in — how this works.
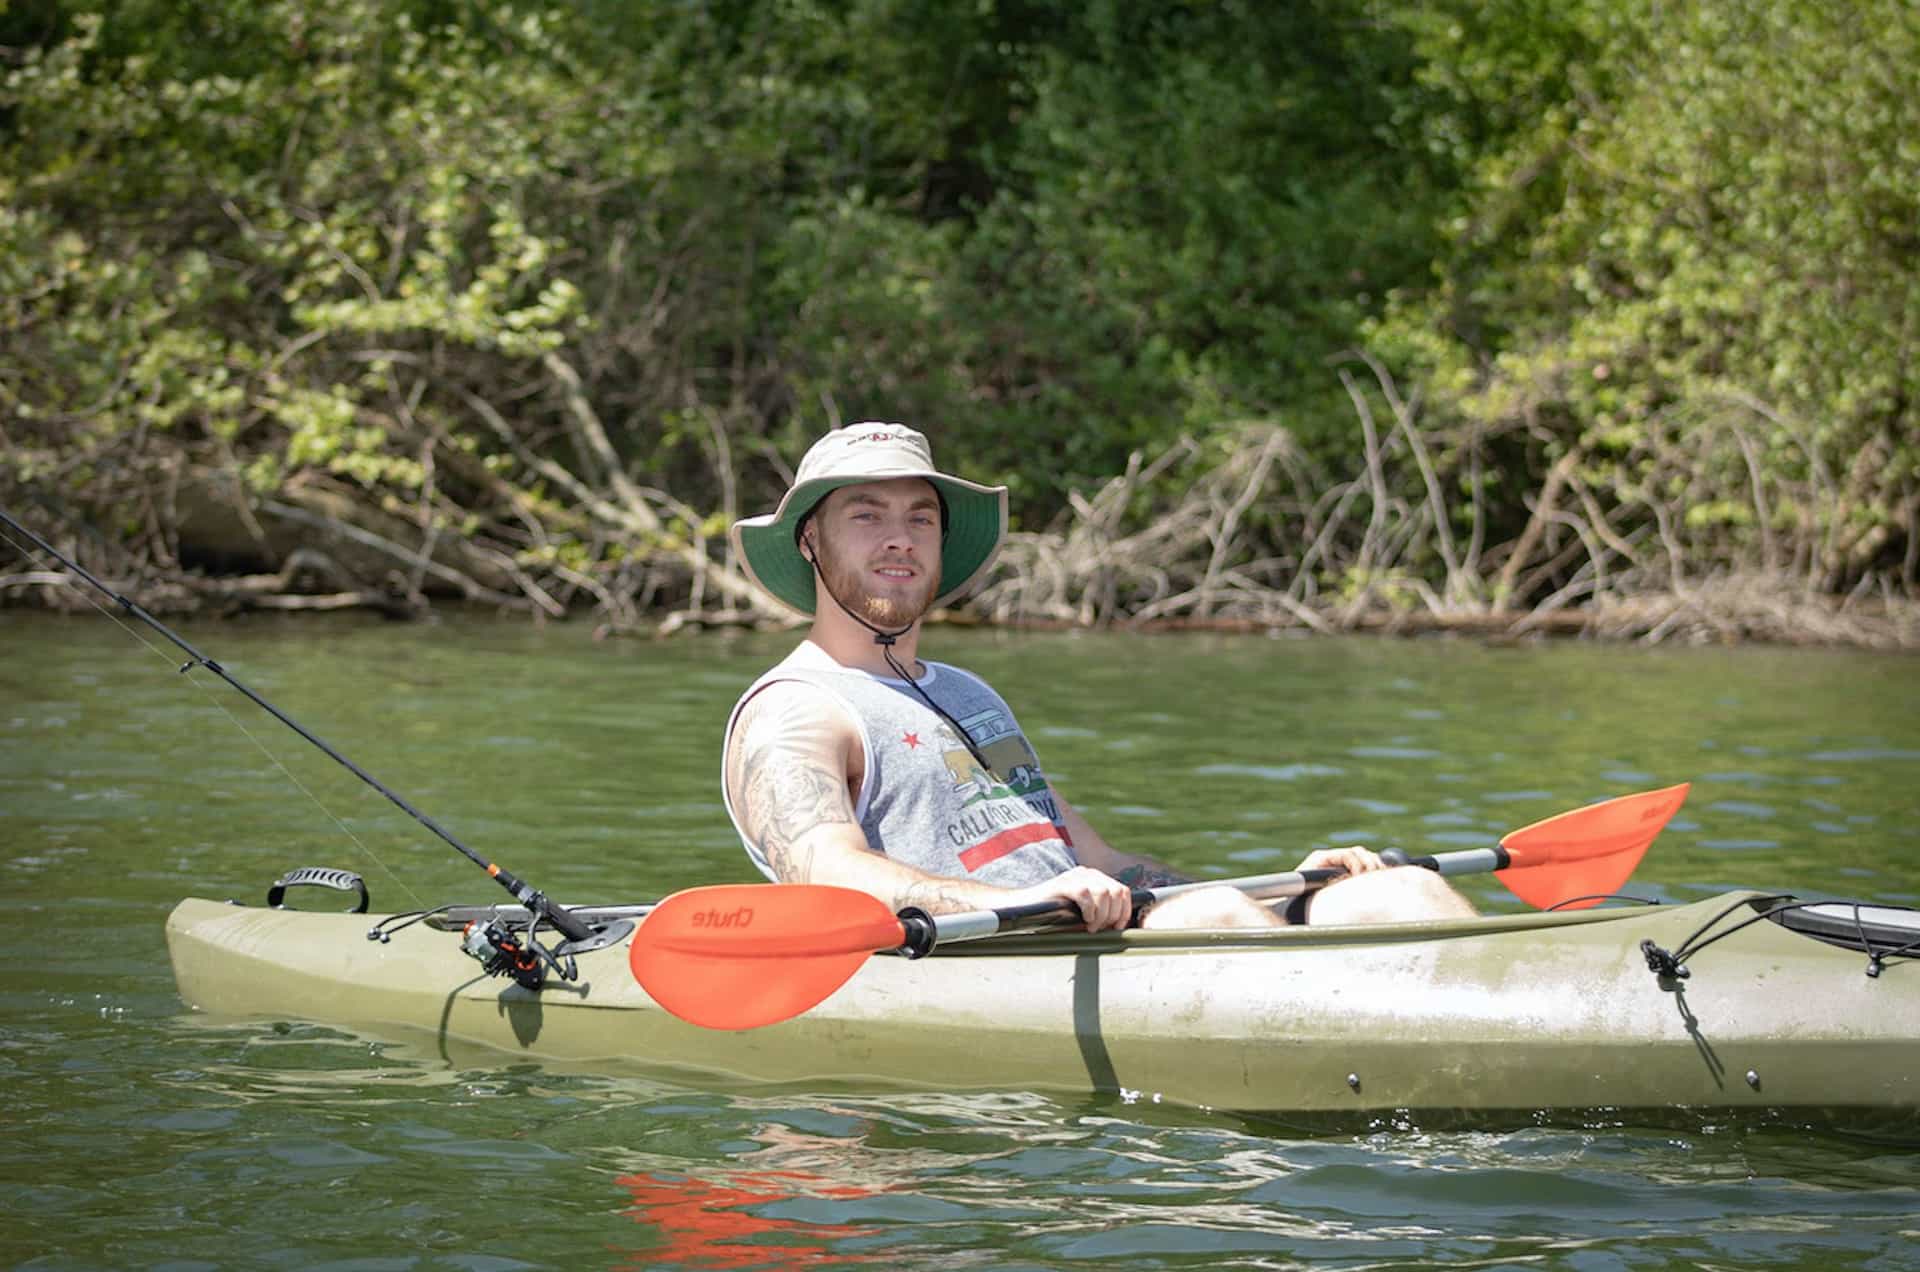
Higher and further back than instinct suggests. Low and forward is the easiest place to reach and the worst place to film from — the lens collects spray every few strokes and the viewpoint sits about two feet above the waterline, which makes flat water look flatter and hides everything happening in the boat. A 33-inch mast on an accessory track behind the seat, or a boom swung out to the side, fixes both. Whatever you use, tether the camera separately and fit a float.
01
Mounting a camera on a kayak
- 01
Work out what your boat gives you
Look for accessory track (an aluminum rail along the gunwale or in front of the seat), then for any tubular hardware — grab rails, seat frames, rod holders — then for a genuinely smooth flat deck section. Track is best, a rail is next, smooth deck is a fallback. This takes two minutes with the boat in front of you and decides everything else.
- 02
Choose height over convenience
The easiest position to reach is low and forward, and it is the worst one: the lens collects spray every few strokes and the viewpoint sits so low that flat water looks flatter. Aim to get the camera above your shoulder line, behind or beside the seat. A 33-inch mast on a track, or a boom swung out to the side, both do this.
- 03
Fit the mount and set the angle
Attach the base and point the camera slightly down and slightly toward you, so the frame includes the deck edge, the water and where you are going. A camera pointing straight ahead films a horizon and nothing else. If the boat has a high foredeck, angle up more than feels right.
- 04
Tighten harder than feels necessary
Vibration backs fasteners out over a couple of hours, and a camera that has slowly rotated is footage you cannot recover. Replace the plastic thumb screw with a metal one so you can genuinely torque it, and prefer a ball-and-socket arm that locks over a friction hinge that grips.
- 05
Attach a tether before you launch
A short leash from the camera to a deck loop or a D-ring. Every mount can fail — an unlocked track base, a backed-out screw, a released suction cup — and the leash is what turns all of those into an inconvenience rather than a loss.
- 06
Fit a float as well on open water
Every action camera sinks, and so does most of the housing range. A float on the camera itself, not on a mount you might swap off, is the difference between a two-minute recovery and a replacement purchase.
- 07
Record thirty seconds and actually watch it
Before you paddle away. Check the framing, check for spray on the lens, check the horizon is roughly level. Two minutes at the launch saves a whole trip of footage aimed at the sky or at your own deck.
- 08
Check the angle again after ten minutes
Everything settles — straps, joints, the boat trim with you in it. One glance early catches the drift before it costs you the interesting part of the paddle.
The positions, and what each one shows
| Position | Shows | Spray risk | Needs |
|---|---|---|---|
| Mast behind the seat | You, the deck, the paddle, the water | Low — it is high and behind | Accessory track |
| Boom out to the side | The whole boat in its surroundings | Low to moderate | A StarPort or hard point |
| Bow deck, facing back | You paddling, the classic angle | High — it is low and forward | Adhesive or a clamp |
| Bow deck, facing forward | Where you are going | Very high | Adhesive or a clamp |
| Rail or rod holder clamp | Side-on view of the boat | Moderate | Tubing in the jaw range |
| Chest mount (on you) | The paddle entering the water | Moderate | A harness, no boat hardware |
| Paddle shaft | Blade-level water, the boat behind | Constant — it goes in | A tube clamp |
If you take one thing from this page: the mast position and the chest position produce the two shots that make kayak footage read as kayaking, and neither is the position most people choose first.
Why higher is better, specifically
Three reasons, and they compound.
Spray. On a sit-on-top in any chop, a lens near deck level gets hit every few strokes. Not enough to trouble the waterproof rating, more than enough to ruin the shot — a bead of water on the front element is the single most common reason a clip is unusable. Height and distance from the bow both help enormously.
Perspective. A camera at deck level sits maybe two feet above the water. From there the surface compresses into a flat plane and any swell disappears. A camera at head height or above sees the texture of the water, which is most of what makes a lake look like a lake.
Context. Low and forward frames bow and horizon. Higher and behind frames you, the boat and the water together — a shot with a person in it, which is always more interesting than a shot of a place.
Two cameras, if you have two
The fastest improvement available to kayak footage is not a better camera, it is a second angle. Cutting between a wide shot from a mast and a close chest-mounted shot of the paddle turns a single continuous take into something with rhythm.
The second camera does not need to match. A budget body or an older camera is entirely sufficient for ten seconds of a different view.
What to do before every launch
A short list that prevents almost every common failure.
- Check the door is fully latched — the two-stage latch looks closed when it is not.
- Wipe the lens, and put the cloth somewhere you can reach it from the seat.
- Tug the mount hard. Then tug the camera in the mount.
- Confirm the tether is clipped to something that is attached to the boat.
- Record thirty seconds and watch it back.
And afterwards, if you paddled in salt: soak the camera and the mount separately while the salt is still wet. The salt routine takes five minutes and is the difference between hardware that lasts two seasons and hardware that lasts eight.
02
The hardware for each approach
A mast if you have track, a clamp if you have a rail, adhesive if you have neither.
- 33in (4.25" W x 36.5" H x 2.0" D)
- LockNLoad, 360-degree rotation
- GoPro interface + 1/4-20 adapter
- 9.0
- 8.5
- 9.0
- 9.0
- 8.5
YakAttack PanFish Pro Camera Mount
YakAttack
Aluminum, 33 inches tall, mounts to almost every kayak track system, and floats if you drop it in.
Kayak fishing, where the camera has to see the rod tip and the water
- Rigid aluminum construction specifically to reduce camera shake
- LockNLoad base gives full 360-degree rotation while staying locked to the track
- Compatible with YakAttack MightyMounts and GearTrac plus most Scotty, RAM and YakGear tracks
- Made from marine-grade materials, and it floats if it goes over
- FeelFree, 3 Waters and Jonny Boat kayaks need a separate adapter
- 33 inches is a lot of mast in a crosswind
- Costs noticeably more than a plain track mount
Specs from YakAttack PanFish Pro published specifications.
- 0.625" to 1.14" outer diameter
- High-strength composite, stainless hardware
- Ball adapter, double socket arm, clamp base
- 8.5
- 7.5
- 8.5
- 9.5
- 7.0
RAM Tough-Claw Clamp Mount with Action Camera Adapter
RAM Mounts
Clamps to anything between 0.625in and 1.14in and does not care whether it is round, square or odd — the mount that solves the boats with no track.
Rails, bars, seat frames and anything you cannot or will not drill
- Fits round, square and odd-shaped rails in the same jaw
- Stainless hardware is the right call for anything that gets rinsed
- The RAM ball-and-socket arm holds an angle far better than a friction hinge
- No drilling, so it moves between boats, bikes and rails
- 0.625in to 1.14in is a narrow band — measure before you buy
- The composite version is not the stiffest option in the RAM range
- Three separate pieces means three things to lose
Specs from RAM Mounts Tough-Claw with Action Camera Adapter specifications.
- Curved and flat pads
- Industrial-strength, waterproof
- Heat with a hair dryer, then peel
- 8.5
- 8.0
- 8.5
- 5.0
- 7.5
GoPro Curved + Flat Adhesive Mounts
GoPro
Industrial-strength waterproof adhesive pads — the cheapest permanent mount, and the one you have to get right the first time.
Boards, hulls, helmets and anywhere a clamp has nothing to grip
- Waterproof adhesive designed for exactly this job
- The lowest profile of any mount here — nothing to catch a line or a branch
- Both curvatures in the pack, so you are not guessing which one fits
- Cheap enough to leave pads semi-permanently on several boats
- One shot at placement; repositioning means a new pad
- Needs a clean, dry, above-freezing surface and 24 hours to cure properly
- Removal takes heat, and can mark some finishes
Specs from GoPro Curved + Flat Adhesive Mounts product page.
03
How we picked
We do not lab-test, bench-test or dive-test cameras, and we do not own test units. What we do instead is read the manufacturer's published specifications, read the independent reviews that genuinely do test, read owner reports for the failure modes specs never mention — fogging, salt corrosion, cold battery collapse, mount slippage — and then weight all of it for mounts used on lake and trail. Where a number is not published, the page says “not published” rather than filling the cell.
The full method, including what we refuse to do, is on the editorial policy page.
- 35%Hold under load
- Vibration, chop and a wet hull are what actually break a mount.
- 25%Fit range
- Rail width, bar diameter, helmet curve — the spec that decides whether it fits at all.
- 20%Water and salt tolerance
- Stainless vs plated hardware, and what happens after a season of rinses.
- 12%Adjustability
- Getting the angle right on the water, with cold hands.
- 8%Tether point
- A mount with nowhere to clip a leash is a mount that loses cameras.
04
Questions people actually ask
01Where is the best place to mount a GoPro on a kayak?
On a mast or boom above your shoulder line, behind or beside the seat. That keeps the lens out of the spray and gives a viewpoint that includes you, the boat and the water — which is the shot people actually want.
02Can I mount a camera on a kayak without drilling?
Yes — a track mount if your boat has accessory rail, a clamp on any rail or rod holder, or an adhesive pad on a smooth deck section. Drilling is only needed for a StarPort or a permanent hard point.
03Why is there always water on my lens?
Because the camera is mounted low and forward, where bow spray lands every few strokes. Move it higher and further back, and carry a cloth you can reach from the seat.
04Do I need a tether if the mount is solid?
Yes. Track bases can be left unlocked, thumb screws back out under vibration, and suction releases in the heat. A short leash to a deck loop turns any of those into an inconvenience.
05What about a DIY kayak camera mount?
A clamp on existing hardware is usually better than anything improvised, and it costs less than a lost camera. If you do improvise, the two non-negotiables are that it cannot rotate under vibration and that the camera is tethered independently of it.
06Should the camera face forward or back?
Back, most of the time. A forward-facing camera films a horizon; a rear-facing one from a mast films you paddling, which is the footage worth keeping.
05
Read this next
Best kayak camera mounts
The hardware, ranked, for each attachment method.
Track vs clamp vs suction
Which method your boat actually supports.
Best action cameras for kayaking
The camera half of the decision.
Floats and tethers
The step at the end of this guide, in full.
How to film yourself paddling
Once it is mounted, what to actually do with it.
06
Sources
- YakAttack PanFish Pro Camera Mount specifications
- RAILBLAZA Camera Boom 600 R-Lock specifications
- GoPro Curved + Flat Adhesive Mounts product page
- RAM Mounts Tough-Claw with Action Camera Adapter specifications
Specifications are quoted from the manufacturer pages above as they read on the dates shown. Where a figure is not published, this site says so rather than estimating one. We have not tested these products.