Salt water care, and the rinse that actually works
Salt does not flood a camera. It seizes it, one season at a time — and the fix takes five minutes while the salt is still wet.
Part of On the Water.
We earn a commission if you buy through our links, at no extra cost to you. It never changes what we recommend or the order we rank it in — how this works.
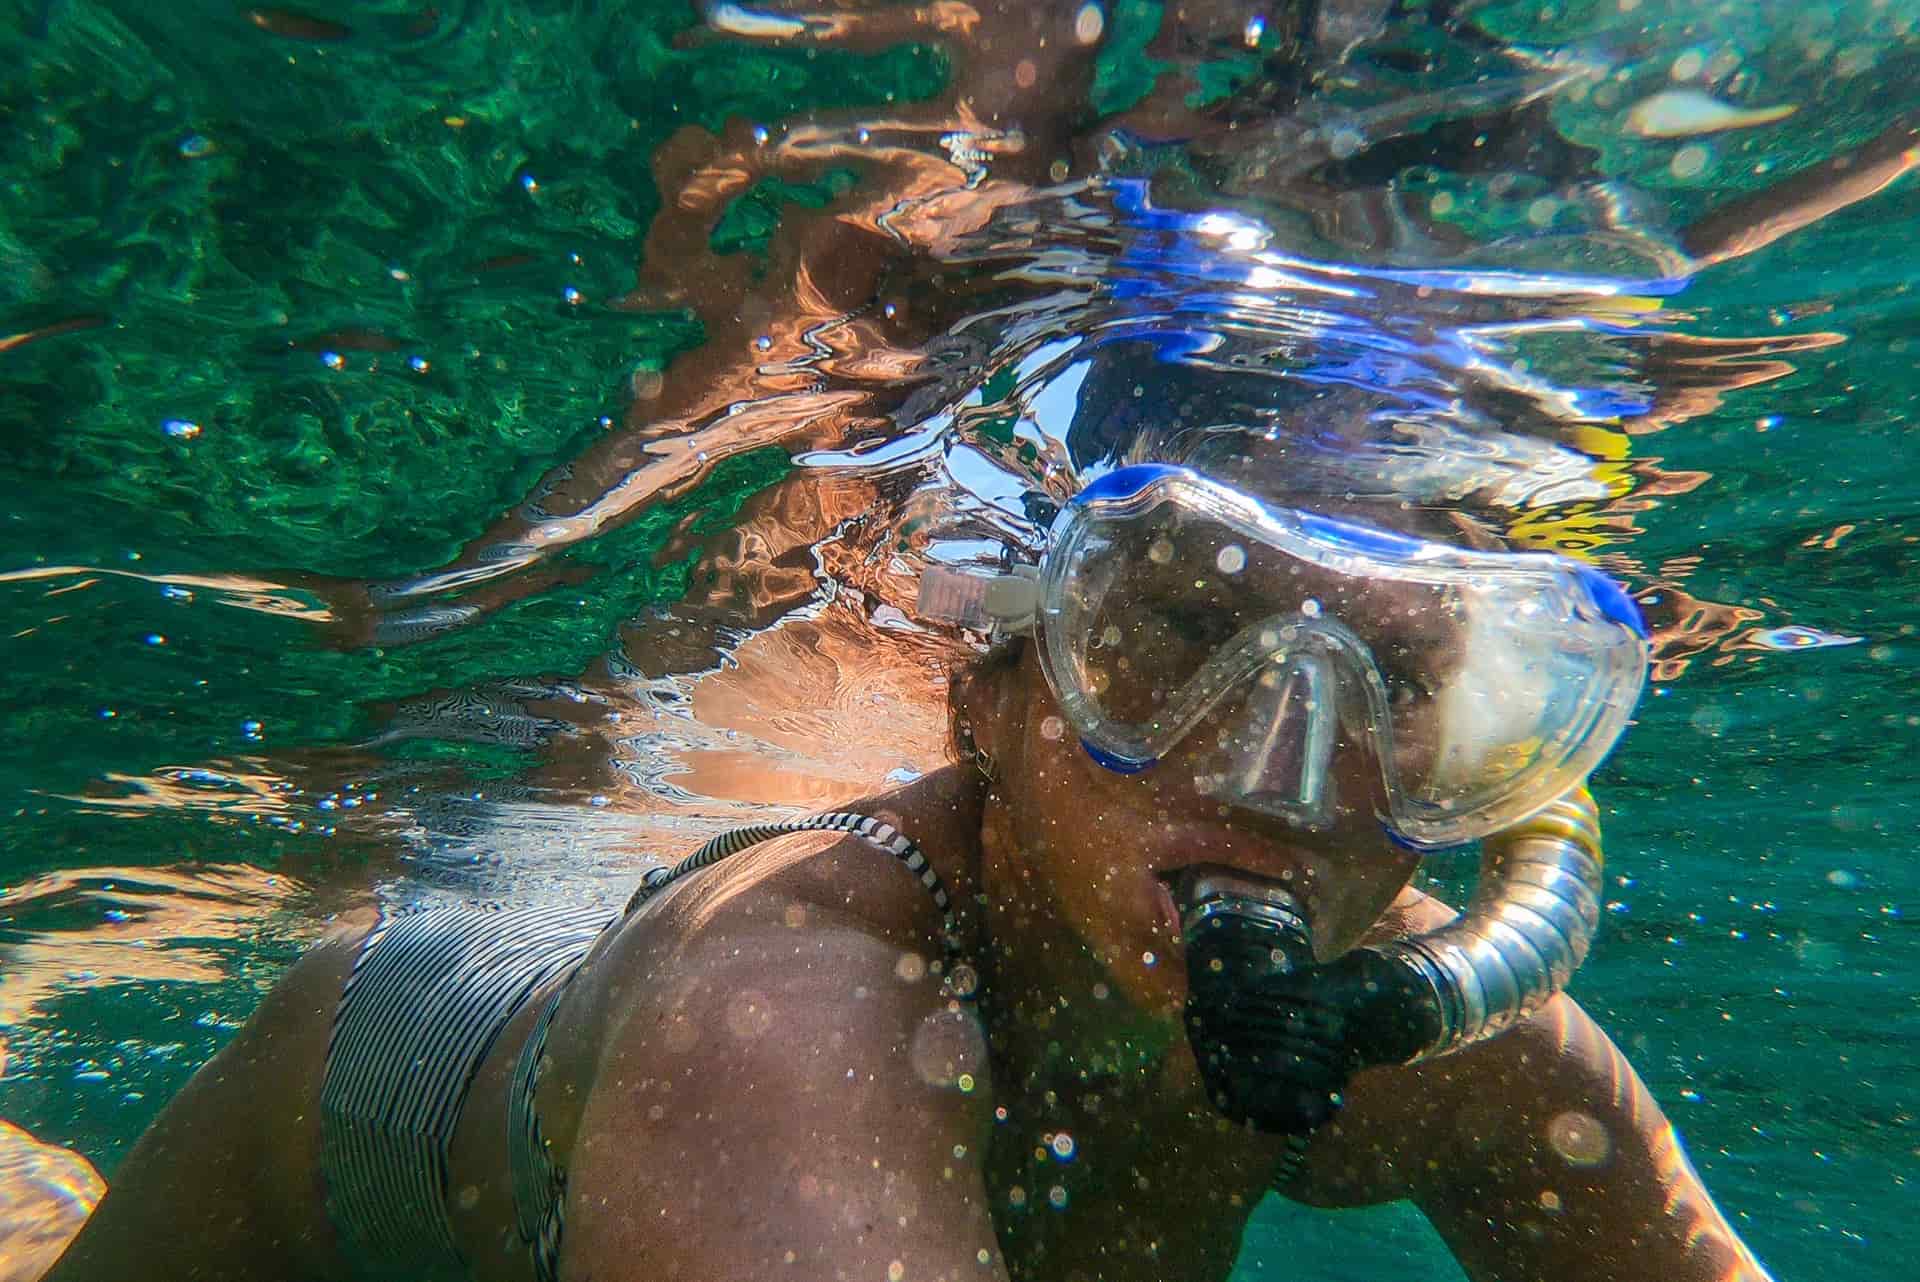
Soak it, do not just rinse it — and do it while the salt is still wet. Submerge the closed camera in fresh water for 10 to 15 minutes, working every button and latch underwater, then dry the outside completely before opening any door. Soak mounts and housings separately with the same routine. Salt that dries into a seal or a thread has already crystallized, and a quick rinse under a tap moves it around rather than removing it.
01
How to clean an action camera after salt water
- 01
Do it while the salt is still wet
The window is the whole trick. Salt that has dried into a seal or a thread has already crystallized and will not simply rinse away. Deal with the camera before it dries — ideally within the hour, and before you sit down for lunch.
- 02
Soak, do not rinse
Submerge the whole camera, closed, in a container of fresh water for 10 to 15 minutes. A running tap moves salt around the surface; a soak dissolves salt out of the seams, the button recesses and the mount threads where it actually does damage.
- 03
Work the buttons underwater
While it is submerged, press every button and work every latch fifteen or twenty times. Salt collects in the travel of a button, and this is the only way to flush it out. Do the same with any mount fingers and thumb screws.
- 04
Soak the mounts and the housing separately
Take the camera off the mount first. Threads, thumb screws and quick-release bases hold more salt than the camera does, and a seized thumb screw is the most common salt casualty of all. Housings get the same treatment, with the door open once the outside is clean.
- 05
Dry the outside completely before opening anything
Shake the water out of the recesses, then dry the camera with a soft cloth — paying particular attention to the door seam. Opening a wet camera lets water sitting in the recess run straight into the battery bay, which is a self-inflicted flood.
- 06
Open the doors and let it air dry
Once the outside is dry, open the battery and card doors and leave it somewhere with moving air for a few hours. Not on a radiator, not in direct sun, and not in a sealed bag with silica — the seals do not enjoy heat, and trapped moisture needs somewhere to go.
- 07
Inspect the seals before the next trip
Look at the door gasket in good light. It should be clean, seated in its groove and free of nicks or grit. A gasket with a white salt line on it has not been soaked properly. Housing O-rings come out, get wiped, and go back in dry and correctly seated.
Why salt is different from water
A waterproof rating is about keeping water out. Salt damage happens entirely on the outside, which is why a perfectly sealed camera can still be ruined by it.
As salt water evaporates it leaves crystals behind, and they form wherever the water was sitting: in the door gasket groove, in the travel of a button, in the threads of a thumb screw, in the hinge of a latch, around a lens cover ring. Those crystals are hard and abrasive. Every time the part moves afterwards, it grinds.
The result is not a dramatic failure. It is a button that gets stiff, then stops responding. A thumb screw that will not come undone. A lens cover that will not unscrew when you want to replace it. A door gasket with a permanent compression line that no longer seals reliably — which is how a salt-used camera eventually does flood, months after the salt got in.
Soak versus rinse, and why the distinction is not pedantry
Holding a camera under a running tap for thirty seconds feels thorough. It mostly is not, because the places salt hides are recesses that flowing water passes over rather than enters.
A soak works by diffusion: dissolved salt moves out of the recesses into the surrounding fresh water over several minutes. That is why the time matters and why working the buttons while it is submerged matters — each press pumps fresh water through a gap that a tap never reaches.
If you are on a boat with limited fresh water, a sealed container with a couple of liters in it is enough for a camera and its mounts. It is worth carrying.
The parts people forget
Mount threads and thumb screws. The single most common salt casualty. Take the camera off the mount, soak both, and work the screw in and out underwater.
The quick-release base. The sliding mechanism holds salt beautifully and is fiddly enough that nobody cleans it. It is also what fails first.
Filter frames. If you use dive filters, the frame that swaps them is a small mechanism full of small gaps.
The housing latch. Housings get soaked with the door closed first, so the outside and the latch mechanism are clean, and only then opened.
Anything aluminum. Extension poles and masts corrode at the section joints, and a seized pole section is permanent. Extend them fully, soak them, then dry them extended.
What not to do
Do not use soap, solvents or alcohol on the seals. They dry rubber out, and a dried gasket is a leaking gasket. Fresh water is the correct and complete answer.
Do not put it in direct sun or on a heater to dry. Heat ages seals, and rapid drying can leave salt behind rather than carrying it away.
Do not open a wet camera. Water sitting in the door recess runs into the battery bay the moment the seal breaks. Dry the outside first, every single time.
Do not soak with the door open. That is not a rinse, that is a flood. Doors stay closed until the camera is dry on the outside.
Does any of this apply to fresh water?
Much less. Fresh water leaves no crystals, so a fresh-water day needs only a quick rinse and a proper dry. Two things still apply: grit is grit regardless of salinity, so sandy launches deserve a rinse, and drying before opening is always the rule.
The exception is lakes with a lot of fine silt, which behaves like sand in a seal. If the water was cloudy, treat it like salt.
02
The two things worth owning if you shoot in salt
Neither is a cleaning product. A serviceable housing and fresh inserts are what let a salt-used setup keep working — the rinse itself needs nothing but fresh water.
- 196ft (60m)
- HERO13, 12, 11, 10 Black
- Flat glass front
- 9.5
- 8.5
- 8.0
- 7.0
- 6.0
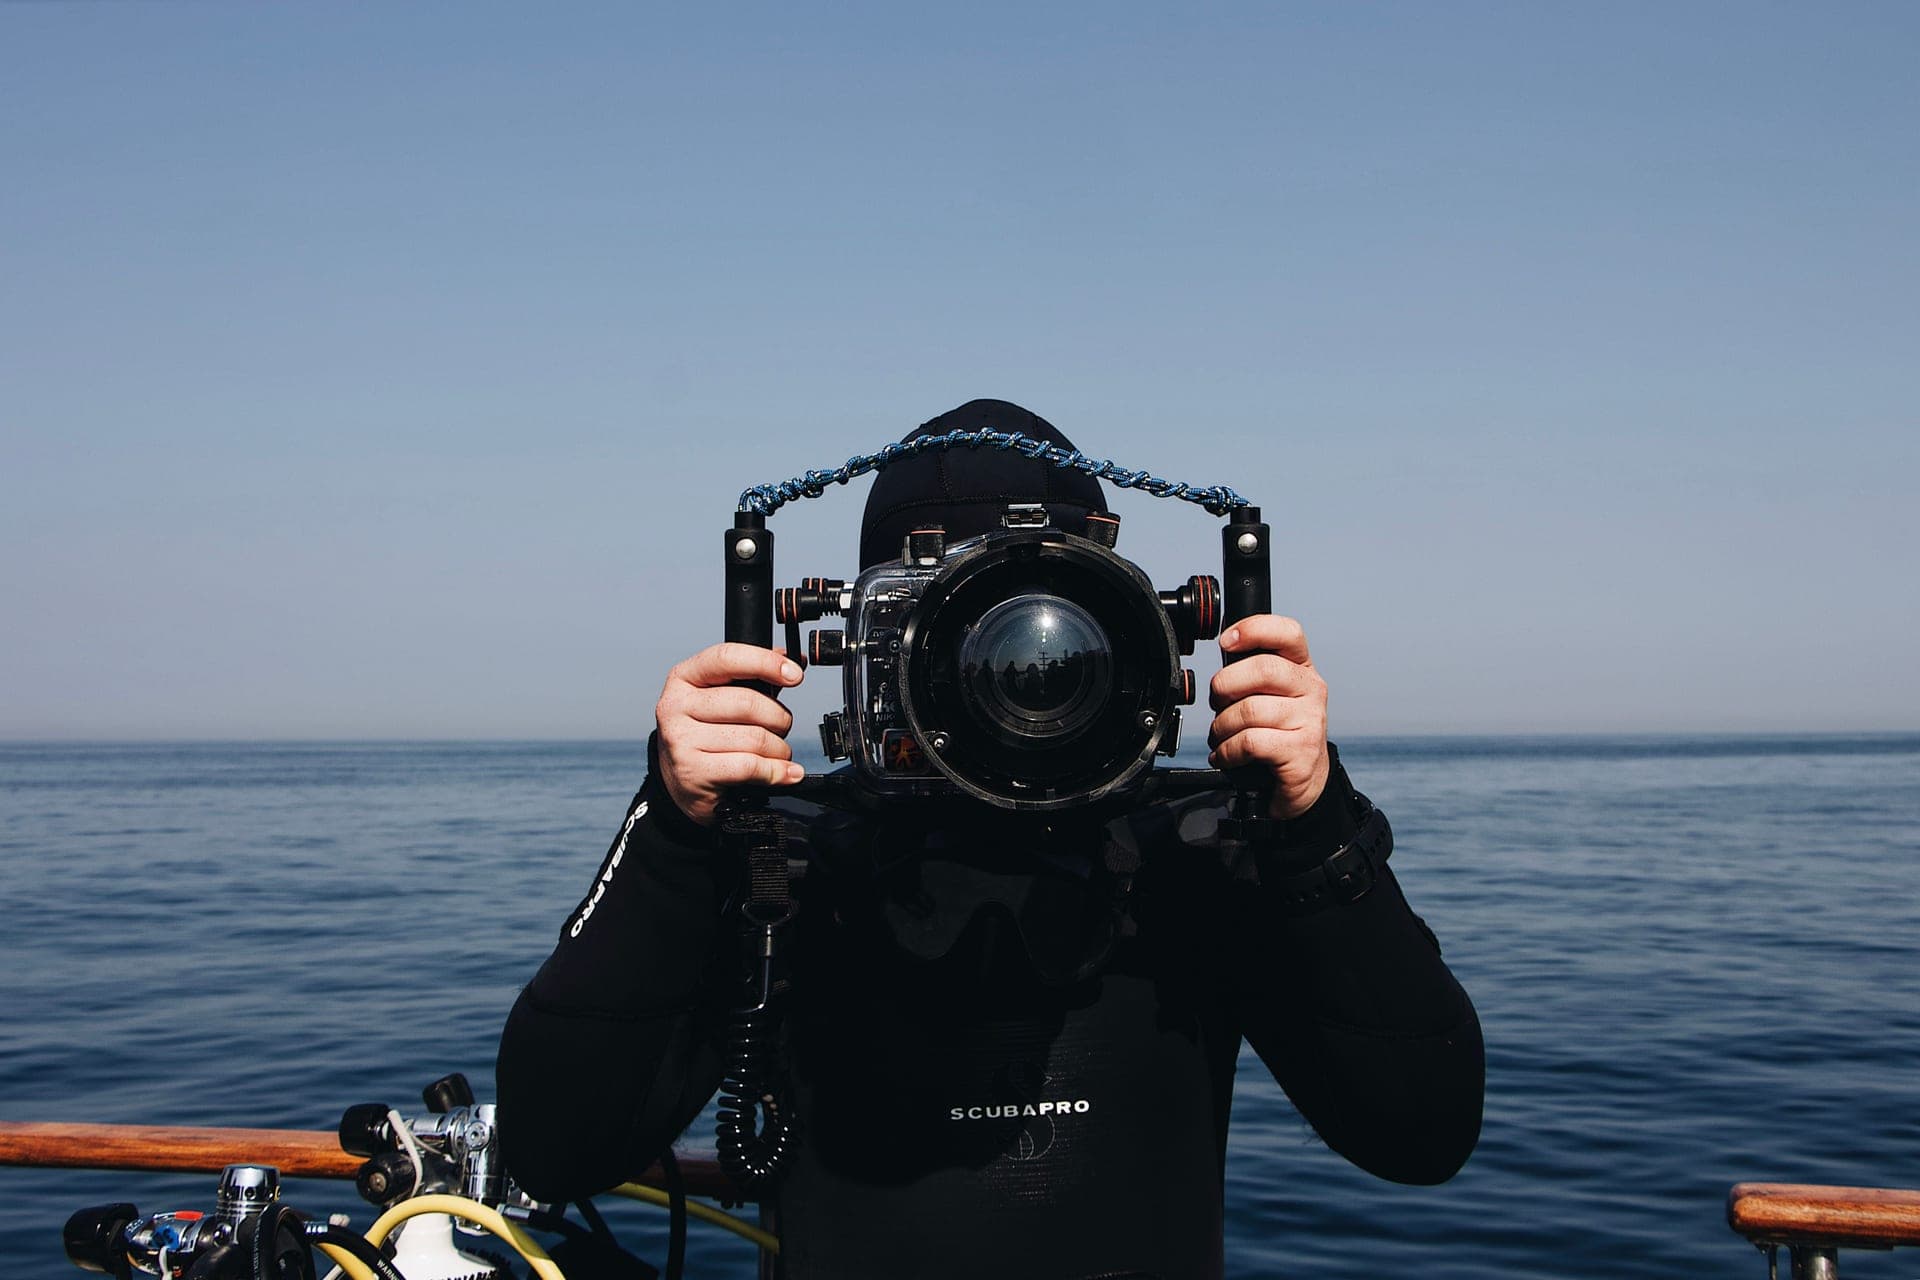
GoPro Protective Housing
GoPro
196ft (60m) rated, with a flat glass lens — the piece that turns a 33ft camera into a diving camera.
Anything below about 30ft, and any camera going anywhere near a tank
- 60m is six times the HERO13 Black's bare rating
- Flat glass lens rather than plastic, so the image holds up
- Includes a skeleton backdoor for better audio when you are not underwater
- Also the best impact protection the camera can wear
- Muffles audio badly with the sealed door — that is physics, not a defect
- Sealed air plus a temperature change is exactly how fogging happens; budget for inserts
- Buttons are harder to work with gloves on
Specs from GoPro Protective Housing product page.
- 15 inserts
- Reusable up to four times
- 300°F for five minutes, then an airtight bag
- 8.5
- 8.0
- 9.5
- 9.0
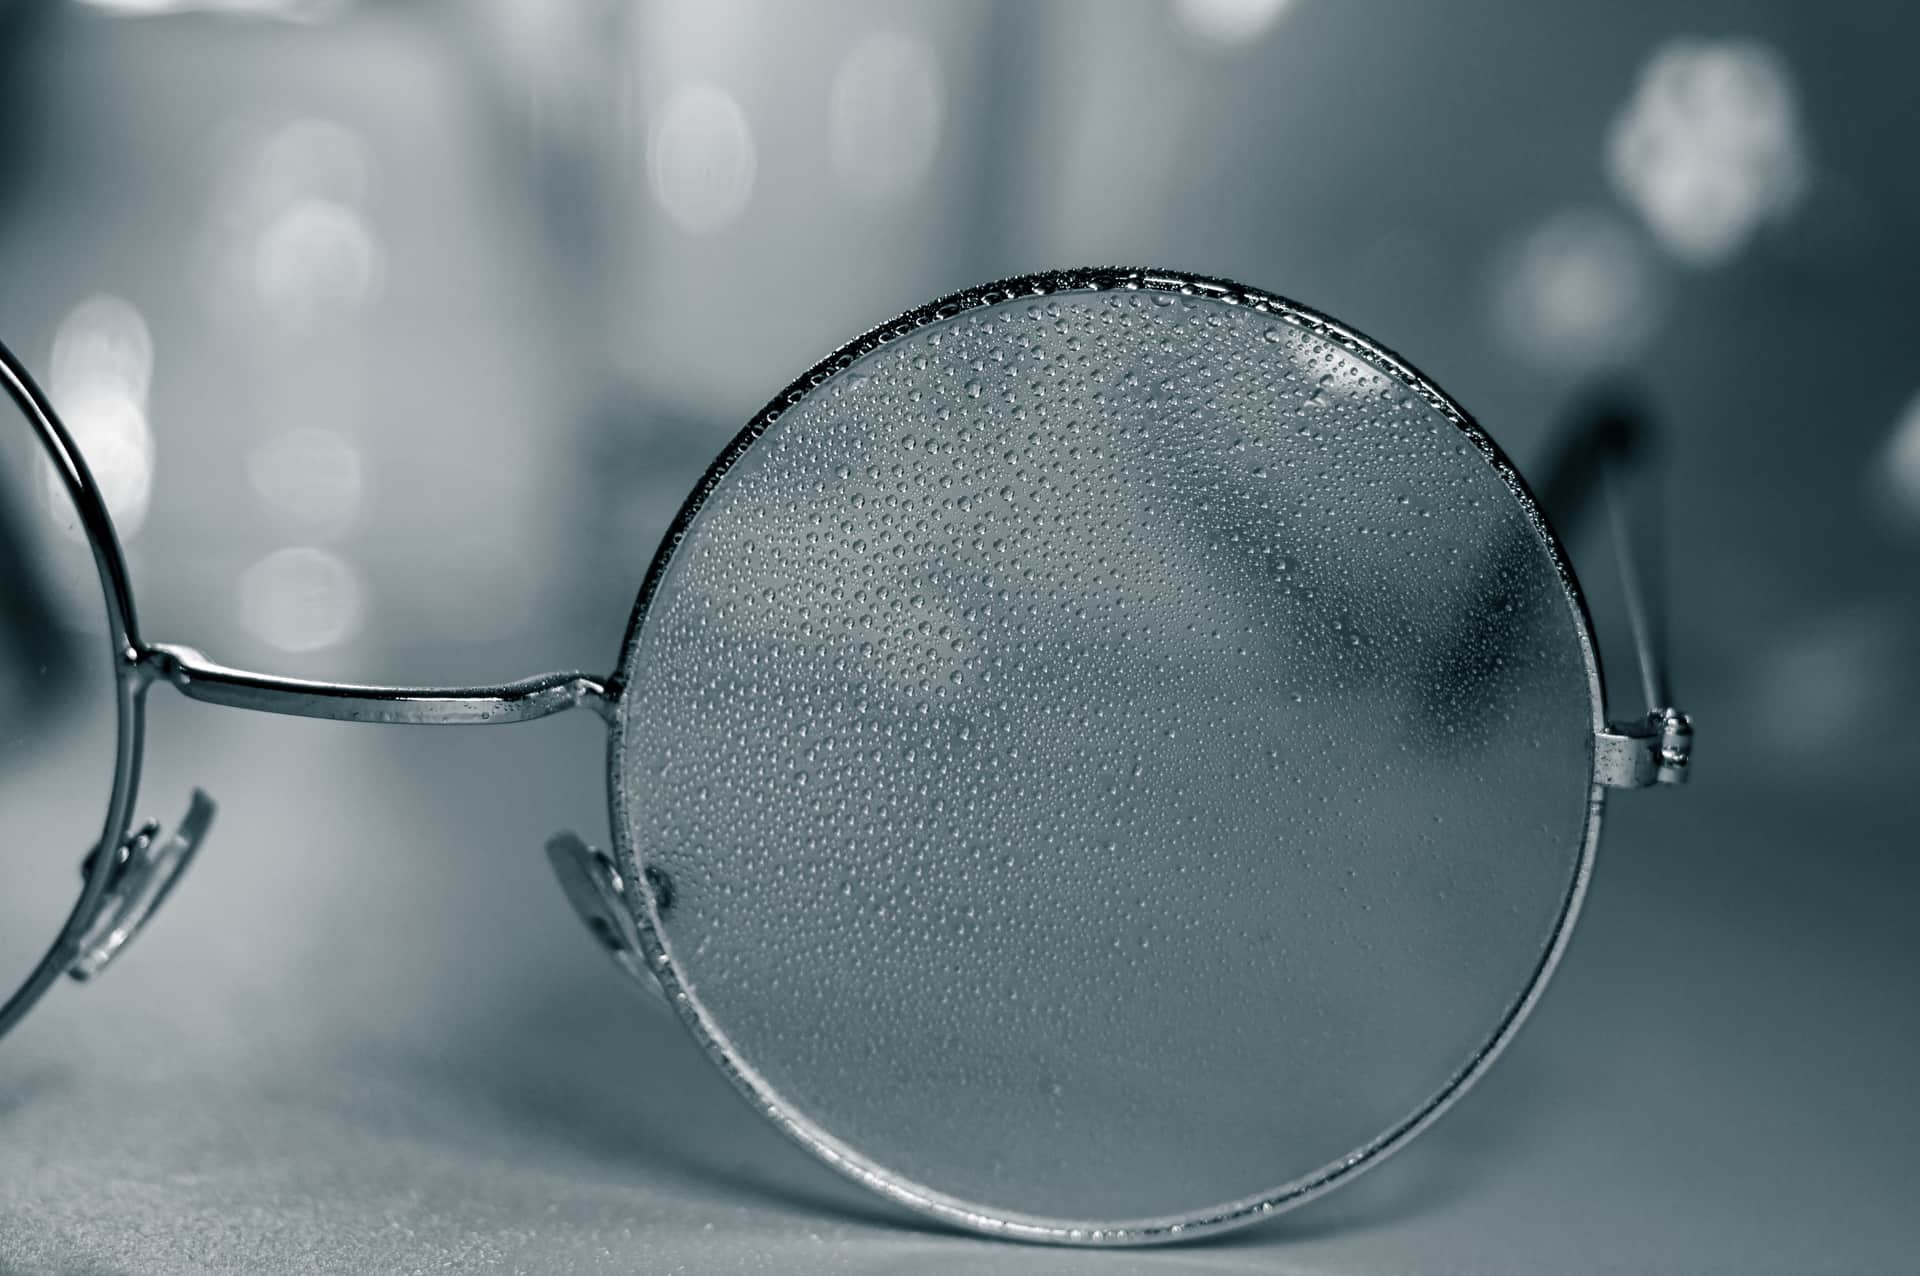
GoPro Anti-Fog Inserts (15-pack)
GoPro
Fifteen strips, reusable up to four times each, dried in an oven — the cheapest fix for the problem that ruins the most footage.
Anyone putting a camera in a housing in cold or humid air
- GoPro publishes the reuse count and the exact drying procedure
- 15 inserts at four uses each is around 60 sessions from one pack
- Works with both the waterproof and dive housings
- Solves a problem no camera setting can touch
- They are consumables — once saturated they do nothing
- The oven step is easy to forget, and a damp insert is a useless insert
- Only help inside a housing; a bare camera fogs for different reasons
Specs from GoPro Anti-Fog Inserts product page.
03
How we picked
We do not lab-test, bench-test or dive-test cameras, and we do not own test units. What we do instead is read the manufacturer's published specifications, read the independent reviews that genuinely do test, read owner reports for the failure modes specs never mention — fogging, salt corrosion, cold battery collapse, mount slippage — and then weight all of it for cases and housings used on lake and trail. Where a number is not published, the page says “not published” rather than filling the cell.
The full method, including what we refuse to do, is on the editorial policy page.
- 35%Rated depth
- The number the manufacturer publishes, with the model it was rated on.
- 25%Seal design
- O-ring serviceability is the difference between a flood and a rinse.
- 18%Optical clarity
- A flat port costs sharpness underwater; some housings cost more than others.
- 12%Button access
- What you can change without surfacing.
- 10%Fog risk
- Sealed air plus temperature change is how a dive ends up unusable.
04
Questions people actually ask
01How do I clean a GoPro after salt water?
Soak the closed camera in fresh water for 10 to 15 minutes while the salt is still wet, working every button and latch underwater. Dry the outside fully, then open the doors and let it air dry. Soak mounts and housings separately.
02Is rinsing under a tap enough?
Not really. A tap moves salt around the surface but does not reach the recesses where it causes damage — the button travel, the gasket groove, the mount threads. A soak lets dissolved salt diffuse out of those places.
03How long do I have before it matters?
The first hour is the one that counts. Once salt dries into a seam it has crystallized, and a soak after that helps but does not fully undo it. If you cannot soak immediately, at least keep the camera wet — a damp towel over it on the drive home is better than nothing.
04Can I use soap or vinegar?
No. Soap and solvents dry out rubber seals, and a dried gasket is what eventually lets water in. Plain fresh water does the whole job.
05What if I already left salt on it for a week?
Soak it for longer — half an hour or more — and work every button repeatedly. Then inspect the gasket carefully in good light. If there is a visible white line in the groove or the rubber looks stiff, treat the camera as no longer reliably sealed until you have replaced the door.
06Do mounts really need soaking too?
More than the camera does. Thumb screws, quick-release bases and aluminum pole sections are where salt does its most permanent damage, and a seized pole section cannot be recovered.
05
Read this next
Best action cameras for snorkeling
Snorkeling is usually salt, which makes this routine part of the purchase.
Cases and dive housings
O-ring care is the other half of keeping a housing sealed.
How deep can an action camera go?
Why a salt-used camera drifts away from its as-new rating.
Best kayak camera mounts
Stainless versus plated hardware is a salt decision.
Anti-fog inserts that work
The other consumable that comes with shooting in cold water.
06
Sources
Specifications are quoted from the manufacturer pages above as they read on the dates shown. Where a figure is not published, this site says so rather than estimating one. We have not tested these products.