The best helmet mounts for action cameras
Adhesive is a one-shot decision on a piece of safety equipment. Worth getting the order of operations right.
Part of Mounts.
We earn a commission if you buy through our links, at no extra cost to you. It never changes what we recommend or the order we rank it in — how this works.
01
Quick picks
| # | Product | Best for | Score | Price |
|---|---|---|---|---|
| 01 | GoPro Helmet Front + Side Mount A swivel assembly and two curved adhesive pads — the only official way to get a side-of-helmet angle that is not a chin bar. | Bike and ski helmets where a top mount is too tall and a chest mount sees too little | 8.2/ 10 | |
| 02 | 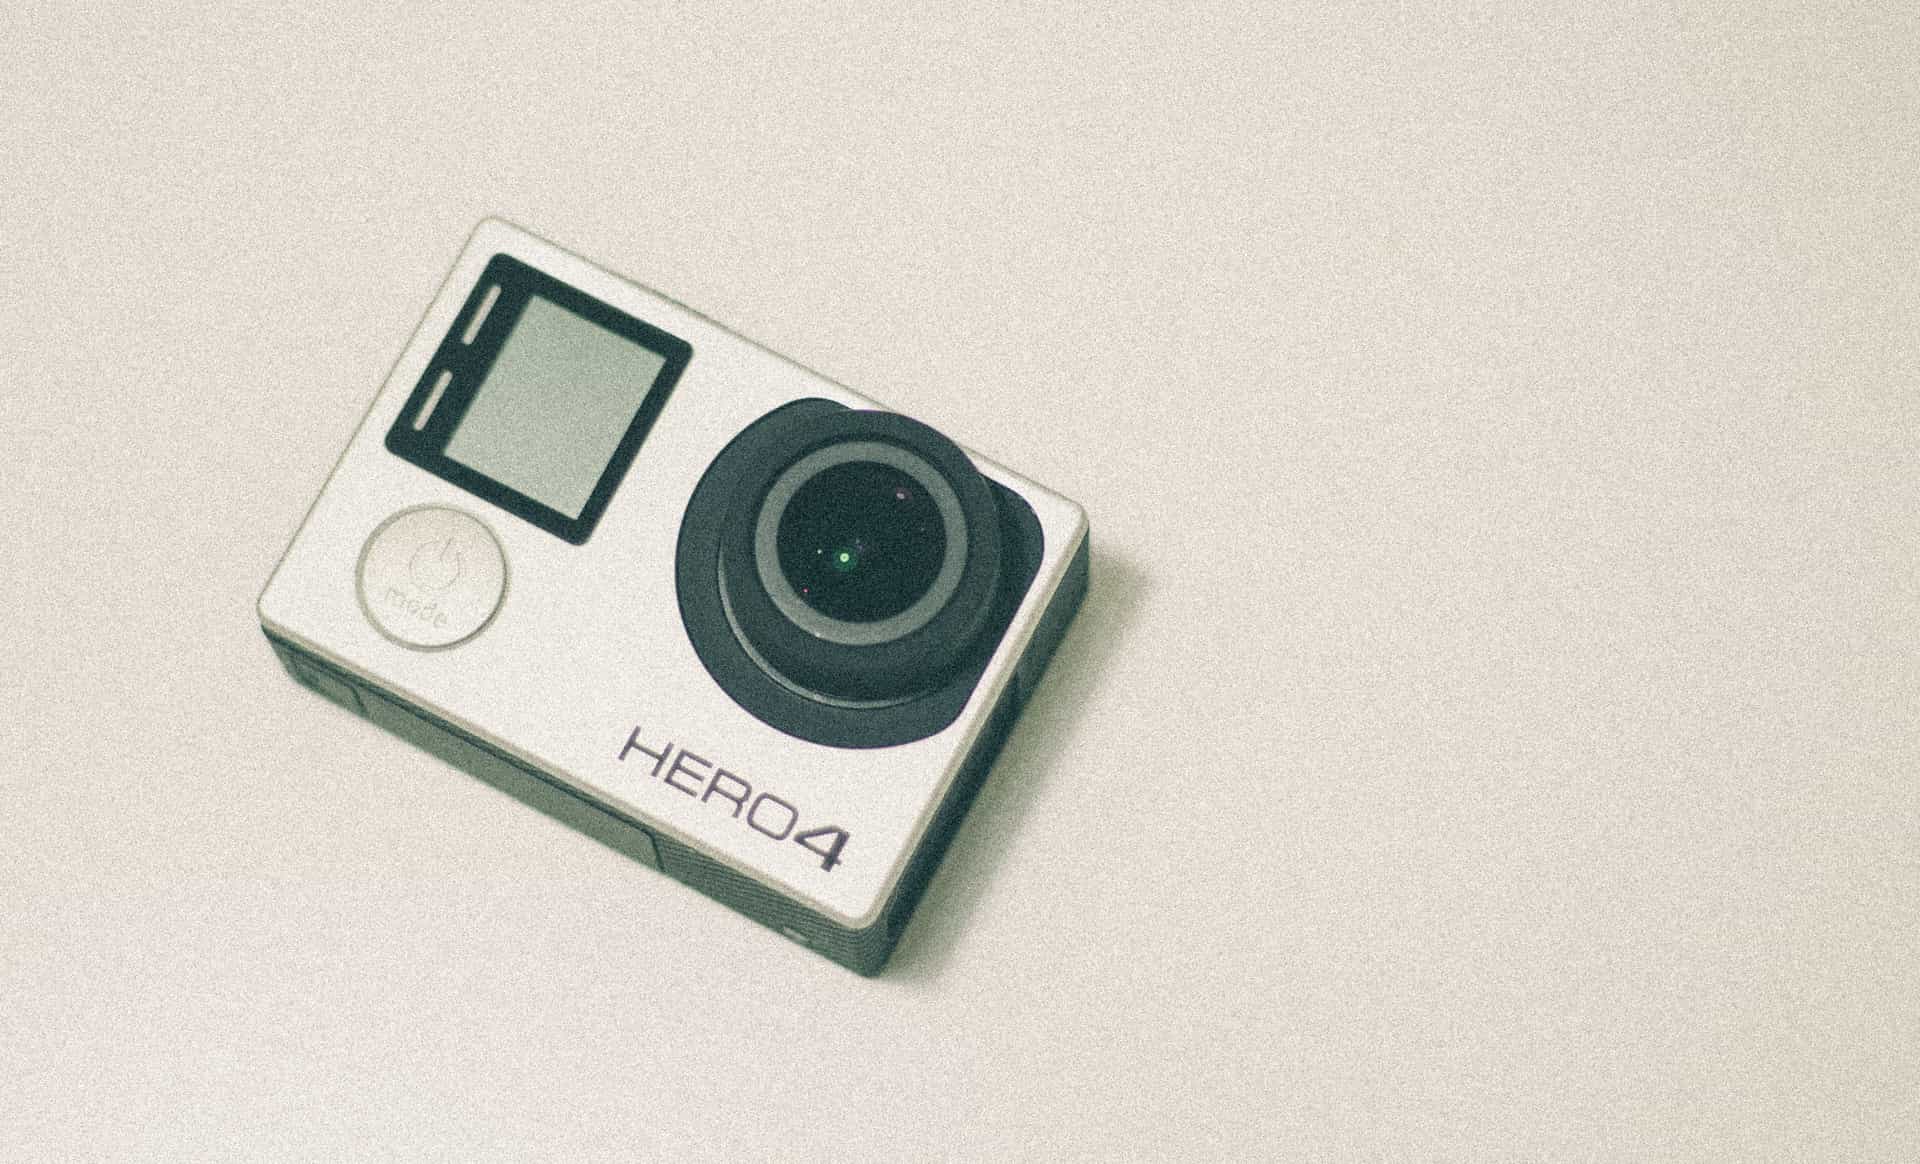 GoPro Curved + Flat Adhesive Mounts Industrial-strength waterproof adhesive pads — the cheapest permanent mount, and the one you have to get right the first time. | Boards, hulls, helmets and anywhere a clamp has nothing to grip | 7.9/ 10 | |
| 03 |  RAM Tough-Claw Clamp Mount with Action Camera Adapter Clamps to anything between 0.625in and 1.14in and does not care whether it is round, square or odd — the mount that solves the boats with no track. | Rails, bars, seat frames and anything you cannot or will not drill | 8.4/ 10 |
Scores are our editorial judgment from published specs and named independent reviews, weighted for lake and trail use — not measurements. We have not tested these units and do not own them.
02
How we picked
We do not lab-test, bench-test or dive-test cameras, and we do not own test units. What we do instead is read the manufacturer's published specifications, read the independent reviews that genuinely do test, read owner reports for the failure modes specs never mention — fogging, salt corrosion, cold battery collapse, mount slippage — and then weight all of it for mounts used on lake and trail. Where a number is not published, the page says “not published” rather than filling the cell.
The full method, including what we refuse to do, is on the editorial policy page.
- 35%Hold under load
- Vibration, chop and a wet hull are what actually break a mount.
- 25%Fit range
- Rail width, bar diameter, helmet curve — the spec that decides whether it fits at all.
- 20%Water and salt tolerance
- Stainless vs plated hardware, and what happens after a season of rinses.
- 12%Adjustability
- Getting the angle right on the water, with cold hands.
- 8%Tether point
- A mount with nowhere to clip a leash is a mount that loses cameras.
Front, side or strap
| Position | Gives | Costs | Best for |
|---|---|---|---|
| Side | Low profile, least wind noise, natural eyeline | Slightly off-center framing | Most riding and skiing |
| Front / chin | Centered, closest to your view | Most exposed in a face-first impact | Full-face helmets |
| Top | Highest viewpoint | Catches on branches, most leverage and wind | Open ground only |
| Strap | Moves between helmets, no adhesive | Sits higher, can slip on vents | Trying angles, or where adhesive is not permitted |
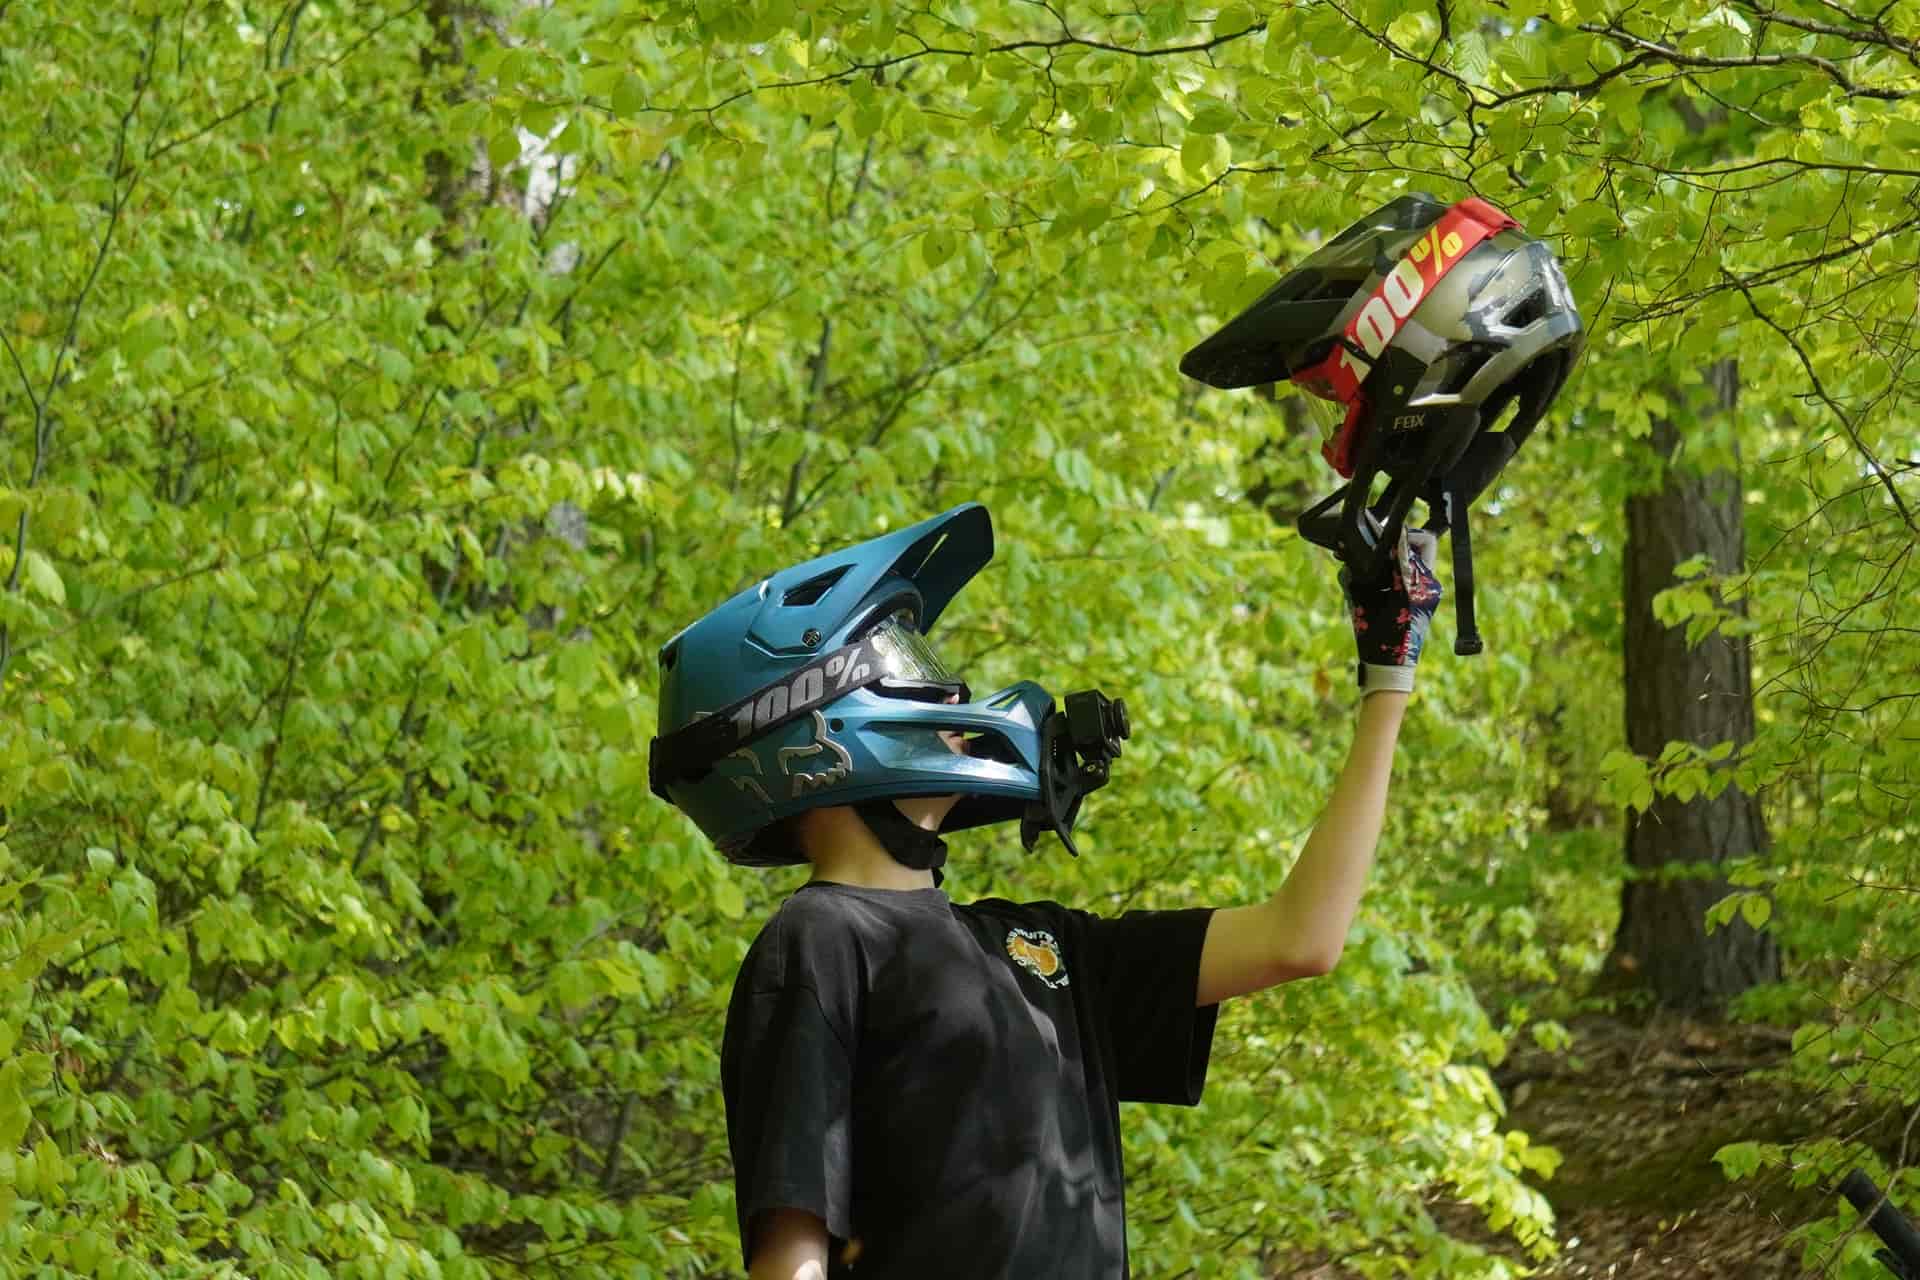
For most people, side is the right default: lowest profile, least disturbed air, and an eyeline close enough to centered that nobody notices. The helmet camera roundup covers which cameras suit the position.
Adhesive, done properly
Adhesive pads are the lowest-profile and most secure option, and the process matters more than the product.
Clean the surface properly. Isopropyl alcohol, not water, and let it dry fully. Wax, sunscreen, polish and the residue from a previous mount all defeat the adhesive.
Pick the right curvature. Curved pads for a helmet shell, flat pads for a board or a panel. A flat pad on a curve only contacts in the middle and lifts from the edges.
Press firmly for thirty seconds, then leave it alone for 24 hours before hanging a camera on it. This is the step people skip and it is the one that decides whether the pad holds.
Mind the temperature. Adhesive needs a surface above freezing to bond. Fitting a mount in a cold garage in February is how pads let go in March.
Removal is heat: a hair dryer softens the bond and the pad peels. Do not lever it off cold.
Getting the angle right before you commit
The most common helmet-camera mistake is aiming the camera at your actual eyeline. Riders and skiers look much further ahead than they think, so a camera aimed where your eyes point films the ground in front of your wheel.
Aim higher than feels right. Then test it properly: record thirty seconds, watch it, and adjust. Two minutes in a car park saves a whole ride.
This is the argument for a strap mount first. Use one for two or three rides, find the angle you actually like, then commit to adhesive in that exact position if you want the lower profile.
The leverage problem
A helmet mount holds the camera several centimeters off the shell on a swivel arm, which multiplies the camera's mass. Two things follow.
Lighter cameras hold their angle. A heavy camera on a friction swivel walks out of position over an hour of vibration, and you find out at home.
Tighten harder than feels necessary, and prefer a mount with positive detents over a smooth friction joint. A metal thumb screw instead of the supplied plastic one is one of the cheapest useful upgrades in this whole category.
Wind noise, which the mount partly controls
A helmet puts the camera directly in the airflow, and above about 15 mph the onboard microphone records mostly wind. The mount position makes a small difference: a side mount sits in slightly less disturbed air than a top mount.
That is a marginal improvement rather than a solution. Most helmet footage ends up with music — the microphone guide is honest about what external audio can and cannot fix.
03
Every pick, in detail
- Swivel mount, 2 curved adhesive mounts
- Vertical mounting buckle and thumb screw
- Curved helmet shells
- 8.5
- 8.0
- 8.0
- 9.0
- 6.5
GoPro Helmet Front + Side Mount
GoPro
A swivel assembly and two curved adhesive pads — the only official way to get a side-of-helmet angle that is not a chin bar.
Bike and ski helmets where a top mount is too tall and a chest mount sees too little
The complete answer: a swivel assembly plus two curved adhesive pads designed for helmet shells rather than flat panels. The swivel is what makes it worth buying over bare pads — you set the angle once and ride, instead of shimming a fixed mount and hoping.
- The swivel assembly means you set the angle once and ride, instead of guessing
- Curved adhesive pads are made for helmet shells rather than flat panels
- Side mounting keeps the camera out of the wind better than a top mount
- Industrial-strength waterproof adhesive from the same family as the curved and flat mounts
- Adhesive is a one-shot decision — get the position right before you press
- Removing it means heating the adhesive with a hair dryer
- Adds a side profile that some helmet certifications discourage; check yours
Specs from GoPro Helmet Front + Side Mount product page.
- Curved and flat pads
- Industrial-strength, waterproof
- Heat with a hair dryer, then peel
- 8.5
- 8.0
- 8.5
- 5.0
- 7.5
GoPro Curved + Flat Adhesive Mounts
GoPro
Industrial-strength waterproof adhesive pads — the cheapest permanent mount, and the one you have to get right the first time.
Boards, hulls, helmets and anywhere a clamp has nothing to grip
The cheapest permanent option, and both curvatures are in the pack so you are not guessing which fits. Industrial-strength waterproof adhesive, removable by heating with a hair dryer. No swivel, so the angle is whatever the shell gives you — which is why the Front + Side kit outranks it.
- Waterproof adhesive designed for exactly this job
- The lowest profile of any mount here — nothing to catch a line or a branch
- Both curvatures in the pack, so you are not guessing which one fits
- Cheap enough to leave pads semi-permanently on several boats
- One shot at placement; repositioning means a new pad
- Needs a clean, dry, above-freezing surface and 24 hours to cure properly
- Removal takes heat, and can mark some finishes
Specs from GoPro Curved + Flat Adhesive Mounts product page.
- 0.625" to 1.14" outer diameter
- High-strength composite, stainless hardware
- Ball adapter, double socket arm, clamp base
- 8.5
- 7.5
- 8.5
- 9.5
- 7.0
RAM Tough-Claw Clamp Mount with Action Camera Adapter
RAM Mounts
Clamps to anything between 0.625in and 1.14in and does not care whether it is round, square or odd — the mount that solves the boats with no track.
Rails, bars, seat frames and anything you cannot or will not drill
Here for the helmets where adhesive is not permitted or not wanted. A Tough-Claw on a chin bar (full-face helmets only) or on a vent strut avoids touching the shell entirely, and the ball-and-socket arm holds an angle far better than a friction hinge. Measure the tube first — the jaw covers 0.625in to 1.14in.
- Fits round, square and odd-shaped rails in the same jaw
- Stainless hardware is the right call for anything that gets rinsed
- The RAM ball-and-socket arm holds an angle far better than a friction hinge
- No drilling, so it moves between boats, bikes and rails
- 0.625in to 1.14in is a narrow band — measure before you buy
- The composite version is not the stiffest option in the RAM range
- Three separate pieces means three things to lose
Specs from RAM Mounts Tough-Claw with Action Camera Adapter specifications.
04
What decides this category
Check your helmet's guidance first
Before anything else. Some manufacturers advise against shell attachment, and adhesive cannot be undone once it has cured.
A swivel that locks
The difference between a mount you set once and a mount that drifts. Positive detents beat a smooth friction joint on anything that vibrates.
Curved pads for a curved shell
Both curvatures come in the GoPro pack. A flat pad on a helmet contacts only in the middle and will lift from the edges under load.
Strap first, adhesive later
Find the angle over two or three outings, then commit. Adhesive is permanent and placement is the thing people get wrong.
What we would skip
A top mount, for most people: more leverage, more wind, more to catch on, in exchange for a viewpoint two inches higher. And skip clamping to a vent strut on an open-face helmet — vents are structural and thin.
05
Questions people actually ask
01Is it safe to put a camera mount on a helmet?
Check your helmet manufacturer's guidance — some advise against attaching anything to the shell and some say it affects certification. Where it is permitted, a low side mount on a curved adhesive pad is the standard approach.
02How long does helmet mount adhesive take to cure?
Press firmly for about thirty seconds and then leave it 24 hours before hanging a camera on it. The surface must be clean, dry and above freezing. Skipping the cure is the main reason pads let go.
03How do I remove a helmet mount without damaging the helmet?
Heat the adhesive with a hair dryer until it softens, then peel slowly. Do not lever it off cold — that is how shell finishes get damaged.
04Side mount or top mount?
Side, for almost everyone. Lower profile, less wind noise, less to catch on branches, and less leverage on the mount. The framing offset is smaller than you expect.
05Can I use a strap mount instead of adhesive?
Yes, and it is the right first step: it moves between helmets, costs nothing to reposition, and avoids the shell question entirely. It sits higher and can slip on a heavily vented helmet.
06
Read this next
How to mount a camera on a helmet
The step-by-step, including surface prep and the angle test.
Chest mount vs helmet mount
The alternative, and the case for it.
Best action cameras for a helmet
Which camera suits a lever arm on a piece of safety gear.
Best action cameras for skiing
Ski helmets, cold adhesive and the goggle strap alternative.
Mount compatibility
What fits the two-prong interface, and what needs an adapter.
07
Sources
- GoPro Helmet Front + Side Mount product page
- GoPro Curved + Flat Adhesive Mounts product page
- RAM Mounts Tough-Claw with Action Camera Adapter specifications
Specifications are quoted from the manufacturer pages above as they read on the dates shown. Where a figure is not published, this site says so rather than estimating one. We have not tested these products.