How to edit action camera footage on a phone
The reason most footage never becomes a video is that editing feels like a project. On a phone it is twenty minutes, if you do the steps in the right order.
Part of Filming.
We earn a commission if you buy through our links, at no extra cost to you. It never changes what we recommend or the order we rank it in — how this works.
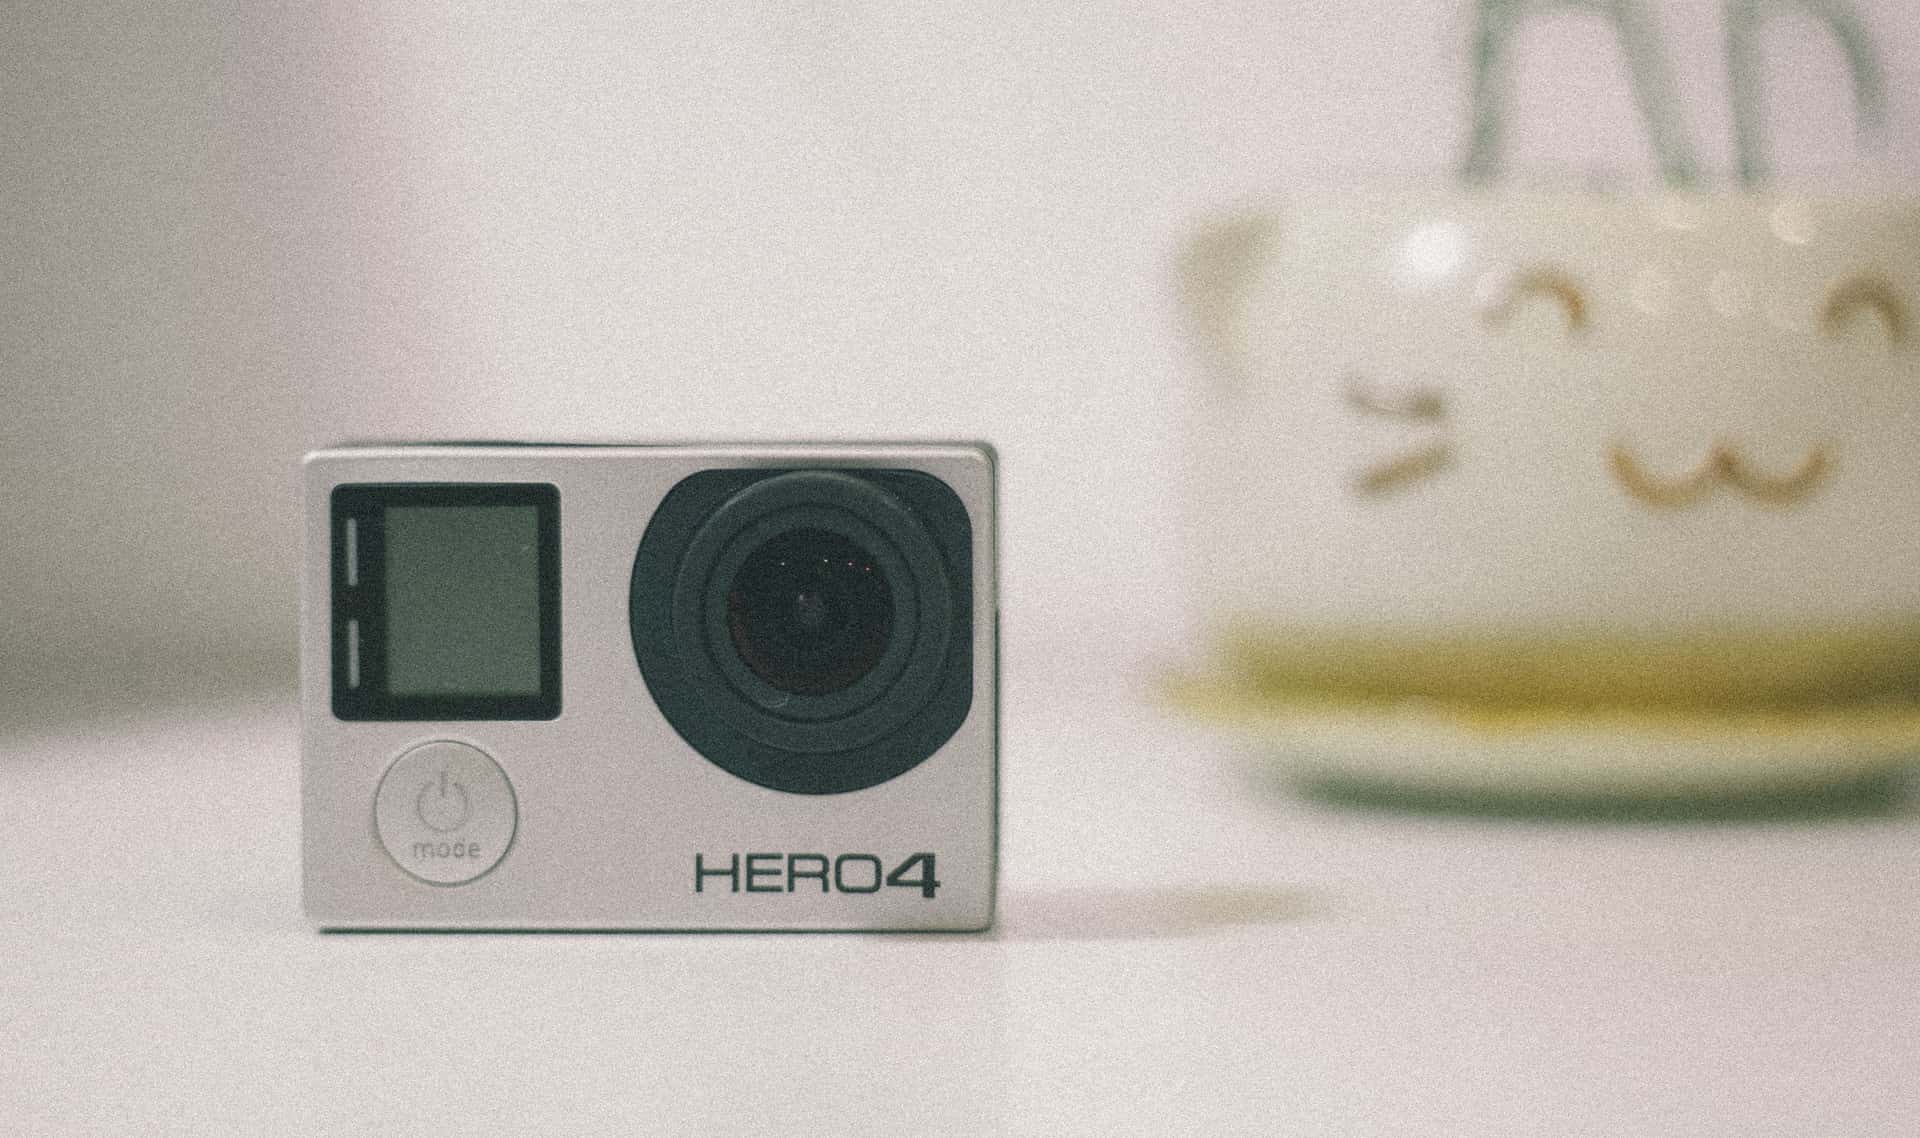
Get the clips onto the phone with a card reader rather than over Wi-Fi, cull before you edit, and use the camera maker's own app for the first pass. A USB-C or Lightning card reader moves a day of 4K footage in a few minutes; the same transfer over the camera's Wi-Fi can take an hour and will flatten both batteries. GoPro's Quik, the Insta360 app and DJI's Mimo all read their own formats natively — including the low-resolution proxy files that make scrubbing smooth — and all three will cut, trim, stabilize and export vertical or horizontal without a subscription-only feature in the way. Move to a general editor like CapCut or iMovie only when you need something the camera app cannot do.
Step one: get the footage off, the fast way
There are three routes and they are not equivalent.
A card reader into the phone. The fastest by a wide margin and the one we would use every time. Pull the microSD out, put it in a USB-C or Lightning reader, and import through the phone's own Files or Photos app. A day of 4K clips is a few minutes. It also does not touch either battery, which matters if you are doing this in a tent or a car.
The camera's Wi-Fi, through its app. Convenient, no extra hardware, and slow. It is fine for pulling three clips to post something; it is painful for a full card. It also drains the camera battery faster than recording does, which catches people out on a trip.
A cable from camera to phone. Works on most current cameras, faster than Wi-Fi, slower than a reader, and it keeps the card in the camera. A reasonable middle option if you would rather not handle a tiny card with cold hands.
Whichever you use, a fast card makes the transfer faster at the same time as it makes the recording safer. A U3 / V30 / A2 card rated up to 190MB/s read is the floor for both jobs — the detail is in SD card speed classes compared.
Step two: cull before you edit, not during
This is the step that decides whether the edit happens at all. Go through the clips once and delete everything that is obviously unusable — the accidental recordings, the thirty seconds of a pocket, the shot where the lens had a droplet on it, the take where nothing happened. Do not think about the edit while you do this. Just reduce the pile.
Most people shoot four or five times more footage than they will use, and the reason editing feels overwhelming is that they are making creative decisions and triage decisions simultaneously. Separate them: triage first, with no music and no sequence in mind, and the edit afterwards is a short job on a small number of good clips.
Step three: which app
| App | Best for | The catch |
|---|---|---|
| GoPro Quik | GoPro footage: trims, stabilization touch-ups, highlight-tag editing | Built around GoPro files; least useful with other brands |
| Insta360 app | Reframing 360 footage — the step a 360 camera cannot skip | Reframing is real work; budget time per clip |
| DJI Mimo | DJI footage, and quick social cuts | Same brand lock-in as the other two |
| CapCut | Multi-clip edits, text, speed ramps, music libraries | No proxy support for camera files; large clips can stutter |
| iMovie | A simple, free, no-account cut on an iPhone | Limited control; no vertical-and-horizontal flexibility |
The practical workflow most people land on is two apps: the camera's own app to trim and stabilize individual clips and export them, then a general editor to assemble those exports with music and text. It sounds like more work than one app and it is less, because each app is doing the thing it is fast at.
Step four: the five-step cut
1. Pick an ending. Decide the last shot before you start. It is the only structural decision that matters and it stops the edit sprawling.
2. Lay the clips in time order, no trimming. Just get them on the timeline in the order the day happened.
3. Cut every clip to its best three seconds. Not five, not ten. Three. This is where the video becomes watchable, and it is the step people skip. A fifteen-second clip almost always has three good seconds in it and twelve that are the camera arriving and leaving.
4. Add music, then cut to it. Music sets the pace, so put it in before you fine-tune. Nudge the clip boundaries onto the beat and the whole thing suddenly feels deliberate.
5. Watch it once, all the way through, and remove one more clip. There is always one. A ninety-second video that people finish beats a four-minute one they do not.
The longer version of this argument, including how to structure a trip rather than a single day, is in editing a trip video people watch.
Vertical and horizontal, decided once
Decide the aspect ratio before the edit, not after. A 16:9 horizontal edit crops badly to vertical and a 9:16 vertical edit is useless on a television, and re-cutting an assembled timeline into the other shape is the most annoying work in phone editing.
If you want both, there are two honest options. Shoot with a 360 camera and reframe twice — the Insta360 app will produce a vertical and a horizontal cut from the same recording, which is one of the genuinely strong arguments for the format. Or shoot flat at the widest useful setting and build the vertical edit first, since a vertical frame crops out of a wide horizontal one more gracefully than the reverse.
Reframing 360 footage on a phone
If you shot 360, there is an extra step and it is not optional: a 360 file is not a video until you have chosen where the camera was looking. The Insta360 app does this on the phone, and it is better at it than it has any right to be — keyframe a few points of interest, let it interpolate, export a flat clip.
Two things to know before you commit to this workflow. It takes real time per clip, which is why a 360 camera is the wrong recommendation for anybody short of it. And it is heavy work for a phone: expect the handset to get hot and the battery to drop fast, so do it plugged in. The honest version of the trade is in 360 camera vs action camera.
Export settings that will not let you down
Export at 1080p unless there is a reason not to. It uploads faster, plays everywhere, and on a phone screen is indistinguishable from 4K. Export 4K only if the video is going to a television or you are archiving it.
Keep the frame rate you shot at. Converting 60fps to 30fps on export throws away the smoothness you paid battery for; converting 30 to 60 invents nothing.
Export before you delete anything. Obvious, routinely forgotten. Phone editors can lose a project when storage runs out mid-export, and the source clips are the only thing that makes a second attempt possible.
Leave the storage headroom. An export needs roughly as much free space as the finished file, plus working room. Importing a full 256GB card onto a phone that has 12GB free is the most common way a phone edit fails.
01
What makes phone editing painless
A camera whose own app does the heavy work, and a card fast enough that pulling a day of footage off it is minutes rather than an evening.
- 33ft (10m), no housing
- 1900mAh Enduro
- 1.5h at 5.3K30 / 2.5h at 1080p30
- 8.0
- 9.5
- 8.5
- 9.5
- 9.0
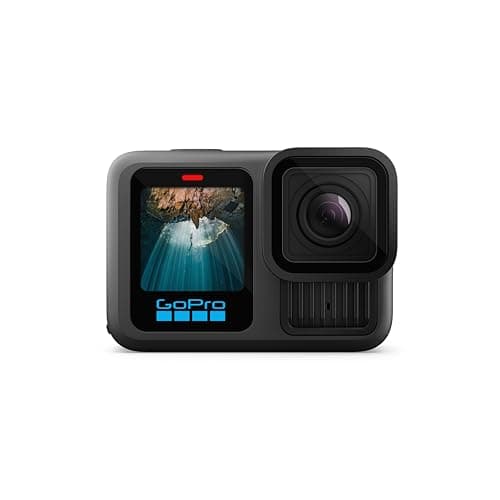
GoPro HERO13 Black
GoPro
The safest default for lake and trail: 33ft without a housing, the steadiest footage in the category, and a mount for literally everything.
Anyone who wants one camera to handle the kayak, the bike and the family trip
- HyperSmooth 6.0 with AutoBoost is the steadiest stabilization we can find published figures for
- Built-in mounting fingers plus 1/4-20 threads — it fits the GoPro ecosystem and a normal tripod
- Enduro battery is rated to keep full camera functionality down to 14°F (-10°C)
- Replaceable lens cover, so a scratched lens is a $20 problem and not a $400 one
- 33ft is shallower than the DJI and it is the shallowest of the three flagships
- Anything past 33ft needs the separate Protective Housing
- HB-Series lenses and ND filters are all extra purchases
Specs from GoPro HERO13 Black published specifications.
- IP68 to 49ft (15m)
- 2400mAh · ~88 min at 8K30
- User-replaceable
- 9.5
- 9.5
- 9.0
- 8.5
- 7.5
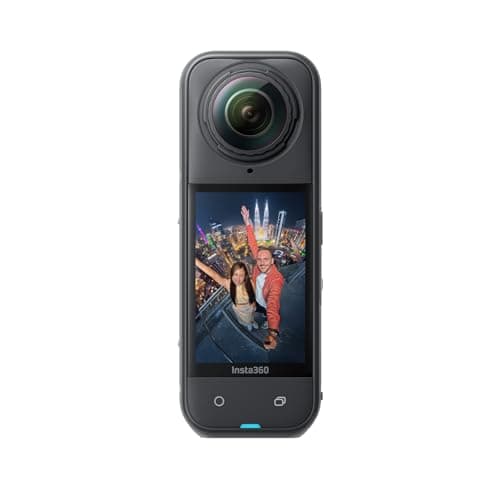
Insta360 X5
Insta360
15m rated, replaceable lenses, and the one camera that means you never have to aim while you are paddling.
Anyone filming themselves on the water who cannot stop to frame a shot
- 15m IP68 is the deepest bare rating of any camera on this site
- User-replaceable lenses — the single biggest fix for the 360 format's worst failure mode
- 185 minutes in Endurance mode at 5.7K24, which is a whole day of clips
- Invisible-selfie-stick reframing means you point the camera at nothing and pick the angle later
- Exposed lenses still scratch; lens guards are a purchase, not an option
- Every clip needs a reframing pass before anyone else can watch it
- 8K30 files are large and the edit is slower than flat footage
Specs from CineD, Insta360 X5 announcement with published specifications.
- U3 · V30 · A2 · Class 10
- Up to 190MB/s read, 130MB/s write
- Shock, temperature, water and X-ray proof
- 8.5
- 9.5
- 9.0
- 9.0
- 8.0
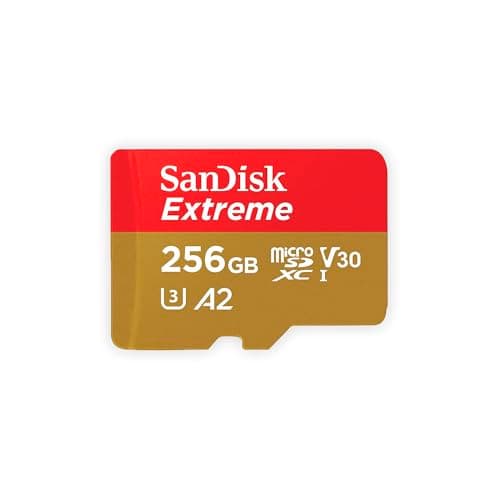
SanDisk Extreme microSDXC UHS-I
SanDisk
The card that appears on every manufacturer compatibility list, rated V30 and built to survive being wet, cold and dropped.
Anyone who does not want to think about cards again
- V30 guarantees a 30MB/s minimum sustained write, which is what high-bitrate video actually needs
- SanDisk publishes shockproof, temperature-proof, waterproof and X-ray-proof ratings
- Appears on GoPro, DJI and Insta360 tested-card lists more often than any other card
- Capacities up to 1TB, so a long trip does not need a card swap
- Write speeds vary by capacity — the 64GB tops out at 80MB/s write, the 128GB at 90MB/s
- Counterfeits are common; buy from a seller you trust
- V30 is the floor, not the ceiling — 8K on some cameras wants more headroom
Specs from SanDisk Extreme microSDXC UHS-I product page.
02
How we picked
We do not lab-test, bench-test or dive-test cameras, and we do not own test units. What we do instead is read the manufacturer's published specifications, read the independent reviews that genuinely do test, read owner reports for the failure modes specs never mention — fogging, salt corrosion, cold battery collapse, mount slippage — and then weight all of it for action cameras used on lake and trail. Where a number is not published, the page says “not published” rather than filling the cell.
The full method, including what we refuse to do, is on the editorial policy page.
- 30%Water survival
- Rated depth without a case, door design, and what the manufacturer actually publishes.
- 25%Stabilization in chop
- A kayak deck and a rooty trail shake in ways a handheld walk test never shows.
- 20%Battery in the cold
- Published runtime, spare-battery cost, and whether it charges while recording.
- 15%Mount ecosystem
- Finger mount, threaded, magnetic — and how much of it you have to re-buy.
- 10%Footage you will keep
- Lens replaceability, low-light behavior, and how much cutting the footage needs.
03
Questions people actually ask
01How do I get GoPro footage onto my phone?
Fastest is a USB-C or Lightning card reader with the microSD card out of the camera — a day of 4K clips takes a few minutes. The camera's Wi-Fi works through its app but is slow and drains the camera battery faster than recording does.
02What is the best app for editing action camera footage on a phone?
Start in the camera maker's own app — Quik for GoPro, the Insta360 app, DJI Mimo — because they read the low-resolution proxy files and scrub smoothly. Move to CapCut or iMovie to assemble several clips with music and text.
03Why does my phone stutter when editing 4K action camera footage?
Because general-purpose editors read the full-resolution file rather than the proxy the camera wrote alongside it. The maker's own app uses the proxy, which is why it feels faster on identical footage.
04Should I edit vertical or horizontal?
Decide before you start, because re-cutting an assembled timeline into the other shape is miserable. If you need both, either shoot 360 and reframe twice, or build the vertical edit first since vertical crops out of wide horizontal footage more gracefully than the reverse.
05What resolution should I export at?
1080p for anything going to a phone or social — it uploads faster and looks identical on a handset. Export 4K only for a television or an archive copy, and keep the frame rate you shot at either way.
06Can you edit 360 footage on a phone?
Yes, in the Insta360 app, and it works well — you keyframe where the camera should look and export a flat clip. It is heavy work for a phone, so do it plugged in and expect the handset to get warm.
04
Read this next
Editing a trip video people watch
The structure question, once you know how to run the tools.
The best SD cards for action cameras
A fast card makes the transfer fast as well as the recording safe.
360 camera vs action camera
The reframing step is the real cost of the 360 format. Read this first.
Time lapse vs TimeWarp
The two modes that produce a finished clip with almost no editing.
How to cut wind noise
What you can and cannot fix in the edit once the audio is ruined.
05
Sources
- GoPro HERO13 Black published specifications
- CineD, Insta360 X5 announcement with published specifications
- SanDisk Extreme microSDXC UHS-I product page
Specifications are quoted from the manufacturer pages above as they read on the dates shown. Where a figure is not published, this site says so rather than estimating one. We have not tested these products.